The fastest way to hide cake imperfections with decorations is to match the covering to the flaw, not to pile on generic toppings. Repair what you can, build a smooth opaque frosting base, then place one deliberate decoration exactly where the problem was. Most of the flaw that worries you simply stops being visible once the cake is frosted.
That reassurance matters more than the technique. On r/Baking, one baker wrote about a leaning cake she was embarrassed by, then noted that everyone at the party just raved about it. Guests are looking at the candles, not the third layer.
This guide takes about 20 to 40 minutes of active work once the cake is cool, and it suits anyone who can bake but finds decorating intimidating. Difficulty is beginner-friendly throughout, and the order matters: fix first, hide second. Here is what you need, the six steps in order, and the mistakes that undo a rescue.
Table of Contents
- What You Need
- Tools that do the actual work
- Frosting that holds decoration
- Edible decorations that mask a specific area
- A safety note on non-edible pieces
- Step-by-Step: How to Hide Cake Imperfections with Decorations
- Step 1: Identify the Flaw and Choose a Decoration Strategy
- Step 2: Level and Fill the Cake
- Step 3: Create a Smooth, Opaque Base
- Step 4: Hide Edges, Cracks, and Color Marks
- Step 5: Add Height, Color, and Visual Interest
- Step 6: Finish with a Final Inspection
- Common Mistakes
- Frequently Asked Questions
- Can decorations hide a cake that is uneven or leaning?
- What is the best decoration to cover a crack in a cake?
- How do I hide crumbs or holes in a layer cake?
- Should I use fondant, buttercream, or ganache to cover cake imperfections?
- How do I choose decorations that look intentional rather than like they are hiding a mistake?
- Can I decorate a cake the same day I bake it?
- Conclusion
What You Need
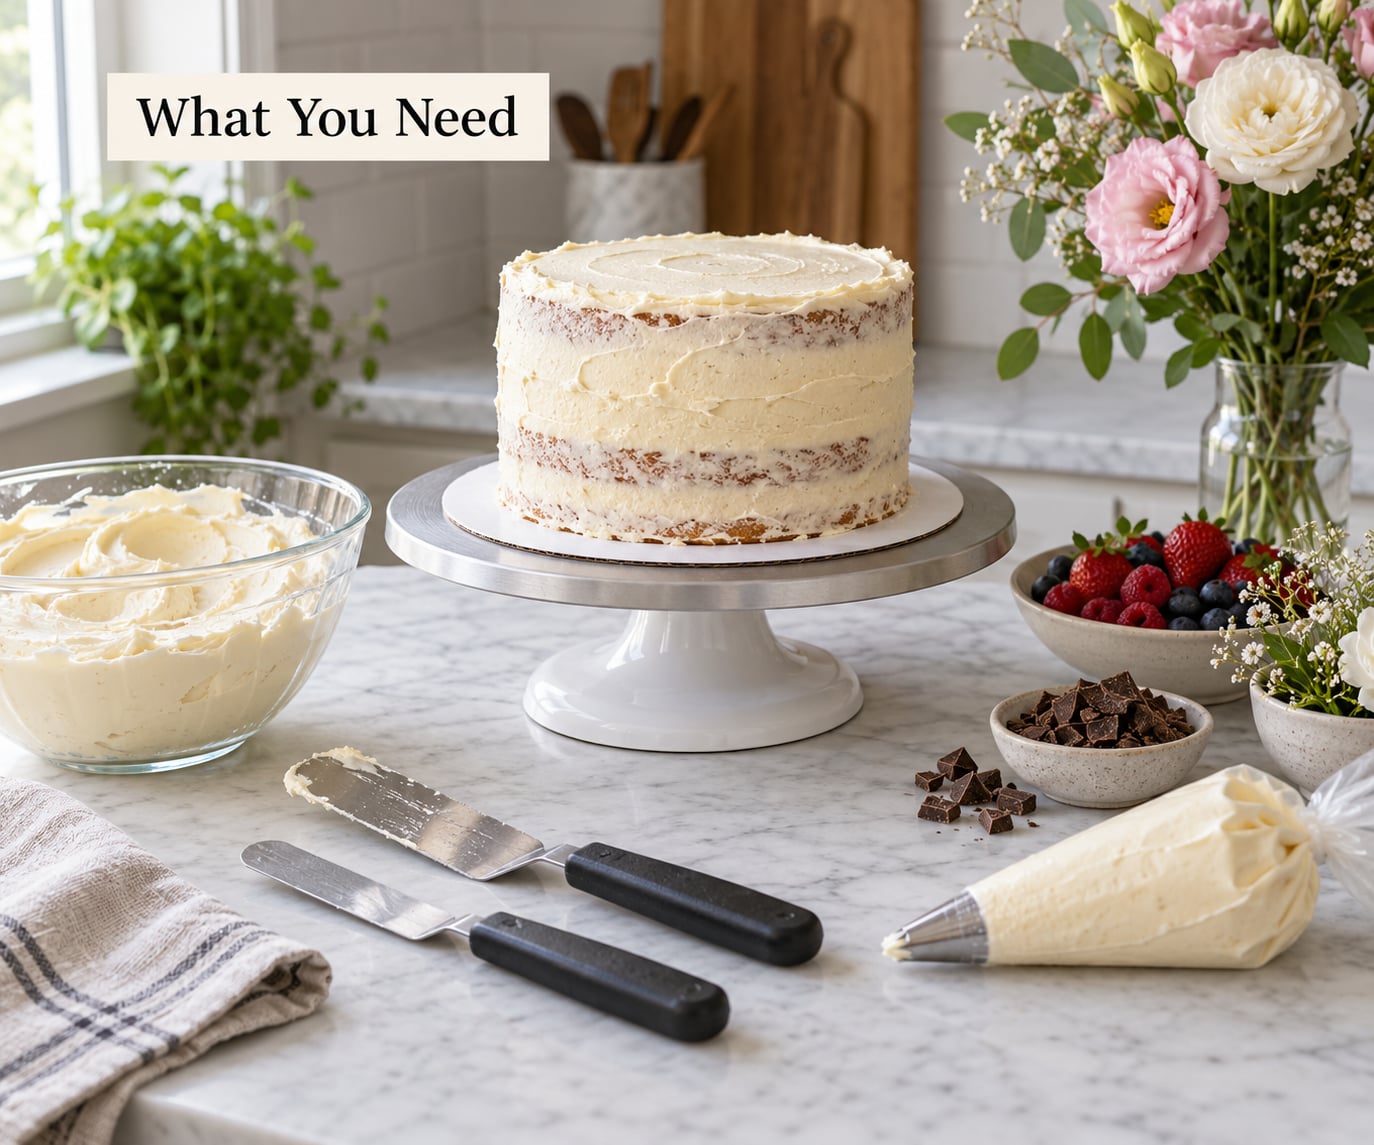
You do not need a full decorating kit to rescue a cake. You need a smooth base, a few tools, and one or two decorations that make sense for the occasion.
Tools that do the actual work
- Long serrated knife or cake leveler for trimming a domed top.
- Offset spatula for spreading frosting without pulling up crumbs.
- Straight pin or cake leveler as a guide while you trim.
- Turntable, or a flat plate on a damp towel if you do not have one.
- Cooling rack so layers cool evenly instead of sweating.
- Piping bag and one round or star tip for a border.
- Acetate smoother or a clean bench scraper for the sides.
Frosting that holds decoration
Cream cheese frosting and whipped cream are soft, so heavy toppers sink straight into them. American buttercream, ganache, or a stiff Swiss meringue buttercream hold weight and take a scrape well, which makes them the safer choice when the cake itself is fragile. Bring buttercream to cool room temperature, roughly 70F, so it spreads without tearing the crumb.
Edible decorations that mask a specific area
- Fresh berries, sliced fruit, and citrus segments for an uneven top.
- Whole cookies, cookie halves, or pretzels pressed into the sides.
- Sprinkles, crushed cookies, or cake crumbs for frosted sides.
- Edible flowers, fresh or sugar, for a torn edge or a patched area.
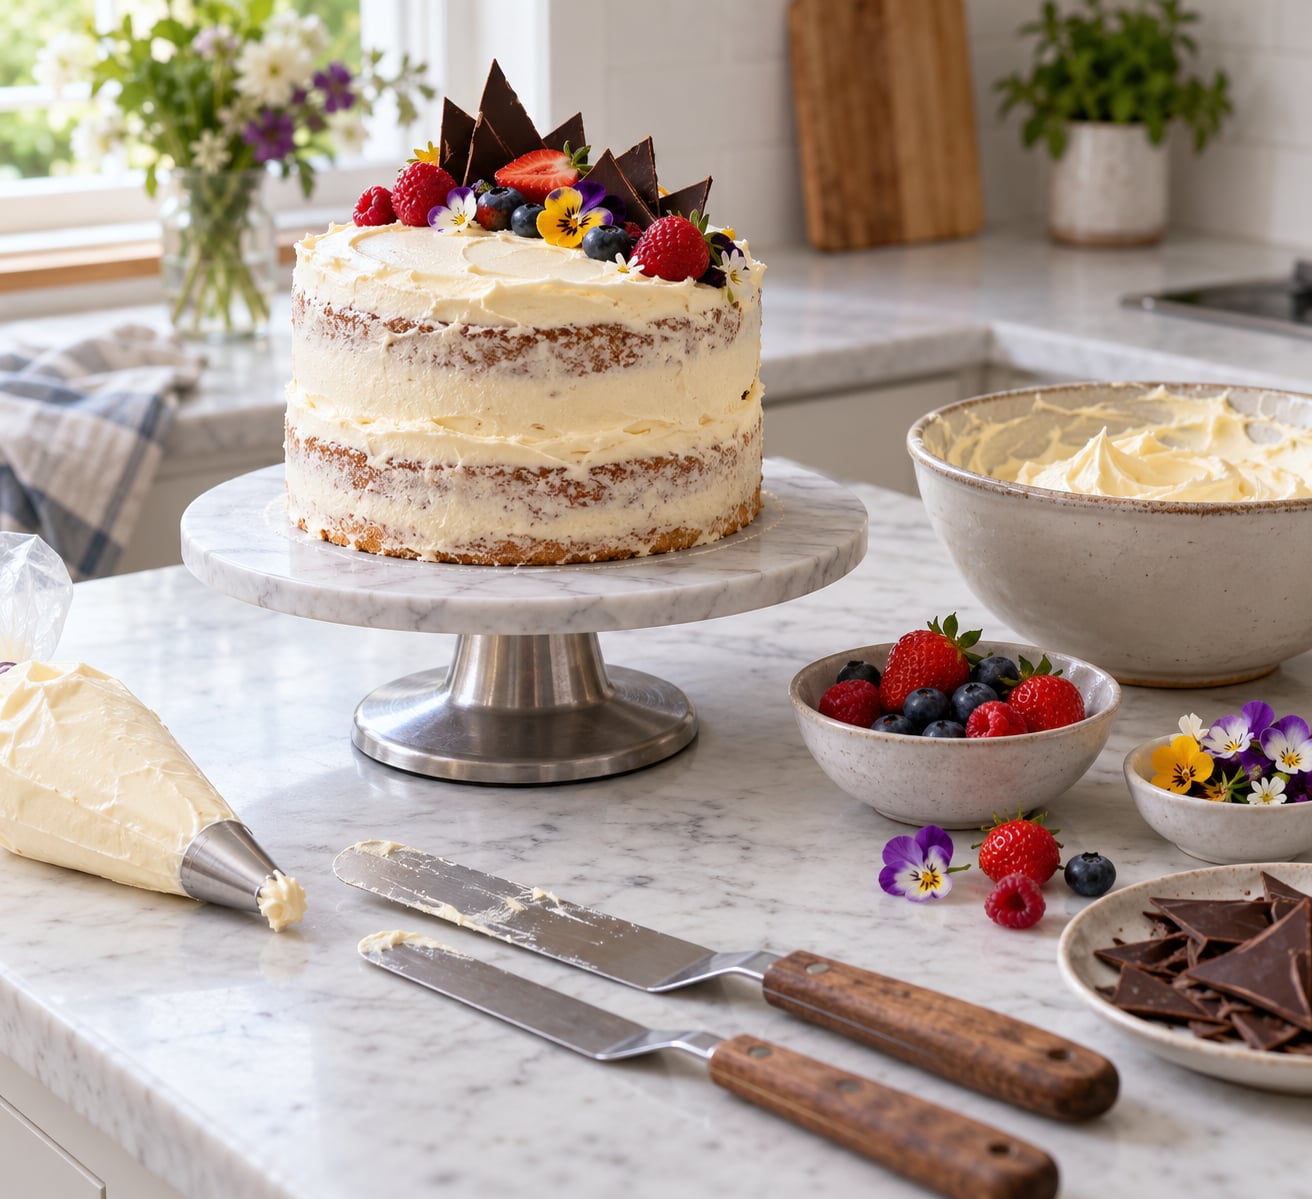
- Chocolate plaques, shards, or curls to break up a flat expanse of frosting.
- Pearl dust or edible gold luster dust to disguise small dents in buttercream.
- Fondant cutouts and appliqué panels for a semi-naked or wrapped finish.
- A cake topper or candles to pull the eye upward and away from the surface.
A safety note on non-edible pieces
Treetops, acrylic toppers, and block letters stay on the cake, so pull them off before serving and warn guests. If you use wooden dowels or skewers to hold a heavy topper upright, mark them clearly and remove every one before the cake is cut. Label anything glued with melted chocolate or royal icing as not edible too.
Step-by-Step: How to Hide Cake Imperfections with Decorations
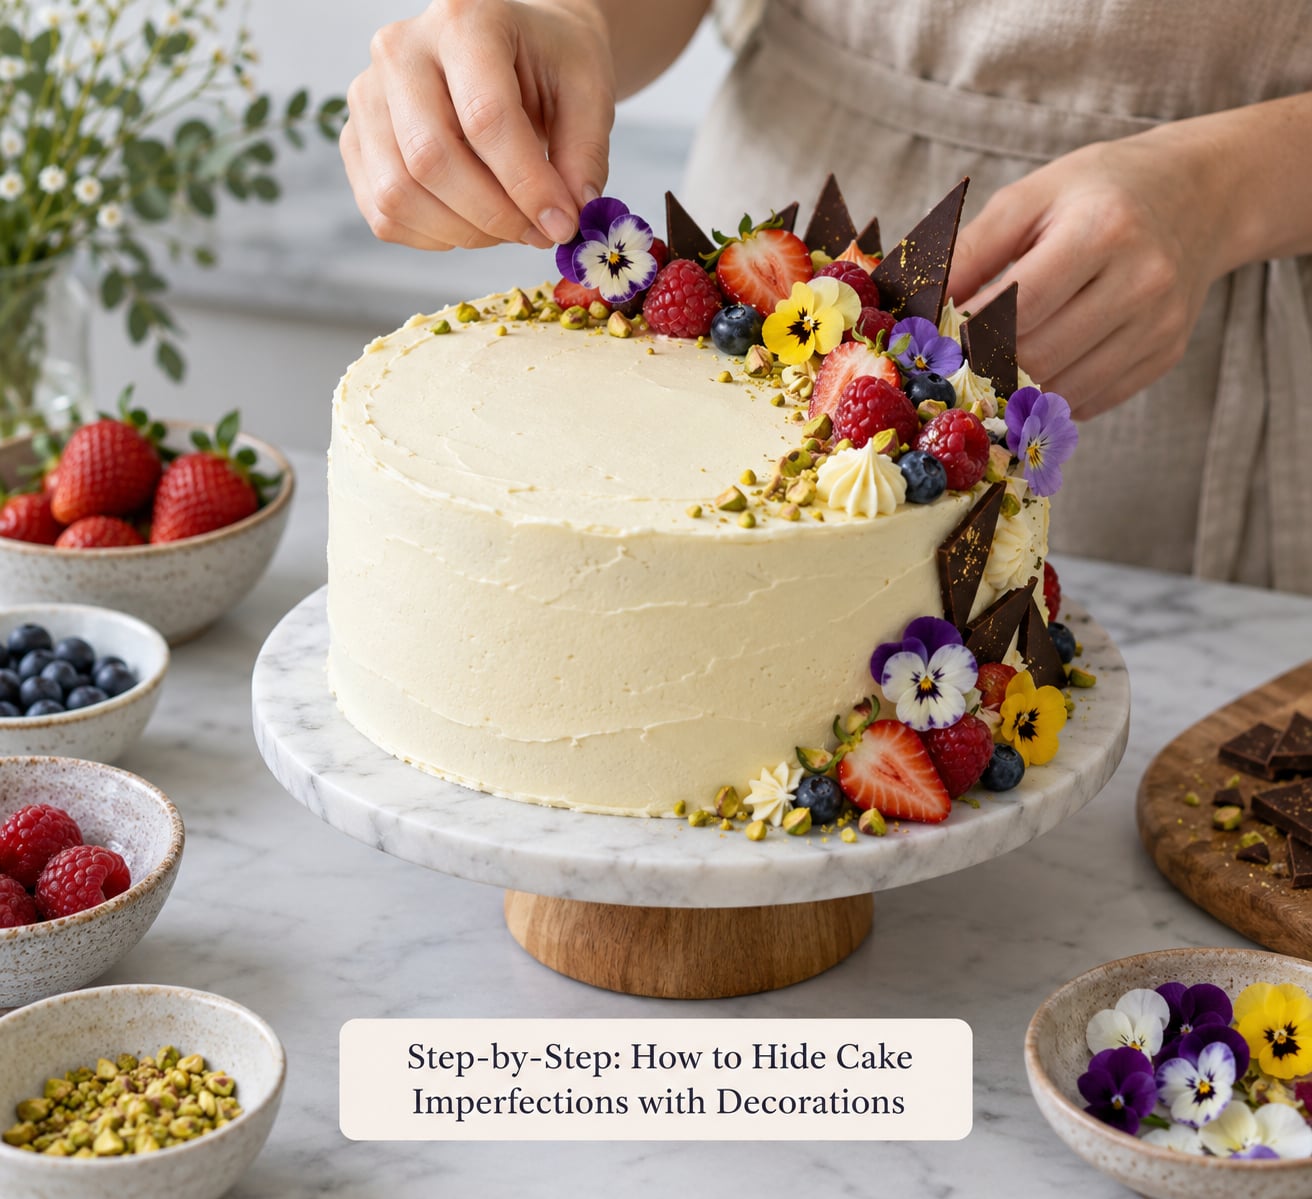
Work through these six steps in order. Each one tells you how to tell whether it actually worked, so you can stop and fix a problem instead of covering a bigger one later.
Step 1: Identify the Flaw and Choose a Decoration Strategy
Name the flaw out loud before you touch the frosting, then choose the decoration that fits it. A dome needs leveling, crumbs need a crumb coat, torn fondant needs a flower, and a sunken center needs fruit or a topper. Guessing at decorations is how a cover-up turns into a second problem.
Most cake problems fall into a handful of types: a domed top from oven spring, cracks across the surface, uneven or mismatched layers, a lopsided stack, crumbs showing through the frosting, a torn or blistered fondant skin, marks from the baking paper, or frosting that has slid or over-swirled. Each one has a matching move.
Before you decide anything, walk around the cake at eye level and look from four sides. Photograph it, then check the photo, because a tilt reads very differently in a flat image than it does on the counter. What looks alarming at three feet is usually invisible from across a room, and that is the distance that matters at a party.
Step 2: Level and Fill the Cake
Cut the dome off, then fill the gap, because a domed top cannot be hidden by anything that has to sit flat on the surface. Set the first layer on the turntable, put a pin in the deepest point, and add a toothpick or two so you can check the cut all the way around.
Trim slowly with a long serrated knife in one continuous turn, rotating the cake rather than the knife. If the layer is badly domed, take off a full inch in the middle and add a second toothpick, since the deepest cut is often deeper than it looks. Reserve the trimmings, because they become the crumbs and cookie bites you use later as decoration.
Level check: the pin should reach the surface of the cake at every angle. If it does not, keep trimming that side.
For a split layer or a layer that broke during unmolding, spread buttercream on the cut side, lay the pieces together like a puzzle, and fill the seam. For a dry crumb or a network of cracks, brush a simple syrup of equal parts sugar and water over the warm cake and let it soak in for ten minutes before the filling goes on. For a sunken center, fill the dip level with buttercream and let the layer firm up in the fridge for 20 minutes, because a soft dip will telegraph itself through the top frosting no matter how thick that frosting is.
Lopsided stack check: view the filled cake at table height. If the layers are parallel but the whole cake leans, insert a thin layer of buttercream on the heavy side to correct it before the crumb coat.
Step 3: Create a Smooth, Opaque Base
Put on a thin crumb coat, because frosting goes on crumb-free in thin layers and thicker once it is sealed. Chill first if the cake is fragile or the filling is soft.
Scoop frosting onto the top and spread it to the edges without pushing the frosting past the rim, which drags crumbs up the sides. Push the frosting outward to the edge, then down the side, then in toward the bottom, using the side of the spatula to keep the crumbs trapped. Frost the sides first, then the top.
Smooth check: run a finger lightly along the side. You should feel a continuous surface with no cool spots and no crumb holes. Photograph the cake, then chill it for 15 to 30 minutes until the frosting firms to the touch.
Now add the second, thicker layer of frosting. For a smooth finish, warm a metal spatula under hot water, wipe it dry, and turn the cake slowly on the turntable while you hold the blade against the side. The warm metal melts the frosting just enough to close the pores.
Base check: rotate the cake on the turntable. If the frosting looks the same from every angle and reflects light evenly, the base is ready. Hold the cake to a window and look for thin spots, since daylight shows gaps that a warm kitchen light hides.
Step 4: Hide Edges, Cracks, and Color Marks
Cover the trouble spots with texture and edges, since flat frosting shows every dent and flat mark. Each option below masks a specific flaw and doubles as a decoration that fits the theme.
- Smooth piping border around the top and bottom edges. It frames the cake and gives the eye a clean line to follow, which is the cheapest way to draw attention away from the middle.
- Fondant band around the base. A 2 inch strip hides an uneven bottom edge, torn fondant, and paper marks in one pass, and looks crisp on a soft buttercream finish.
- Textured buttercream worked with the back of a spoon or a star tip into shallow swoops. Texture scatters light, so dents disappear. This is a semi-naked, rustic finish, and it is the smartest option for a cake that is already uneven, because imperfection is part of the look.
- Chocolate plaques or shards pressed into the side over a scuffed area. Set them at a slight angle and vary the heights, so they read as a deliberate arrangement.
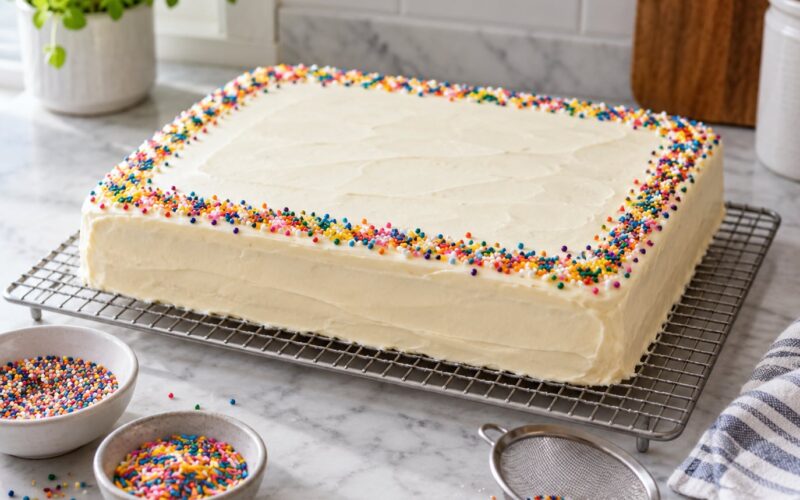
- Sprinkles or crushed cookies pressed onto the sides with your fingertips. Fill every gap, including the ones near the base, or the lower edge gives the trick away.
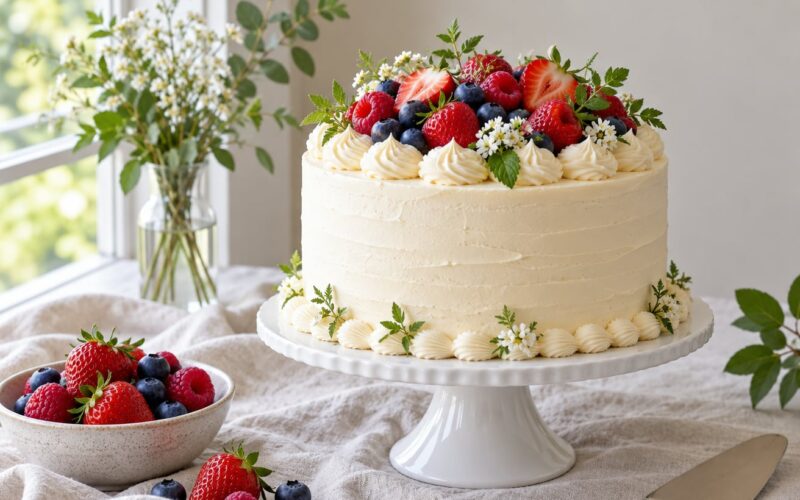
- Edible flowers or greenery clustered over a torn patch. Place the largest elements at the back so the cluster looks like it grew there rather than like a cover-up.
Edge check: run a clean finger along each covered area. If the frosting is smooth and unbroken and the decoration sits on the surface rather than balancing on it, the flaw is hidden.
Step 5: Add Height, Color, and Visual Interest
Build the decoration so the eye lands on the best part of the cake and travels away from the flaw. A centered, taller element shifts attention upward and outward, so keep heavy items near the middle and light ones near the rim.
Start with the largest element, then work down in size. Fruit goes in a loose cluster or a fan rather than a tight ring, and citrus segments or thin kiwi slices add color with no cooking. Greenery from the garden works, provided nothing is treated with pesticide and nothing is toxic to people, so avoid lily-of-the-valley and oleander entirely.
Balance check: turn the cake a full four times and look again each time. If the arrangement looks finished from every side, it is balanced. If one side looks bare from a single angle, add a small element there, and stop. Deliberate asymmetry reads as design, while a lopsided pile reads as panic.
For candles, count them and space them evenly before you light anything. An odd number of evenly spaced candles looks balanced even when the cake is not perfectly round, and the flames pull every eye in the room to the top.
Step 6: Finish with a Final Inspection
Do a last pass in good light and fix only what a guest could actually see. Chill the cake for 15 minutes to set the frosting, then lift loose crumbs off the base and the turntable with a dry pastry brush.
Repair small smudges by patting rather than smearing. Hold a clean towel to the side and press a clean offset spatula against the frosting, then lift away. A dent you fuss over for ten minutes is a dent nobody else will ever mention.
Final check: squat to table height and look across the surface, then step back three feet and look again. If the cake reads as finished at that distance, ship it. Take the photo, and do not compare it to a professionally decorated cake from a bakery case, because that is a rigged comparison.
Common Mistakes
Most ruined rescue cakes come from one of five mistakes, and each one is easy to correct on the next attempt.
Decorating over unstable frosting. If frosting slides or bulges when you press a decoration into it, the cake is too warm or the filling is too soft. Chill it for 20 minutes and try again. Presentation tip: decorate in short sessions and refrigerate between them rather than pushing through in one go.
Using too many unrelated decorations. A crowded cake with six unrelated toppings makes the eye search, and searching finds the flaw. Stick to one color family, one main element, and one supporting texture. Presentation tip: empty space is a design choice, not a gap.
Hiding one flaw while creating another. Piling frosting onto a sunken center raises the crown, and the cake then looks top-heavy and lopsided instead. Fill the dip level first, then decorate. Presentation tip: check the profile from the side, not from above, because a level side view hides a surprising amount.
Putting heavy items near the edge. Cookies and chocolate plaques balanced at the rim fall off during transport. Keep them a good inch inside the edge. Presentation tip: carry the cake on a non-slip mat inside a box with the sides barely touching, and drive slowly.
Decorating a warm cake. Warm cake melts the frosting, softens the filling, and drags crumbs through the finish. Cool every layer fully on a rack, then chill before frosting. Presentation tip: if you are short on time, a fridge or freezer does the job faster than a counter, at ten to fifteen minutes for a layer.
One more worth naming: skipping the chill entirely because you are in a hurry. A cold cake is far more forgiving than a warm one, and ten minutes of chilling saves twenty minutes of fixing frosting that slid.
Frequently Asked Questions
Can decorations hide a cake that is uneven or leaning?
Partly. Decorations can distract from a lopsided stack, and texture, drip, or a heavy topper helps, but frosting is not structural. Correct a lean by adding a thin buttercream layer on the heavy side and re-chilling, and even out layers with more filling before you frost. If the cake is split, reassemble the pieces with buttercream so the seam faces inward.
What is the best decoration to cover a crack in a cake?
A smooth, opaque frosting base, then a border or a cluster of flowers over the crack. Brush a dry surface with simple syrup first so the crack darkens less, and fill it with buttercream if it is wide enough to see. Fondant also works well because it spans a crack without following its shape. Avoid powdered sugar, which settles into every groove.
How do I hide crumbs or holes in a layer cake?
Fill holes and cracks with buttercream, then apply a thin crumb coat and chill it for 20 minutes. The second, thicker frosting layer goes on over the sealed surface, so nothing can pull through. Press cake crumbs or sprinkles into the sides of the final layer for a deliberate finish, and always frost the sides before the top.
Should I use fondant, buttercream, or ganache to cover cake imperfections?
Buttercream and ganache are the easiest to spread and to scrape smooth, so they hide shape flaws well, but buttercream dents easily under heavy toppers. Fondant gives the cleanest, most forgiving surface and stretches over uneven layers, though it takes practice to apply evenly. Choose ganache for a drip effect, and semi-naked or swooped buttercream when the cake is too uneven to look perfect anyway.
How do I choose decorations that look intentional rather than like they are hiding a mistake?
Pick one theme, two colors, and a main element, then repeat that idea across the cake instead of adding new things. Place the largest decoration slightly off center and let it anchor the design, keep the border clean and even, and leave some frosting visible. A sparse, symmetrical arrangement reads as a choice, while a crowded one reads as a problem.
Can I decorate a cake the same day I bake it?
Yes, if the layers cool completely first, which usually takes one to two hours on a rack. Frosting a warm layer melts the frosting and pulls up crumbs. If you need to speed things up, cool the layers in the fridge or freezer for 10 to 15 minutes, then frost, crumb coat, chill again, and finish. A cake frosted and served the same evening also keeps the crumb moist.
Conclusion
Start with the one flaw that bothers you most, because that is the only one your guests will ever find. Level and fill the layers, chill them, lay down a crumb coat, and add the thicker frosting layer. Then place one covering decoration exactly where the problem was, and let the rest of the cake stay simple.
Do the first thing right now: set the cake on the turntable, walk around it at eye level, and decide in one sentence what the flaw is and which decoration covers it. Twenty minutes later the cake is finished, and it is a perfectly good cake to serve in 2026.