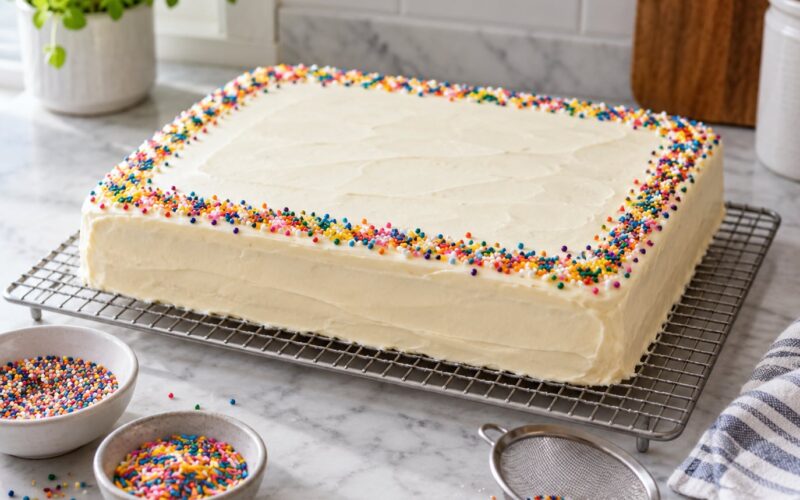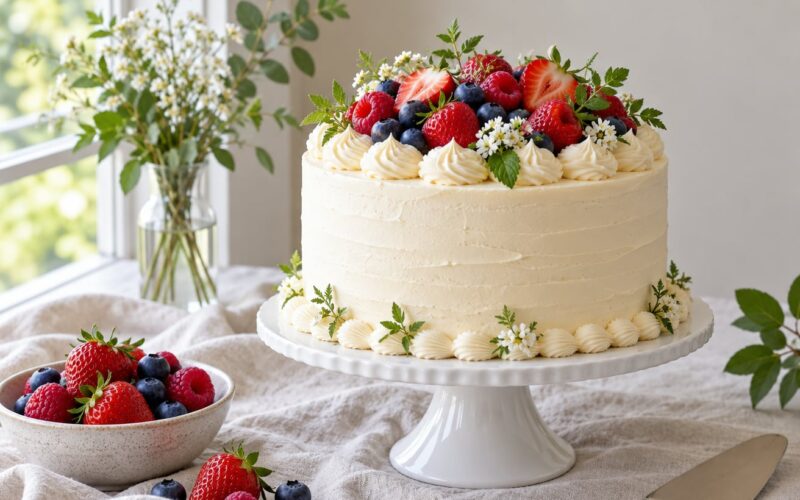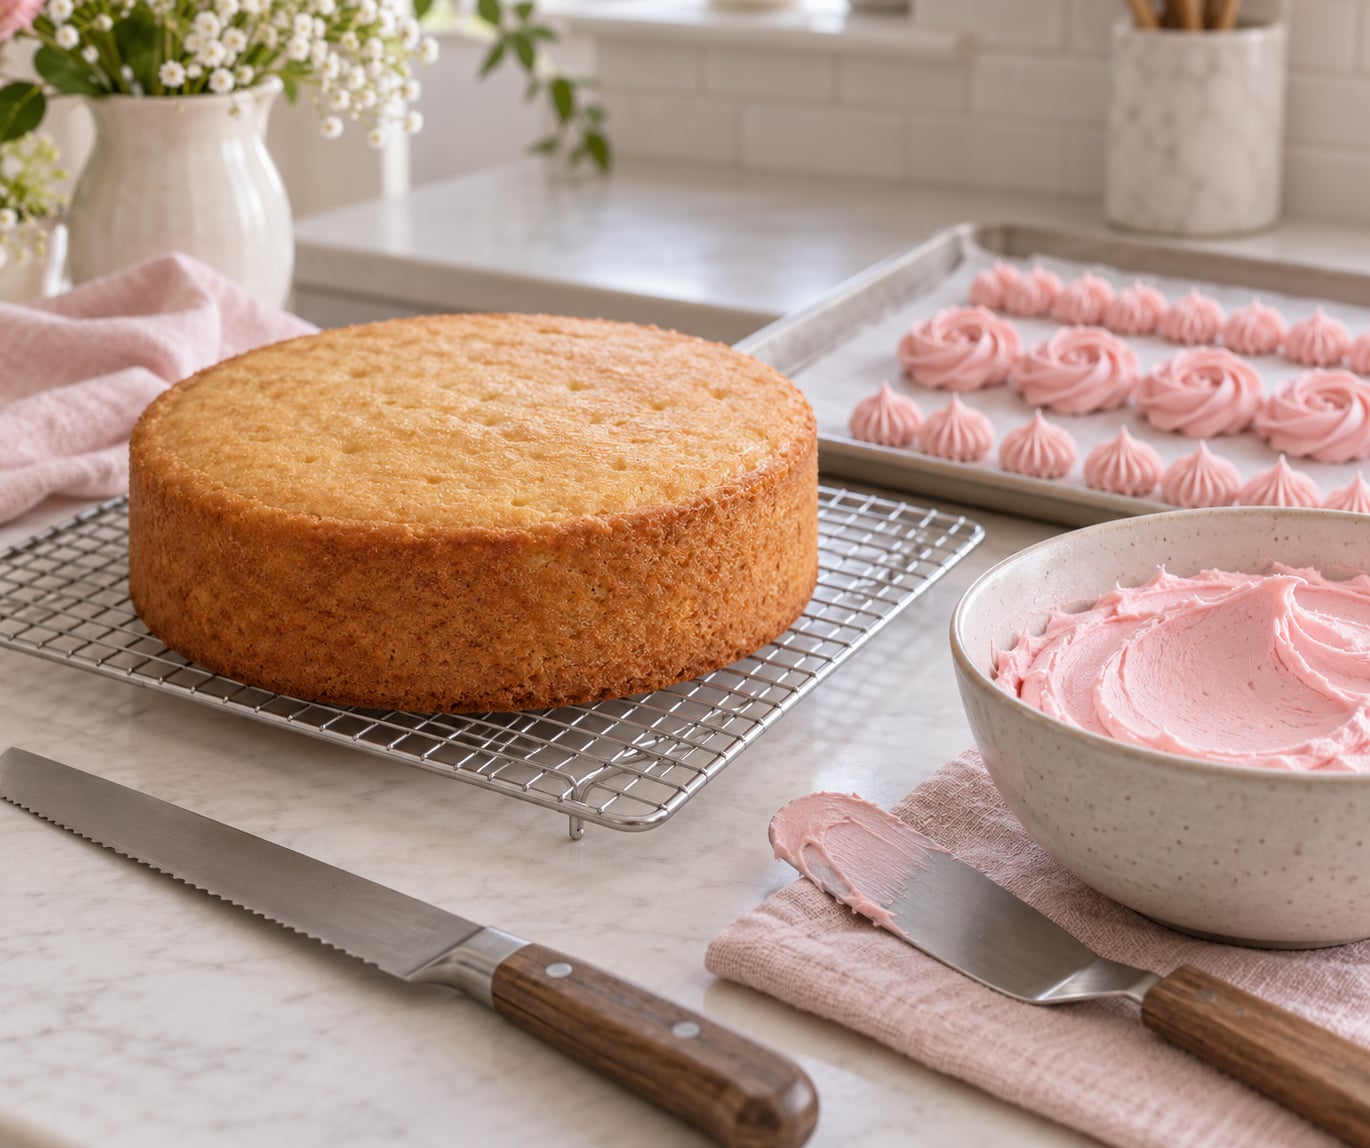
Common cake decorating mistakes are small errors repeated at almost every stage — cooling and levelling layers, filling and stacking them, crumb-coating, working buttercream, piping, applying fondant, colouring and finishing — and they leave a cake uneven, cracked, bulged, sliding or impossible to smooth. Nearly all of them trace back to four physical causes: a warm cake, the wrong frosting consistency, an unsealed surface, or an unsupported stack. Fix those four and the rest becomes practice.
This guide is written for the home baker who is decorating a birthday or celebration cake for the first time, and for the self-taught decorator moving up to tiered cakes or fondant. Every mistake below comes with the symptom you will actually see, why it happens, and a correction with numbers you can check rather than guess. Updated for 2026.
Table of Contents
- 10 Cake Decorating Mistakes to Avoid at a Glance
- 1. Starting With a Cake That Is Not Fully Cool
- 2. Using Frosting That Is Too Soft or Too Cold
- 3. Crumb Coat Too Thin or Too Thick
- 4. Skipping Proper Cake Leveling
- 5. Filling Cakes Without Stabilizing Them
- 6. Spreading Frosting Without Keeping the Surface Clean
- 7. Piping With the Wrong Tip or Technique
- 8. Adding Fillings and Decorations Too Early
- 9. Ignoring the Cake Board and Support
- 10. Decorating in a Warm or Humid Room
- How Can You Fix a Cake After Decorating It?
- Frequently Asked Questions
- What is the 1-2-3-4 cake rule?
- What do bakers brush on cakes before icing?
- Why does my buttercream cake bulge between the layers?
- What is the Wilton method of cake decorating?
- What is the easiest cake decorating style for beginners?
- Why does my fondant crack when I cover a cake?
- Conclusion
10 Cake Decorating Mistakes to Avoid at a Glance
Run this table before you start. If you can rule out each row, the cake usually comes together without a rescue job afterwards.
| Mistake | What you see | Simplest correction |
|---|---|---|
| Decorating a warm cake | Frosting melts, slides off, filling bulges out the sides | Cool 1 to 2 hours on a rack, then chill 1 hour or freeze 30 minutes |
| Frosting too soft or too cold | Sags off the spatula, or tears the cake into crumbs | Work at 65 to 70°F; warm the bowl, or add powdered sugar a spoonful at a time |
| Crumb coat too thin or too thick | Crumbs press through, or a heavy wedge forms under the top layer | Thin 1/8 inch seal, chill 20 minutes, then patch any bare spots |
| Skipping levelling | Leaning cake, frosting pooling on one side | Trim from the outer edge inward with a long serrated knife, check with a ruler |
| Unstabilised filling | Layers shift, squeeze out, or sink into each other | Fill firm, keep filling off the rim, chill the stack 30 minutes |
| Dirty spreading surface | Ridges, pulled crumbs, torn patches | Hot-water spatula reset every few strokes, thin skim coat, chill, final pass |
| Wrong piping technique | Bulbous borders, lopsided roses, spiky shells | Fill the bag half, squeeze from the thumb, keep the tip 1/2 inch off the surface |
| Decorating too early | Sweaty fondant, bleeding colours, wilted fresh fruit | Add delicate items last, refrigerate perishable fillings, store covered |
| Wrong board, no support | Cake slides, tiers tilt or topple | Board wider than the cake, non-slip mat, dowels cut to the layer height |
| Warm or humid room | Melting toppers, sticky buttercream, pale or bleeding colour | Work below 75°F, air-condition the room, chill the cake between stages |
1. Starting With a Cake That Is Not Fully Cool
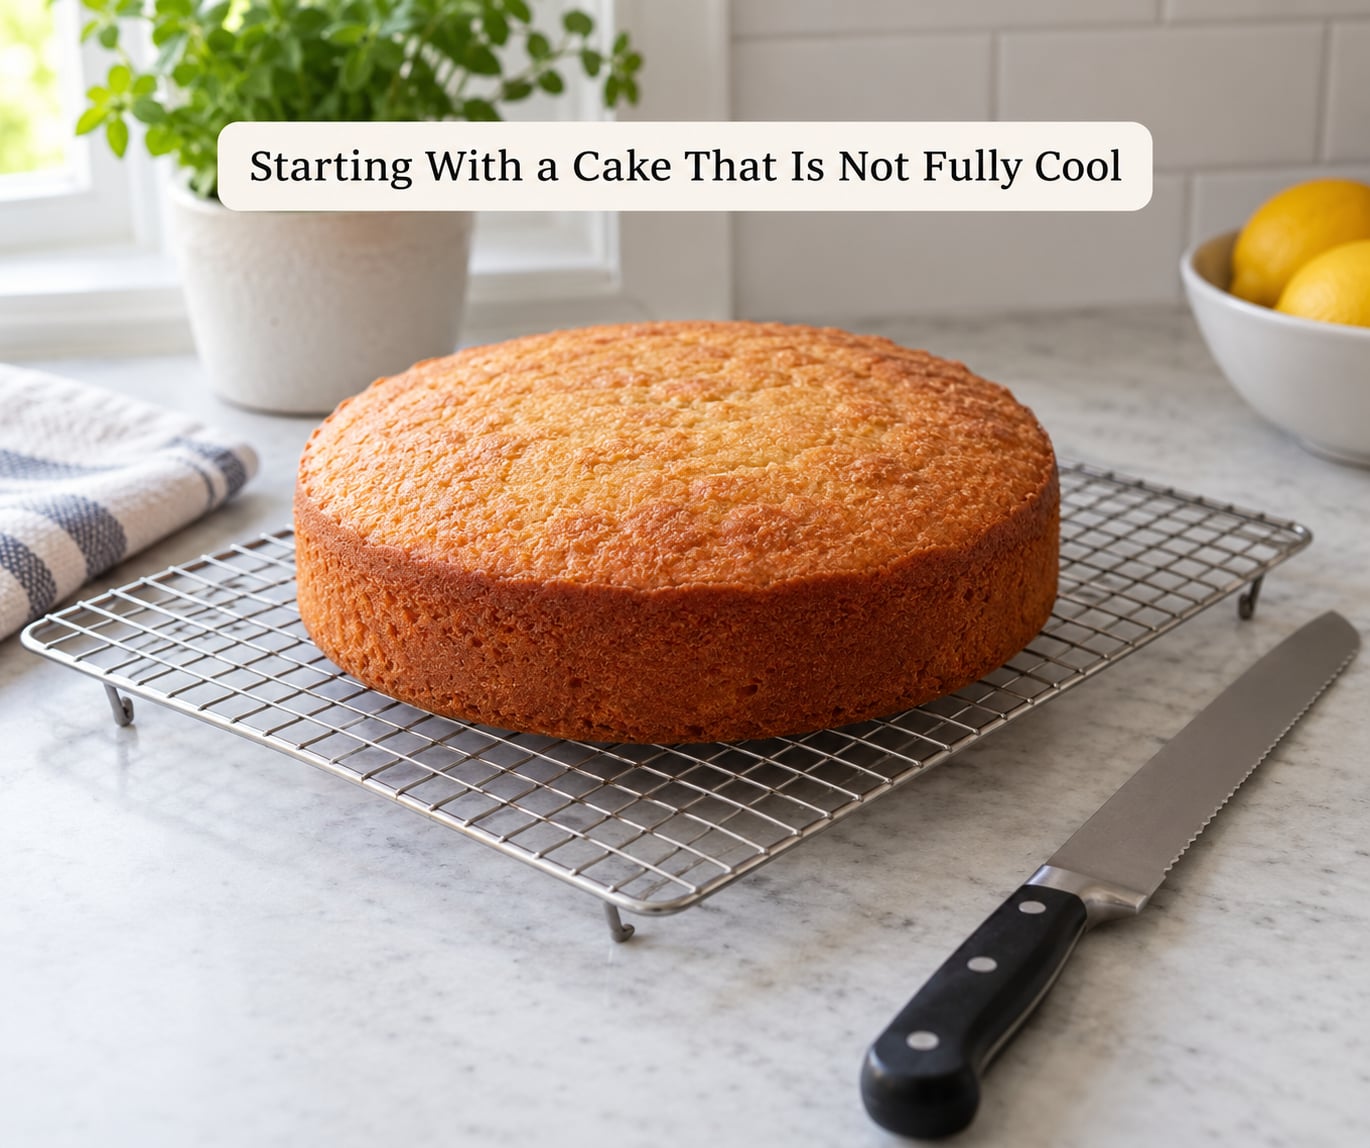
A warm cake melts frosting on contact, and melted frosting cannot be smoothed, piped or lifted. It is the single most damaging beginner error, and it is also the easiest to avoid with patience.
Why it happens: Residual heat keeps the crumb soft long after the surface feels dry to the touch. Buttercream sits at its melting point on that crumb, the filling goes slack, and each layer behaves like it is on a tilt.
How to avoid it: Let the layer cool in the pan for 10 to 15 minutes, turn it onto a wire rack, then give it 1 to 2 hours until the bottom no longer feels cool. Then chill it — 1 hour in the fridge or 30 minutes in the freezer. A chilled layer is firmer, crumbles less and gives you a much cleaner cut.
If you froze the layer, cover it while it comes back to fridge temperature. Escaping condensation on a warm surface is exactly what melts buttercream, and it is what makes fondant peel away.
2. Using Frosting That Is Too Soft or Too Cold
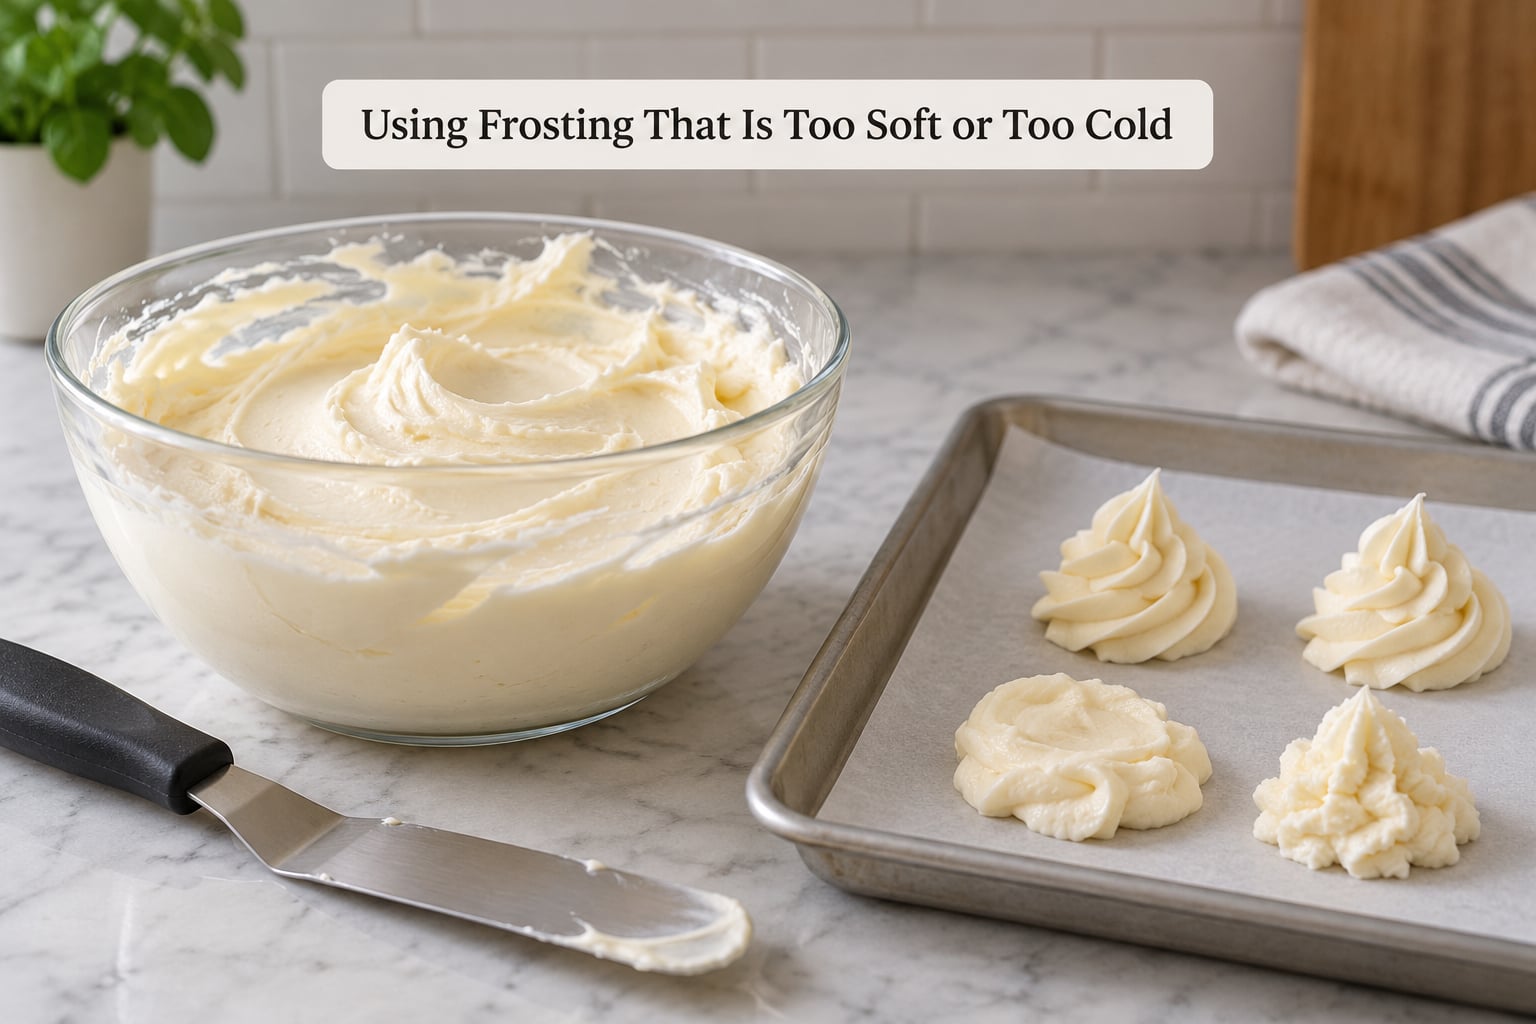
Frosting has to hold two jobs at once: spread into a smooth surface and stand up in a piped border. Too soft and it sags; too cold and it pulls the crumb into shreds.
Why it happens: Buttercream firms and softens with temperature, and kitchens swing a lot. A room at 78°F will loosen a batch that was perfect at 68°F, and a bowl straight from the fridge will tear a warm cake.
How to avoid it: Aim for a room around 65 to 70°F (18 to 21°C). Test the batch by dragging a finger through it — a clean valley that holds its shape is the consistency you want for spreading and simple borders. For stiffer work like roses or a tall tier, it should hold a sharp peak.
Too soft? A spoonful of powdered sugar at a time, then beat briefly on low. Too stiff? Hold the bowl over warm water for 15 seconds at a time and stir, rather than microwaving it, which creates hot spots and weak spots in the fat.
3. Crumb Coat Too Thin or Too Thick
The crumb coat is a thin layer whose only job is to trap crumbs and seal moisture so the final coat can be pushed and smoothed without dragging crumbs through.
Why it goes wrong: Too thin and crumbs press straight through the top coat, especially on a fragile or gluten-free crumb. Too thick and the filling has less room, so the top layer sits high and squeezes buttercream out of the seam.
How to avoid it: Spread roughly 1/8 inch of frosting — just enough to see a faint sanded texture, no bare patches. Press the top of each cake down into the filling of the one below to compress the crumb and seal it. Then chill for 20 minutes before the final coat.
Press a fingertip into the chilled crumb coat. If crumbs stick to it, the seal failed in that spot; fill it with a dab of buttercream and chill again for a few minutes.
4. Skipping Proper Cake Leveling
Even layers are the foundation of a cake that stands straight, because every millimetre of dome you leave behind becomes a slope the frosting has to fight.
Why it goes wrong: Layers dome in the oven, and bakers often try to trim them while they are still warm. A warm crumb tears under a knife and leaves a ragged edge no amount of frosting will hide.
How to avoid it: Chill first, then place the layer on a flat board with a serrated knife held low and almost flat. Start the cut on the outer edge and work toward the centre in slow, shallow strokes — never saw straight down in the middle, which leaves a wedge. Check the top with a ruler and trim the lowest point until the ruler sits flat.
Do this for every layer before the first crumb coat. A stack of four slightly uneven layers leans far more than a single one, because each small angle compounds.
5. Filling Cakes Without Stabilizing Them
Stacking fails when the filling is softer than the cake it holds, and the weight of the layers above squeezes it out of the sides.
Why it goes wrong: A runny jam, a thin pudding or a whipped ganache carries the load downhill and pushes buttercream out in a visible ridge. Warm filling on a warm layer makes it worse, which is why a bulging seam is usually a temperature problem before it is a recipe problem.
How to avoid it: Use a filling firm enough to hold a fingerprint, keep it a quarter inch back from the rim, and press the upper layer down gently. Chill the filled stack for 30 minutes before continuing. If your layers are dry or fragile, brush a light simple syrup — equal parts water and sugar, boiled and cooled — onto the crumb before filling, then add a layer of ganache or buttercream as a moisture barrier.
If the cake is gluten-free or nut-free, treat the layer as fragile. Chill or freeze it before trimming, and never fill or frost a crumb that has not firmed up.
6. Spreading Frosting Without Keeping the Surface Clean
A smooth finish comes from a clean surface between every pass, not from pressing harder.
Why it goes wrong: Every time the spatula drags over frosting that has begun to set, it catches and lifts, leaving ridges and torn crumbs. Problems also collect in the ring where the spatula drags across the turntable.
How to avoid it: Run a hot damp cloth over the turntable between layers, and keep a small bowl of hot water beside the bowl of frosting. Wipe the spatula every few strokes — heat plus a clean edge is what removes residue without tearing the base coat.
Spread with the side of the spatula held vertical, using push and pull strokes from the centre outward. Once the surface is level, skim it with a very thin coat, chill for 20 minutes, and take a final pass with a straight bench scraper. That last chill-and-scrape is the difference between homemade and professional.
7. Piping With the Wrong Tip or Technique
Piping problems are almost always pressure problems, and pressure comes from the thumb rather than the wrist.
Why it goes wrong: A full bag forces frosting out faster than the tip can shape it, so borders come out fat and lopsided. Squeezing from the palm instead of the thumb adds wobble, and holding the tip a full inch above the surface lets a blob build before the frosting lands.
How to avoid it: Fill the bag no more than halfway, twist the top closed, and hold it near the top so your hand does the pushing. Squeeze steadily from the thumb and stop the pressure completely before you lift away — that stop is what makes a clean shell or a sharp star rather than a pointed spike.
Keep the tip about half an inch above the surface for borders and closer for writing. Practise on a parchment-lined chilled tray first: three rows of shells tells you more about your consistency than staring at the bag.
8. Adding Fillings and Decorations Too Early
Decoration order decides whether a cake survives the trip from the counter to the table.
Why it goes wrong: Fresh fruit, whipped cream, chocolate toppers and delicate sugar work all respond badly to time, heat and humidity. Fondant applied over a warm or moist filling sweats and blisters, and chocolate placed in a warm room blooms and loses its shine.
How to avoid it: Work in a fixed order: board and dowels, crumb coat, filling and top layer, final buttercream, fondant or covering, then the fragile details last. Keep perishable fillings — whipped cream, custard, cream cheese, fresh fruit — refrigerated until close to serving.
Store finished cakes covered at room temperature for up to a day, or refrigerate for up to five days. Bring a refrigerated cake out about an hour before serving so the frosting firms before you cut, and let any condensation on the surface evaporate first.
9. Ignoring the Cake Board and Support
The board is not a plate. It is the structural foundation, and a cake that is bigger than its board will slide long before anyone cuts it.
Why it goes wrong: Frosting is not glue. A tall or tiered cake carries its weight downward, and layers compress at the bottom, so an unsupported stack leans and eventually collapses in transit.
How to avoid it: Choose a board at least 1 to 2 inches wider than the cake, and put a non-slip mat or a thin layer of icing between the board and the first layer. Stack tall cakes on internal dowels cut to the exact height of the layer they support, plus one central dowel through the full stack for anything over four tiers tall. Mark each dowel at the height of the cake before you cut it so the top tier sits level instead of pressing down.
Transport the cake cold, on a flat surface rather than a seat, and drive slowly around corners. Most tier topples in a car happen in the first two minutes of the trip.
10. Decorating in a Warm or Humid Room
Above about 75°F (24°C), or in humid air, every common frosting changes behaviour at once.
Why it goes wrong: Buttercream softens until borders slump and toppers slide, chocolate loses its snap and blooms, and fondant picks up moisture so it stretches, sags and refuses to hold a sharp edge. Humidity also lightens dark colours and makes pale shades bleed into each other.
How to avoid it: Check the room before you unwrap anything. Air-condition the space, close blinds, and avoid decorating near the oven or a sunny window. Chill the cake, the board and the frosting between stages, and work in short bursts so nothing sits out.
For fondant, roll and cover in a cool room, and let each piece dry before the next layer goes on. Dry to the touch but still slightly flexible, roughly 3 to 6 hours depending on thickness and humidity, before you add modelling or texturing.
How Can You Fix a Cake After Decorating It?
Most finished cakes can be saved, and the fix depends on the symptom rather than how good it looks. This covers the cake decorating mistakes to avoid next time, once the frosting is already on.
Smudged or uneven frosting: Chill the cake for 20 minutes, warm a clean offset spatula in hot water, dry it, and smooth the top with light long strokes. A bench scraper held vertical against the side fixes a lumpy edge in a single pass.
A bulging seam between layers: This is almost always soft filling under too much weight. Chill the cake fully, then run a hot knife along the seam and press the excess back in with a clean spatula. Next time, fill firmer and chill the stack before adding the next layer.
Cracks in buttercream: The coat was too cold or too stiff when it went on. Warm the remaining frosting slightly, then fill the crack with a warm spatula pass and dust with pearl dust or cocoa to disguise the line.
A slightly leaning cake: Put the whole cake, board and all, back in the fridge for an hour. Once cold it is firm enough to shave the low side down level with a serrated knife, add a fresh thin coat on that side, and chill again.
Melted chocolate or a slid topper: Lift the topper off while the cake is still cold, re-set it on parchment in the fridge for 30 minutes, then reattach with a little melted chocolate rather than buttercream. If the chocolate itself has bloomed, there is no fix — re-temper and remake that piece.
Frequently Asked Questions
What is the 1-2-3-4 cake rule?
The 1-2-3-4 cake rule is a weekend baking formula: 1 cup of liquid, 2 cups of sugar, 3 cups of flour and 4 eggs. One cup fat is often added, which makes it a rich cake rather than a sponge. It is useful for learning ratios, since the same proportions scale to any tin size. It is not a decorating rule, but a reliably even crumb makes levelling and crumb-coating much easier afterwards.
What do bakers brush on cakes before icing?
Most bakers brush a simple syrup, made by boiling equal parts water and sugar and letting it cool, onto the crumb before adding a filling or frosting. Thinned jam works the same way. The syrup adds moisture and stops a dry cake from soaking up the buttercream, and the ganache or buttercream layer on top of it acts as a moisture barrier. Apply it sparingly, or the layers get slippery.
Why does my buttercream cake bulge between the layers?
A bulge means the filling is softer than the cake and is being squeezed out by the weight above. Chill the finished cake for an hour, then run a hot knife along the seam and press the excess back with a clean spatula. Next time, use a filling firm enough to hold a fingerprint, keep it a quarter inch back from the rim, and chill the filled stack for 30 minutes before adding more weight.
What is the Wilton method of cake decorating?
The Wilton method is a structured teaching system that builds decorating skills in a fixed order: borders and star tips first, then filled and shell borders, then flowers, then modelling. The point is muscle memory in stages, so each technique is practised before it is combined. For a beginner it is genuinely the fastest way past the early plateau, because it tells you what to practise next instead of improvising.
What is the easiest cake decorating style for beginners?
Buttercream on a single flat layer with a spatula finish and a simple piped border is the easiest style to learn, because mistakes are easy to scrape off and redo. Fondant is harder: it shows every fingerprint, crack and seam, and it needs a cool room to set. Cupcakes are the best practice ground, since you can pipe fifty rows of shells without risking a whole cake.
Why does my fondant crack when I cover a cake?
Fondant cracks when it is stretched too thin or worked in a room that is too warm and dry. Knead a small piece back into the area until it is pliable again, then roll it out thicker and ease the covering over the cake with open palms rather than pulling it tight. Working below about 70°F, and letting each piece dry 3 to 6 hours before adding the next, prevents most cracking.
Conclusion
Start with the cake cool enough that your hand leaves no warmth on the crumb, roughly an hour in the fridge after it has cooled on a rack. Match the frosting to the job — spreadable for a spatula finish, stiff for piping and tall tiers. Test the structure before the details go on: even layers, a thin crumb coat, and a board with dowels if the cake is more than a few inches high. Get those three right and most of the cake decorating mistakes to avoid never come up at all.
Everything else on this list is practice. If a cake leans anyway, most of them are salvageable, and you will be smoother at fixing them than you were at decorating them.