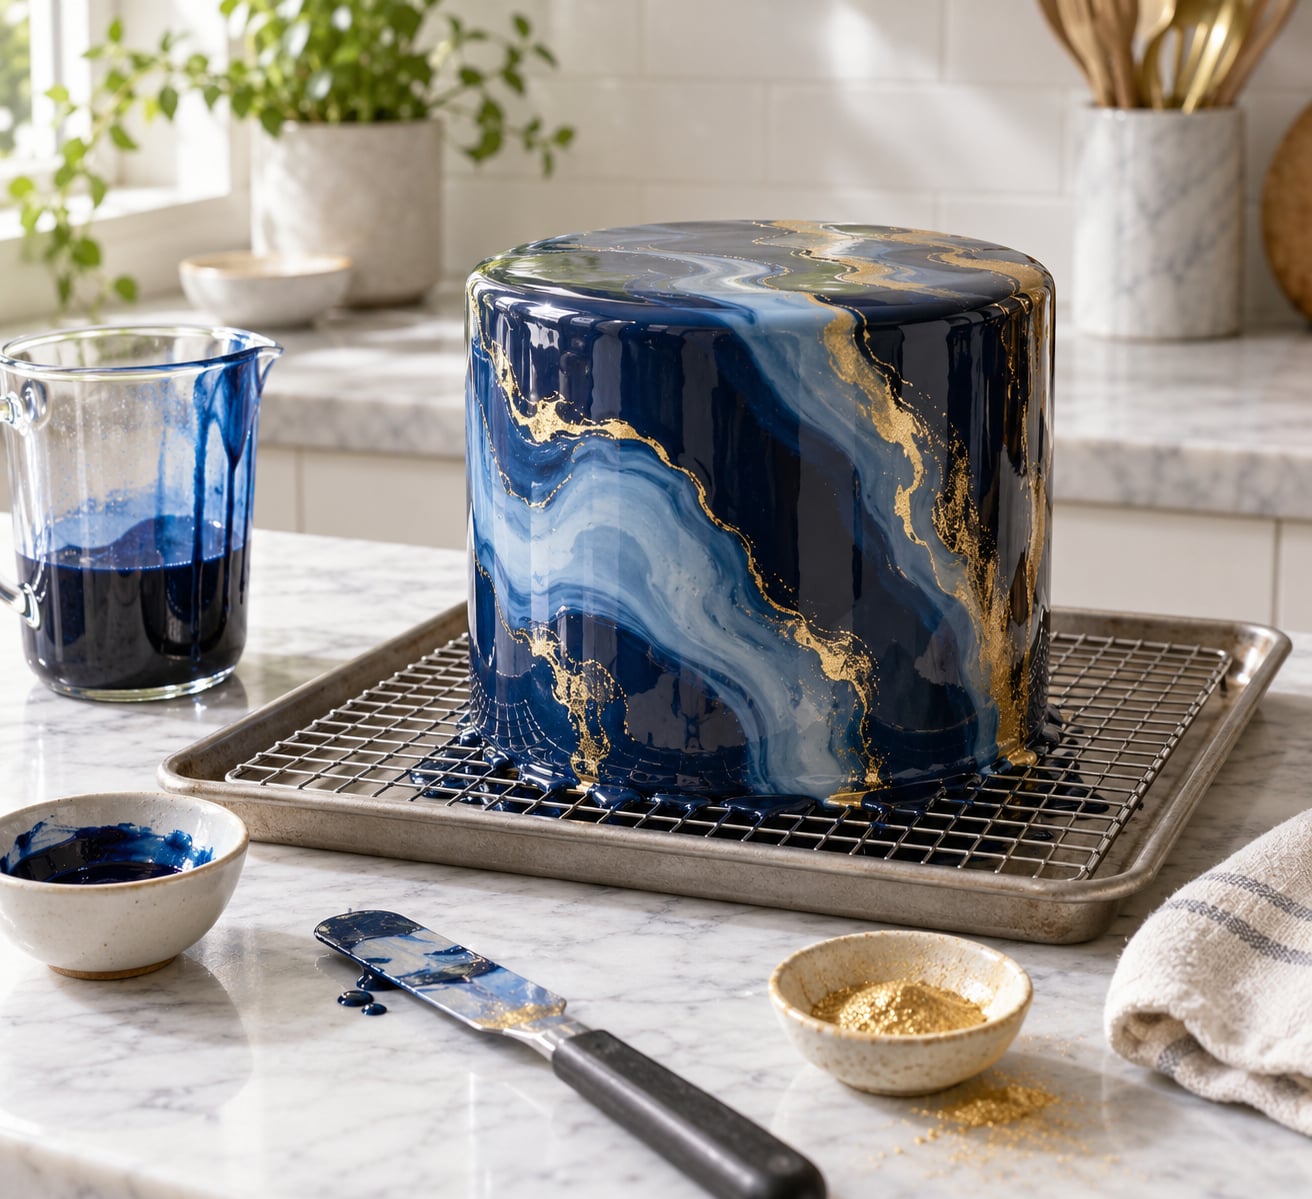
A mirror glaze cake is a frosted cake coated in a thin, glass-like shell of glaze that sets into a reflective surface — and the whole effect hangs on two things: a cake frozen solid and glaze poured at about 90°F (32°C). Get those right and you get the smooth, glassy finish you see on bakery and social-media cakes, usually in about half a day of mostly waiting time.
The technique is more temperature control than baking. This guide walks through how to make a mirror glaze cake from the layers up, then covers the fixes for the failures that trip people up most: glaze that slides off, bubbles, a dull finish, and a shell that sets like rubber.
Table of Contents
- What You Need for a Mirror Glaze Cake
- How to Make a Mirror Glaze Cake Step by Step
- 1. Prepare and Chill the Cake Layers
- 2. Make the Filling and Stack the Cake
- 3. Prepare the Mirror Glaze
- 4. Pour the Glaze Over the Cake
- How to Make a Mirror Glaze Cake Shine Without Bubbles or Runs
- 5. Set, Decorate, and Serve
- Common Mistakes and How to Fix Them
- Frequently Asked Questions
- What temperature should I pour mirror glaze over a cake at?
- What type of cake is best under a mirror glaze?
- How long does mirror glaze take to set?
- Can I make the glaze ahead of time?
- Can you freeze a mirror glaze cake after it is glazed?
- Can you make mirror glaze without gelatin?
- Conclusion
What You Need for a Mirror Glaze Cake
Three separate things go into a finished mirror glaze cake: sturdy layers, a firm filling that resists squashing, and the glaze itself. On top of that you want an immersion blender and a fine sieve — those two tools do more for the finish than any ingredient swap.
For the layers, a vanilla or almond sponge is the safest starting point because it freezes well and holds its shape. Carrot, lemon, and red velvet sponges all work once they are fully cool and crumb-coated.
For the filling, pick something that holds a sharp horizontal line when sliced: American buttercream, Swiss meringue buttercream, or a firm ganache. Whipped cream and mousse are too soft for a layer cake, though they work fine as an entremet filling inside a chilled mold.
For the glaze:
- 200 g (7 oz) real white chocolate, chopped
- 200 g (7 oz) sweetened condensed milk
- 100 g (3.5 oz) granulated sugar
- 120 ml (1/2 cup) water
- 10 g (about 2 tsp) powdered gelatin
- 1 tsp vanilla extract
- Gel food coloring in your chosen color
Each part has a job. Gelatin gives the shell its structure, condensed milk makes it opaque and forgiving, white chocolate carries the color and the sheen, and sugar plus water make the syrup that pulls the whole thing together. Without the condensed milk the glaze stays translucent, and without the chocolate it never gets that lacquered look.
Use real white chocolate, not chips or compound chocolate. Chips are sweetened with extra fat and behave differently, and compound versions contain no cocoa butter, which is exactly what gives you the reflective surface. Valrhona, Callebaut, and Ghirardelli white chocolate all work. The rule is simple: if the ingredients list says it is flavored or compound, put it back.
On equipment, an immersion blender is the difference between a smooth glaze and one full of foam. A fine mesh sieve catches the last bubbles after blending. A digital thermometer matters more than people expect — home ovens and thermometers disagree often enough that checking beats guessing. A wire rack set over a baking sheet catches the drips and lets the excess glaze run off the bottom edge instead of pooling under the cake.
If you bake for a household that avoids nuts, check the labels on your gelatin and condensed milk too. Both are common hidden sources of nut cross-contact, and the white chocolate brands vary by market.
For color, gel food coloring is the one to use. Liquid coloring adds water and thins the glaze enough to run, while gel drops hold the consistency and give you the saturated, opaque finish that reads as a true mirror.
How to Make a Mirror Glaze Cake Step by Step
1. Prepare and Chill the Cake Layers
Bake your layers a day ahead if you can. A cake that has been properly frozen behaves like a solid block: crumbs stop moving, the surface does not shed, and the glaze has something firm to grip.
Cool the layers completely on a rack before wrapping. Any trapped steam turns into condensation, and condensation makes a patchy, blotchy surface that the glaze will copy exactly.
Wrap each layer tightly in plastic wrap, then in foil, and freeze for at least 2 hours. A frozen layer is hard and evenly cold, not just cool on the outside. If you press a finger into the cake and it leaves a dent, it is not frozen enough.
2. Make the Filling and Stack the Cake
Thaw the layers just enough to handle — about 20 minutes at room temperature, or run hot water over the foil-wrapped cake briefly. Hard-frozen sponge cracks when it is flexed.
Apply a thin crumb coat, a fraction of an inch of frosting, and push it into the gaps. Pop the stack into the freezer for 15 to 20 minutes to set that coat. Skip the crumb coat and you will see crumbs floating in the glaze all the way down the sides.
Then add the final filling in an even layer and smooth the sides with an offset spatula. Check the cake is level by placing it on a flat surface and looking across the top from eye height. Fill in any dip before frosting, because a hollow spot becomes a run once the glaze hits it.
Frost the sides and top smooth. Tilt the cake and turn it while you scrape, because a straight-down pass leaves ridges. Then frost the top last, and let the whole cake sit in the freezer for another 30 minutes to firm up.
3. Prepare the Mirror Glaze
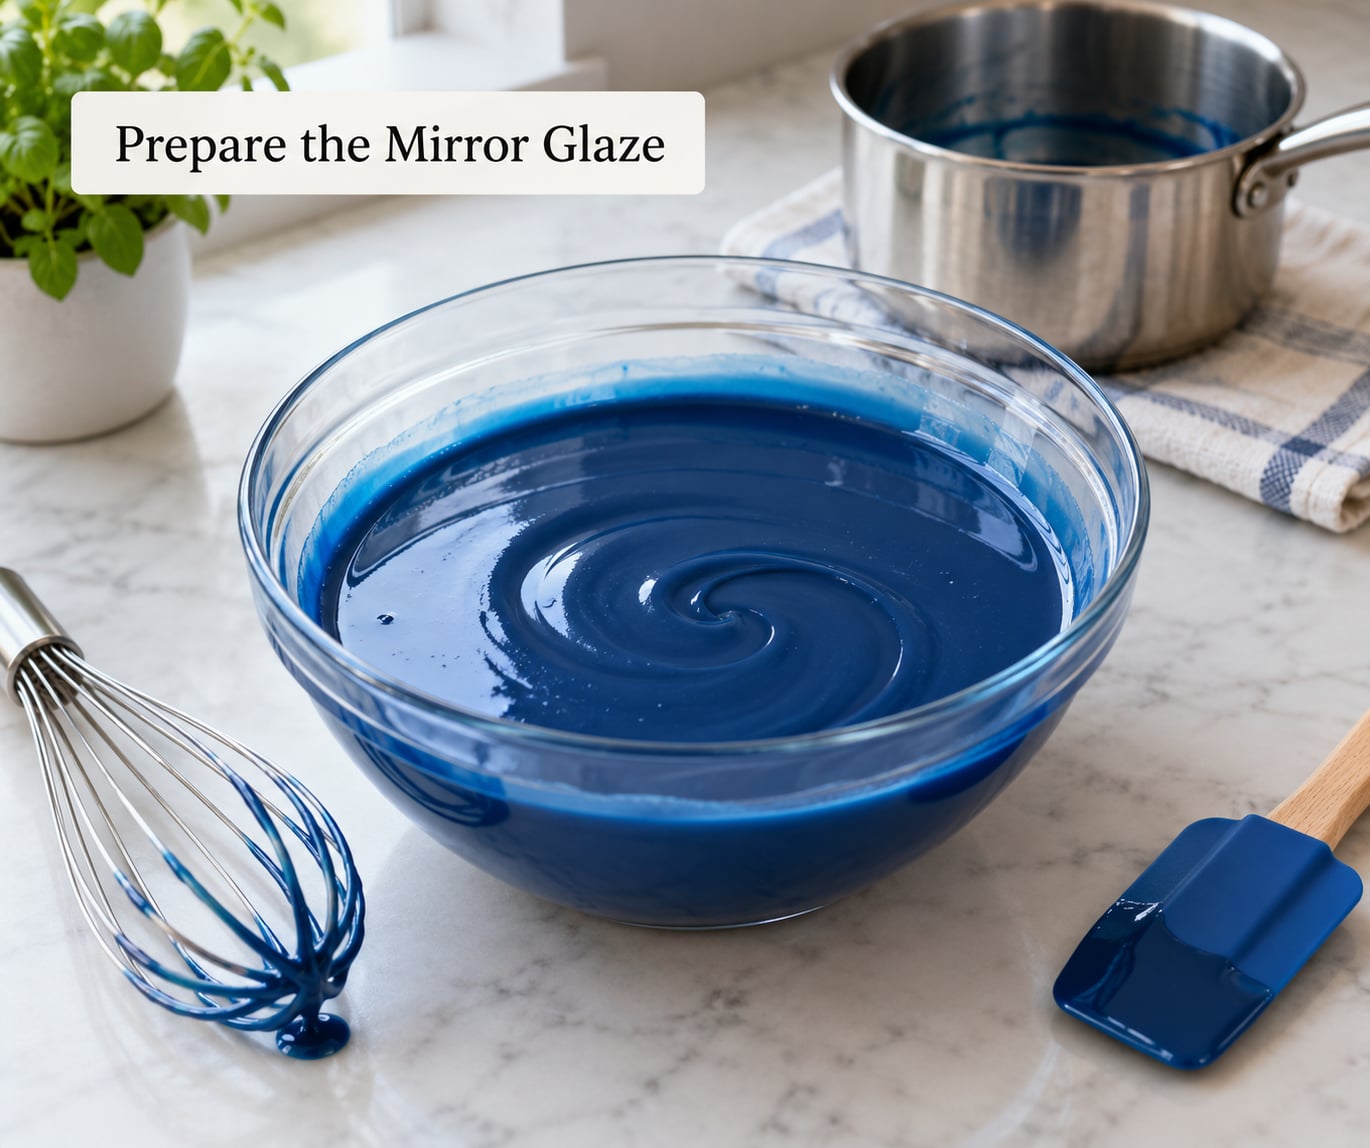
Set everything up before you heat anything. You get roughly 20 minutes of workable glaze, and you do not want to be hunting for a sieve at minute 14.
Bloom the gelatin: put 10 g powdered gelatin in a small bowl, add 60 ml cold water, and stir. Let it sit while you make the syrup. Hard water does this job too, so use cold tap water or filtered water rather than warm.
Heat the remaining 60 ml water with the 100 g sugar in a saucepan. Stir until the sugar dissolves, then let it come to a gentle simmer and hold there for 1 to 2 minutes, until it reaches about 217°F (103°C). If you have a thermometer, use it; if not, a steady simmer with no big bubbles is a close enough stand-in.
Melt the white chocolate in a heatproof bowl set over barely simmering water, stirring until smooth. Take it off the heat the moment it looks glossy.
Stir the bloomed gelatin into the hot syrup until completely dissolved, about 30 seconds. Then pour the syrup over the melted chocolate and stir from the center outward until it comes together into a smooth, glossy mixture.
Blend with the immersion blender, keeping the head fully submerged. Touching the surface pulls in air, and those air bubbles are the ones you will spend the next ten minutes popping with a toothpick.
Add the condensed milk, vanilla, and gel coloring, then blend again until the color is even and the glaze pours like thin cream. Strain it through a fine mesh sieve into a clean jug, scraping the bowl out well.
Cool to 90°F (32°C) before it touches the cake. Work within a window of 86°F to 95°F (30°C to 35°C). Above 95°F it stays too fluid and pours off the sides; below about 85°F it thickens unevenly and streaks instead of leveling. If your kitchen is warm, aim for the cool end of the window; in a cold room, the warm end.
4. Pour the Glaze Over the Cake
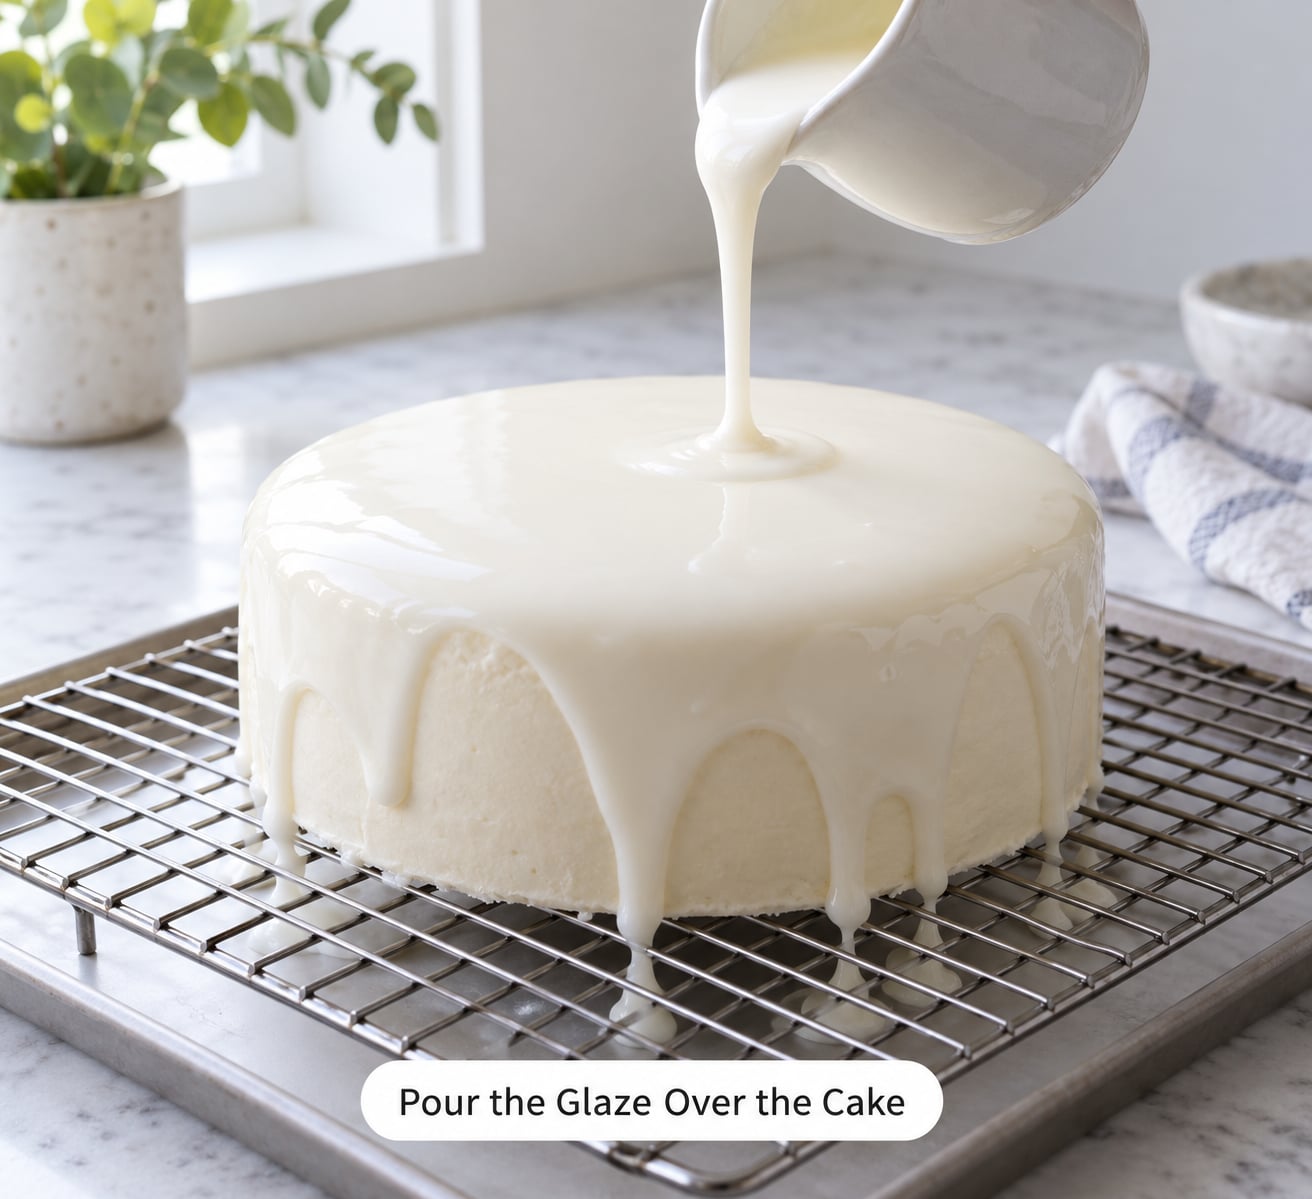
Set the wire rack over a baking sheet and put the cake on it. If your rack is flat and short, elevate it on a couple of folded towels so the bottom edge hangs free and the glaze can break cleanly rather than folding under itself.
Pour from the center in a slow spiral, moving outward. Start at the middle and let the weight of the glaze do the spreading; a wide fast pour overshoots the edge and sends a wave down the side.
Hold a hot offset spatula against the first drip and let the glaze stop itself. Each side that stops on its own is a side with an even, sharp edge.
When the drips stop, give the jug one or two more pours over the top to cover any thin spots, then wait 10 seconds. Draw a hot spatula across the top from front to back in one pass to level it. One pass leaves a clean, mirror-flat surface; several passes leave a hazy swirl.
How to Make a Mirror Glaze Cake Shine Without Bubbles or Runs
Bubbles come from three places: air beaten into the glaze, a porous cake surface, and a lazy pour. Strain the glaze twice if you have the time, keep the blender head under the surface, and freeze the cake hard enough that the glaze sets before it can move.
Runs come from pouring too warm onto a cake that is only chilled. If the cake sweats or the glaze stays liquid at the base, the glaze was above 95°F or the cake was not frozen solid.
5. Set, Decorate, and Serve
Put the cake somewhere cold and level and leave it undisturbed. The surface firms in about 20 to 30 minutes and the whole shell is fully set after 1 to 2 hours. It looks and feels solid well before the inside has reached the same firmness, so give it the full time before you move it.
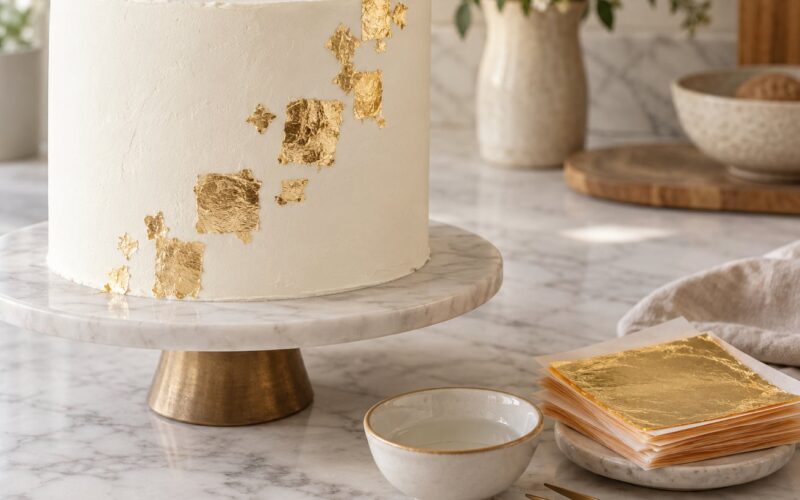
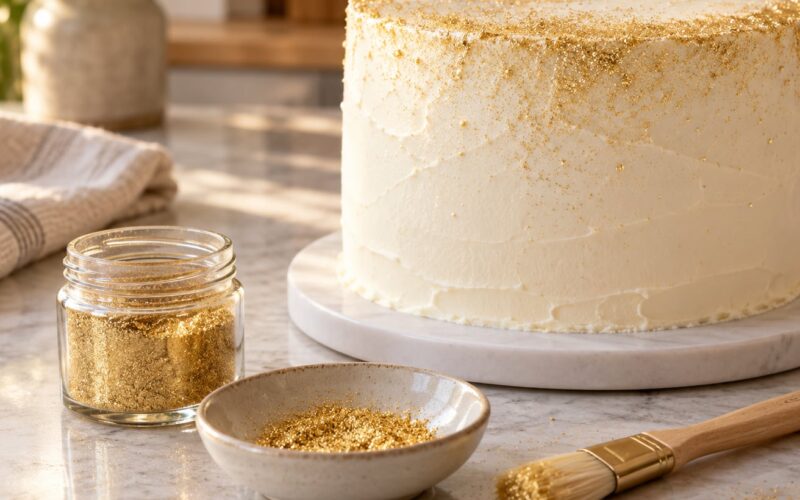
Decorate lightly. Metallic luster dust, edible gold leaf, or a few fresh berries are enough; a piping bag dragged across the top leaves permanent marks. If you want a pattern, add it while the glaze is still slightly soft and work in one direction.
The mirror finish is at its brightest within the first 24 hours. After that the condensed milk draws moisture out of the chocolate and the surface goes a little softer and less reflective. It still tastes and looks good, it just stops looking like glass.
Store the cake in a cake box in the fridge and bring it to room temperature about 30 minutes before serving. For longer storage, freeze it on a flat tray until solid, then wrap in plastic and foil. It keeps for a month, though expect the shine to be softer after thawing.
Common Mistakes and How to Fix Them
Almost every mirror glaze problem traces back to temperature, smoothness, or patience. Here are the ones people hit most, and what to do about each.
The glaze slid off and pooled under the cake. The cake was chilled rather than frozen, or the glaze was poured above 95°F (35°C). Next time freeze the finished cake for a full 2 hours and cool the glaze to 90°F (32°C) with a thermometer, not by feel.
The glaze set thick, patchy, and streaky. It was too cold when it hit the cake. Warm the jug in a bowl of warm water for a minute and repour over a fresh chilled surface. Adding more hot glaze on top of a partially set layer is the same fix, just slower.
It runs like cream and never thickens. Usually the gelatin did not dissolve, or the cake was too warm to trigger the set. A glaze that sits liquid after two hours is a gelatin problem, not a patience problem. Bloom longer next time and stir the syrup and gelatin for a full 30 seconds.
It set hard and rubbery instead of soft. Too much gelatin, or a higher-bloom powder than the recipe assumes. Plain powdered gelatin in the US usually runs 225 bloom, which is what most recipes are written for. If your box says 230 bloom, use about 10 percent less, and weigh it rather than scooping.
Air bubbles across the top. Blend with the head submerged, then push any surface bubbles to the edge with a fine needle or heat a skewer and touch each one briefly. A propane torch held a few inches away clears them faster, but keep it moving and never torch the cake itself.
The finish is dull or cloudy. Too little gel coloring, liquid coloring thinning the glaze, or a chipped coating of condensation on the frozen cake. Use gel color, and freeze the cake uncovered for the last 30 minutes so no condensation forms on the surface.
Crumbs are showing through the sides. The crumb coat was skipped or too thin. Freeze the crumb-coated stack before the final frosting, and press the frosting into the cake with a light dusting of powdered sugar on the surface instead of crumbs.
The drips stopped short and look uneven. Too much glaze, so the sides thickened before the coat was complete. Make about 2.5 cups for a tall 6-inch cake, 4 cups for an 8-inch, and 6 cups for a 10-inch, and hold back a cup in case you need a second pour.
The decorations dragged through the glaze. They went on too early. Wait for the full 1 to 2 hours, and press gold leaf or light dusting on with a dry hand rather than dragging anything across the surface.
If a batch has already gone wrong, warm it gently over a double boiler with a splash of hot water, whisk it smooth, and re-strain it. That rescues a glaze that sat too long or seized slightly. A glaze that has separated badly is beyond saving, but a slightly thick one almost always comes back.
Frequently Asked Questions
What temperature should I pour mirror glaze over a cake at?
Pour at 90°F (32°C), and stay inside a window of 86°F to 95°F (30°C to 35°C). Warmer glaze stays fluid and runs off the sides before it can set, while glaze poured too cold thickens in patches and streaks across the top instead of leveling. Check with a digital thermometer every time; a guess based on how the jug feels is wrong surprisingly often.
What type of cake is best under a mirror glaze?
Any sturdy layer cake with a smooth, non-porous surface works, and the smoothness matters more than the flavor. Vanilla or almond sponge, red velvet, and carrot cake are all reliable choices. Frost with American buttercream, Swiss meringue buttercream, or firm ganache, then do a crumb coat and freeze. Mousse and whipped cream work as fillings but are too soft for a stacked layer cake.
How long does mirror glaze take to set?
The surface firms in 20 to 30 minutes and the shell is fully set after 1 to 2 hours at cool room temperature. In a warm kitchen, budget closer to 3 hours. It feels solid before the whole layer has hardened, so move it later than feels necessary. The reflective finish is brightest within the first 24 hours and softens slightly after that.
Can I make the glaze ahead of time?
You can make the glaze a day ahead and refrigerate it, then rewarm it gently over a double boiler, stir, and strain it again before pouring. Do not boil it, and expect to add a splash of hot water since the mixture thickens as it sits. The cake itself is better made fresh: freeze the finished, frosted cake the day before and pour the next day for the cleanest surface.
Can you freeze a mirror glaze cake after it is glazed?
Yes. Once the glaze has set fully, freeze the cake on a flat tray until solid, then wrap it tightly in plastic and foil and keep it for up to a month. Thaw it in the fridge rather than on the counter so condensation does not form on the shiny surface. The glaze will be a little less reflective after freezing, so freeze the cake before glazing if you can.
Can you make mirror glaze without gelatin?
A gelatin-free version is possible using agar or a commercial setting agent, but it behaves differently and the timing changes. Agar sets from the bottom up and needs to reach a full boil to activate, so you cannot correct it once it begins to thicken. Most home bakers get more reliable results sticking with gelatin, and the flavor stays neutral either way.
Conclusion
The sequence that produces a reliable mirror glaze cake is short: freeze the filled and frosted cake until it is hard all the way through, cool the glaze to 90°F (32°C), strain out every bubble you can find, and pour once, starting at the center.
Start with the cake. Bake it, fill it with something firm, frost it smooth, and give it at least 2 hours in the freezer. Everything you do with the glaze after that is easier, because you are pouring onto a cold, sealed, even surface instead of trying to hide a soft one.
Once you have made it once, the whole thing takes about 30 minutes of active work. The rest is waiting, and waiting is the part most people try to skip.