Neat piped writing comes down to four things: a cold cake, frosting stiff enough to hold a peak, a small round tip, and steady pressure with a consistent bag angle. Get those right and the letters come out even without a steady hand or a talent for calligraphy. This guide walks through the whole process, from chilling the layers to fixing a letter you would rather scrape off, so you can see exactly what to do at each stage.
Allow about 20 minutes for a short message on a single 8-inch cake once the frosting is ready. If the cake is still warm or the frosting is soft, the writing will slump and smear no matter how carefully you pipe.
Table of Contents
- What You Need
- Step-by-Step: How to Pipe Writing on a Cake Neatly
- Step 1: Chill the Cake and Choose the Right Frosting
- Step 2: Test Your Piping Bag and Practice the Stroke
- Step 3: Mark the Layout and Plan the Message
- Step 4: Hold the Bag at a Consistent Height
- Step 5: Pipe Letters with Controlled Pressure
- Step 6: Keep the Letters Level and Evenly Spaced
- Step 7: Add Borders and Correct Mistakes
- Step 8: Finish and Store the Cake
- Common Mistakes
- Frequently Asked Questions
- What is the best piping tip for writing on a cake?
- Can I write on a cake with buttercream frosting?
- How do I fix a mistake in the writing on a cake?
- Can I practice writing on a cake without a cake?
- How do I make lettering on a cake look more professional?
- Conclusion
What You Need
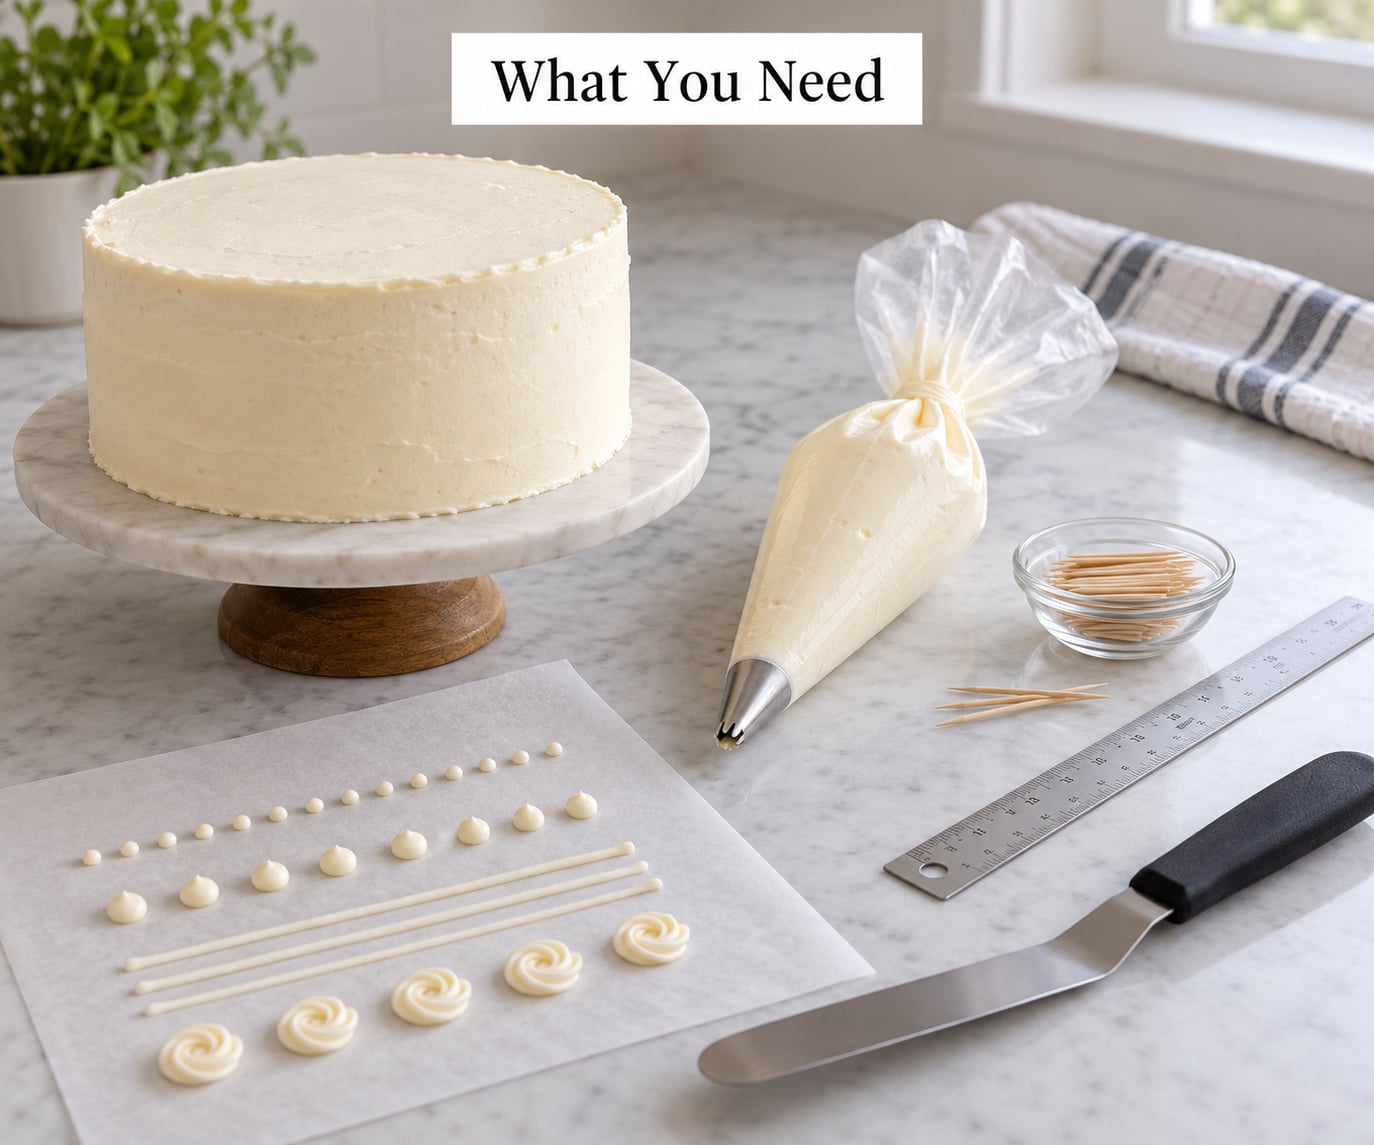
The equipment list is short, and most of it you can improvise. What you cannot improvise is a cold cake and frosting with the right stiffness.
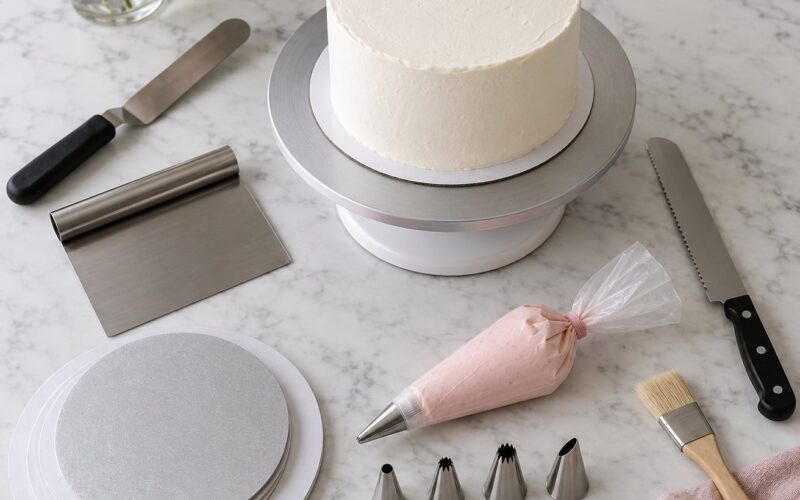
- Cake, chilled and fully frosted. A smooth crumb coat that has set in the fridge gives you a surface that does not grab the tip.
- Frosting stiff enough to hold its shape. Buttercream works, and Swiss or Italian meringue buttercream holds detail better. Thin glaze and warm ganache do not.
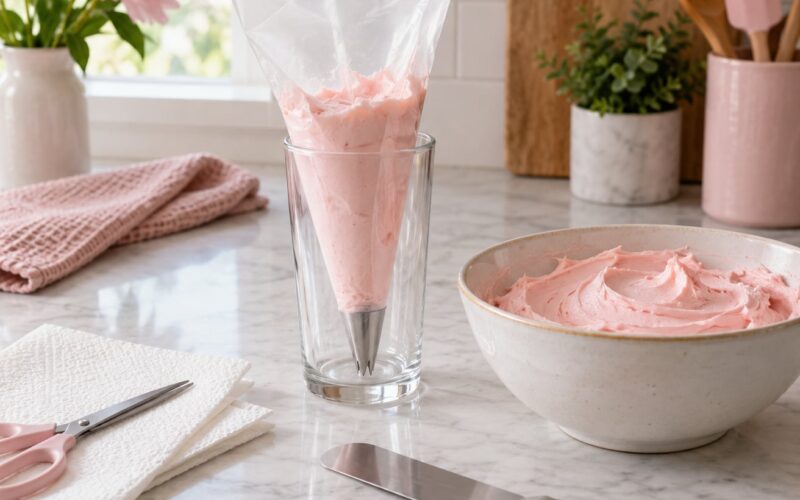
- A piping bag and a small round tip. A 12-gram disposable bag with a #2 or #3 round tip is plenty for a name or short message.
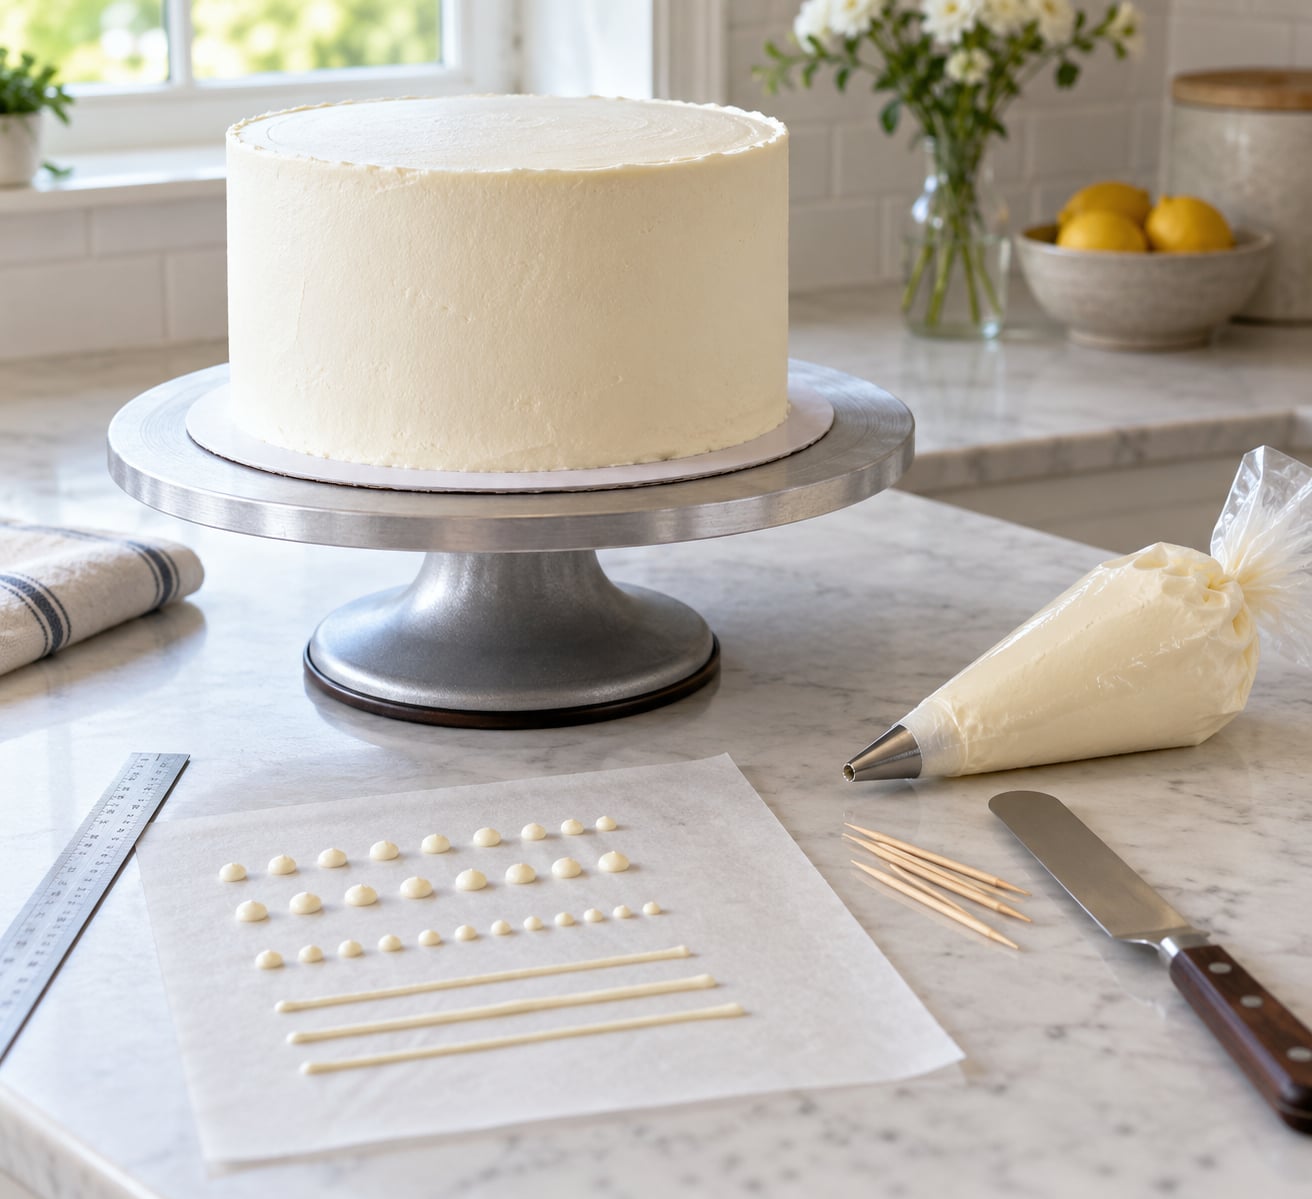
- Parchment paper or a sheet of plastic. For testing pressure and practicing strokes before you touch the cake.
- A small offset spatula. For scraping mistakes off and for lifting piped letters if you use the transfer method.
- A ruler and toothpicks. For marking a baseline and checking spacing.
- Optional: a piping coupler and second bag. Helpful if you need to refill or change colors mid-message.
On frosting stiffness, most home bakes land too soft for lettering. Stir in a little extra powdered sugar, or refrigerate the finished buttercream for 15 minutes, until a peak you lift with a spoon stands up on its own instead of drooping. If it will not hold a peak, the letters will not hold a shape either.
On tip size, thinner is usually better. A #1 tip gives fine script for a small cake, a #3 handles most birthday messages, and a #5 gives chunky block letters you can read from across a room.
| Tip number | Line width | Best for |
|---|---|---|
| #1 | Very fine | Script on cupcakes and small cookies |
| #2 | Fine | Names on 6-inch cakes, sugar cookies |
| #3 | Medium | Birthday messages on 8- to 10-inch cakes |
| #4 | Medium-wide | Block letters and single first names |
| #5 | Wide | Bold lettering seen from a distance |
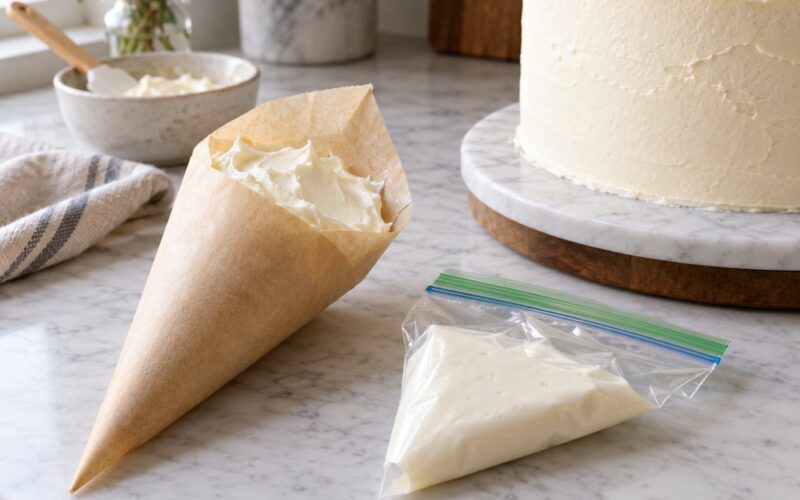
If you have no piping bag at all, fold a square of parchment into a cone, snip a small opening at the tip and pipe from that. It works, and it gives you free rein to practice.
Step-by-Step: How to Pipe Writing on a Cake Neatly
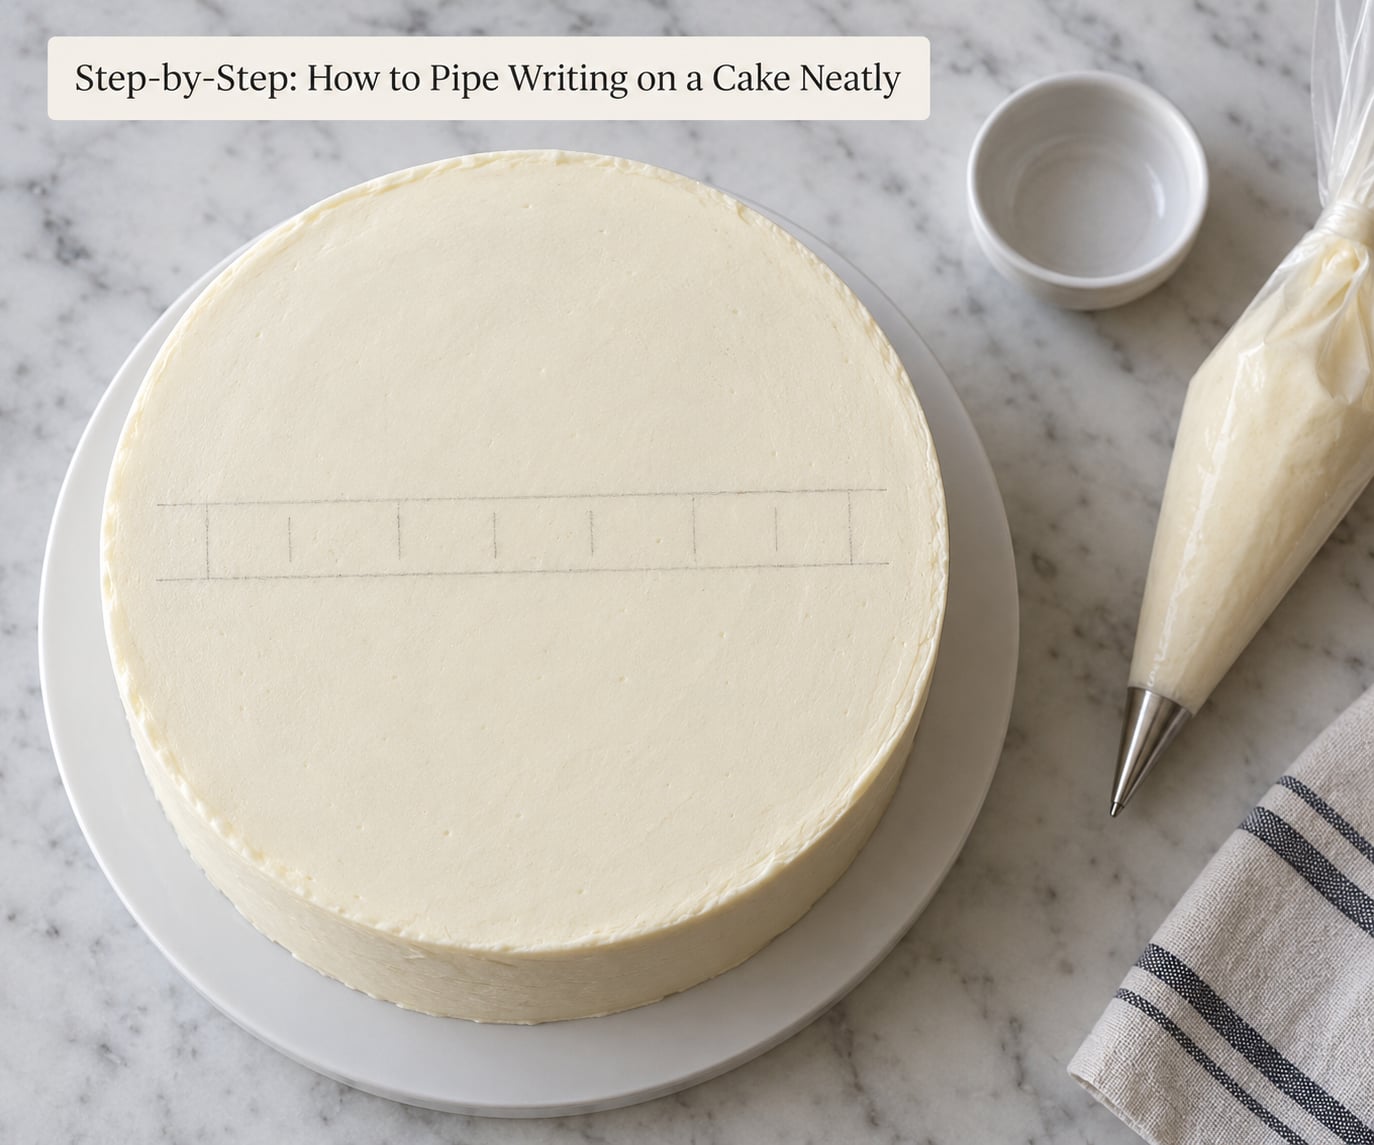
Here is the short version. Chill the cake until firm. Fill the bag about one-third full and test the flow on parchment. Mark where the message will sit. Hold the bag at roughly 45 degrees, tip hovering just above the surface. Squeeze gently and move at the same speed you squeeze. Lift the tip straight up to stop each stroke. Finish with a border or a shell, then chill the cake briefly to set the lettering before moving it.
Step 1: Chill the Cake and Choose the Right Frosting
A cold cake is the single biggest advantage you have. Buttercream that is soft enough to smear with a fingertip becomes firm in 20 to 30 minutes in the fridge, which is long enough to pipe a message and long enough for the letters to hold when you move the cake.
For the frosting, American buttercream is the most forgiving because you can adjust its stiffness on demand. Swiss or Italian meringue buttercream tastes lighter and keeps fine tips sharp, since the egg whites help the frosting hold detail. Royal icing is excellent for writing and dries hard, though beginners find it finicky to pipe because it firms quickly.
Skip soft ganache and thin glaze for now. Both slump under the weight of their own letters, which is how a clean message turns into a smudge within minutes. If ganache is your only option, pipe a thin ribbon border first and write the message above it on a surface layer that has set.
Step 2: Test Your Piping Bag and Practice the Stroke
Fill the bag about one-third full and twist the top closed. Overfilling is the most common beginner error, and it makes pressure hard to control because your whole hand is squeezing instead of your fingers.
Squeeze a short line onto parchment before you go near the cake. You are checking two things: that the frosting flows smoothly without bursting out, and that you can stop the flow. Release your grip and lift the tip straight up rather than dragging it sideways, which is what creates a tapered, clean end.
Then practice a full letter on the parchment. Twenty seconds of practice on paper is cheaper than twenty seconds of scraping frosting off a cake, and it also tells you if your tip is clogged or the bag is nearly empty.
Step 3: Mark the Layout and Plan the Message
Writing on a cake neatly is mostly a planning problem. Before the bag comes out, cut a paper template the same width as your cake and write the message on it in the size you want.
If the message does not fit on the template, it will not fit on the cake. Shorten it, use a thinner tip, or split it across two lines. That check takes thirty seconds and saves the whole cake.
On the cake itself, use toothpicks to mark the left and right edges of the message and one baseline for the bottom of the letters. Remove them as you go, or leave them in place until the message is finished and lift them out at the end.
One more habit worth picking up: write the message before you add flowers, sprinkles or anything else. Empty space in the middle of a cake is the working room you want.
Step 4: Hold the Bag at a Consistent Height
Hold the bag at roughly 45 degrees with the tip almost touching the frosting. This is the answer to the most confused question in cake lettering, because you will find sources saying vertical, others saying perpendicular. The reason 45 degrees works is that it lets the frosting flow smoothly through the tip rather than pressing straight down into the cake.
Keep the rest of your hand supported. Rest your forearm or wrist lightly on the counter or on the edge of the cake board, so your arm carries the weight rather than your fingers.
Hover the tip a couple of millimetres above the surface. Touching down drags the frosting and creates a raised lump at the start of every letter, which is one of the main reasons lettering looks lumpy rather than smooth.
Step 5: Pipe Letters with Controlled Pressure
Pressure sets the thickness of the line and speed sets how much frosting comes out. Keep both steady and the letters match each other automatically.
Squeeze with your fingers rather than your whole hand, and start each letter with a gentle push. Most beginners press harder at the start out of nerves, then ease off, which produces letters that are thick at one end and thin at the other.
Break each letter into simple movements: start, pull the line, shape the curve, stop. Downstrokes get a touch more pressure, thin strokes like the crossbar of an A or the loop of an e get almost none. The smaller the stroke, the lighter your squeeze should be.
When you finish a stroke, stop squeezing first and lift the tip straight up. Dragging the tip sideways as you release is what creates the little hooks and curls at the ends of letters.
Step 6: Keep the Letters Level and Evenly Spaced
Letters drift when the hand changes height across the message. Look at the bag, not at the tip. If you watch the tip, your hand follows its wobble, and the whole line wobbles with it.
Even spacing is really about the gap after each letter rather than the letter itself. Leave slightly more space on either side of a wide letter like a W and slightly less around a narrow one like an I. That is all kerning is, and correcting it as you pipe makes the message look intentional instead of cramped.
If letters are running together, do not squeeze harder. Slow down, lift the tip a touch higher between letters, and give each one a little more air. If letters are climbing or sagging, your baseline is off, so go back to your toothpicks before continuing.
Step 7: Add Borders and Correct Mistakes
A simple shell border around the base of the cake does more for the look of the lettering than most beginners expect. It frames the message, and it hides the lower edge of letters that sit slightly too close to the frosting.
To fix a mistake while the frosting is still soft, lift it with the offset spatula rather than smearing it. Push the spatula under the letter at a shallow angle and lift straight up. Then chill the spot briefly so the next letter does not drag through the wet patch.
If the frosting has already set, there is no erasing it. The recovery is to cover it. Pipe a small shell or star over the error, or pipe a border line straight through it, which turns a mistake into part of the design. Setting the letters on the cake afterwards, as the transfer method below describes, avoids the whole problem.
Step 8: Finish and Store the Cake
Chill the finished cake for 15 to 20 minutes to set the lettering, then move it to a serving surface. Carrying a decorated cake by the board with two hands underneath causes far less damage than carrying it by the sides.
Buttercream cakes keep at room temperature for a day or so if the room is cool, and last several days covered in the fridge. Royal icing dries hard and does not need refrigeration, though it can absorb odors from the fridge if left uncovered.
If the cake has a perishable filling such as whipped cream, custard or cream cheese frosting, keep it refrigerated and take it out about 20 minutes before serving. Frostings made with dairy or fresh fruit fall into the same category.
Common Mistakes
Almost every messy cake message comes down to pressure, temperature or planning. Here is what goes wrong, why it goes wrong, and what to change.
| Mistake | Cause | Fix |
|---|---|---|
| Letters vary in thickness | Pressure changes mid-stroke, or you slow down while squeezing | Squeeze with fingers only and keep the bag moving at the same speed you squeeze |
| Letters look lumpy at the start | The tip is pressed into the frosting as the stroke begins | Hover the tip just above the surface and start with a light push |
| Writing slides or smears | The cake or frosting is too warm | Chill for 20 to 30 minutes and re-test the frosting on a chilled plate |
| Frosting bursts out of the tip | The bag is overfilled or the tip is too small for the frosting | Fill to one-third full and step up one tip size |
| Letters crowd together | Spacing judged by eye with no guide | Mark the baseline and letter positions with toothpicks first |
| The message will not fit | No template, so the message was never measured | Write it on paper cut to the cake width before piping |
| Words drift across the cake | The hand changes height as you move along | Watch the bag instead of the tip and rest your wrist on the board |
| Stroke ends flare out | Tip dragged sideways as pressure is released | Stop squeezing first, then lift the tip straight up |
| Frosting goes warm and slack mid-message | A warm hand and warm bag against a warm kitchen | Swap to a fresh bag of chilled frosting and work in short bursts |
If you only have time for one habit, make it this: pipe the message first, before any other decoration, while the top of the cake is clean and clear.
For a same-day cake that is already frosted, work in a sequence that protects you. Chill the cake as soon as it is frosted. Test your pressure on parchment. Pipe the message before any border or flowers, since a border gives you no room to correct a drift. Then add the rest of the decoration and chill once more before moving the cake.
When you want zero pressure on the frosting itself, pipe the whole message onto parchment first, freeze it for 10 minutes so it firms, then lift each letter with the offset spatula and set it in place. You get unlimited do-overs, and the letters arrive on the cake already perfect.
Frequently Asked Questions
What is the best piping tip for writing on a cake?
A #3 round tip is the most useful all-rounder for lettering on an 8- to 10-inch cake. It gives lines thick enough to read clearly but fine enough for a name and a short message. Go smaller, #1 or #2, for script on cupcakes, sugar cookies or a small cake, and larger, #4 or #5, when you want bold block letters that can be read across a room. Whatever number you pick, test the flow on parchment first so you know how much pressure it takes.
Can I write on a cake with buttercream frosting?
Yes, and buttercream is the easiest medium for beginners. The only thing that matters is stiffness. Buttercream that will hold a peak you lift with a spoon will hold the shape of a letter; frosting that droops off the spoon will slump on the cake. If yours is soft, beat in more powdered sugar or chill the finished frosting for 15 minutes. Chill the frosted cake for 20 to 30 minutes before you pipe, and the message will set firmly.
How do I fix a mistake in the writing on a cake?
If the frosting is still soft, slide the offset spatula under the letter at a shallow angle and lift it straight up rather than smearing it, then chill that spot briefly so the next letter does not drag through it. If the frosting has already set, you cannot remove it, so cover it instead. Pipe a small shell or star over the error, or run a border line straight through it. Piping the entire message onto parchment, freezing it and setting the letters in place removes the risk to begin with.
Can I practice writing on a cake without a cake?
Yes, and you should. Parchment paper is the best practice surface because it is the same texture as a buttercream top, and the frosting peels off it easily. A zip-top bag works too, since you can squeeze the frosting out through one corner. For testing pressure and practicing the start and stop of each stroke, a chilled plate is the realistic option. Ten minutes on parchment is worth a lot more than ten minutes of scraping frosting off a finished cake.
How do I make lettering on a cake look more professional?
Three things do most of the work. First, plan the layout on paper cut to the width of your cake, because a message that fits on paper fits on the cake. Second, keep consistent pressure and watch the bag rather than the tip, which stops letters from drifting across the surface. Third, add a simple shell border to frame the message. Professional-looking lettering is usually restrained lettering rather than elaborate lettering.
Conclusion
Start by chilling the cake, then test your pressure on parchment and lay out the message on paper before the bag touches frosting. Those three things account for most of what separates clean lettering from smudged lettering.
Treat the first cake as practice. Write the message first, before any other decoration, keep the bag at about 45 degrees and give yourself permission to scrape a letter off and pipe it again. Each cake comes out steadier than the last one.