Updated October 2026
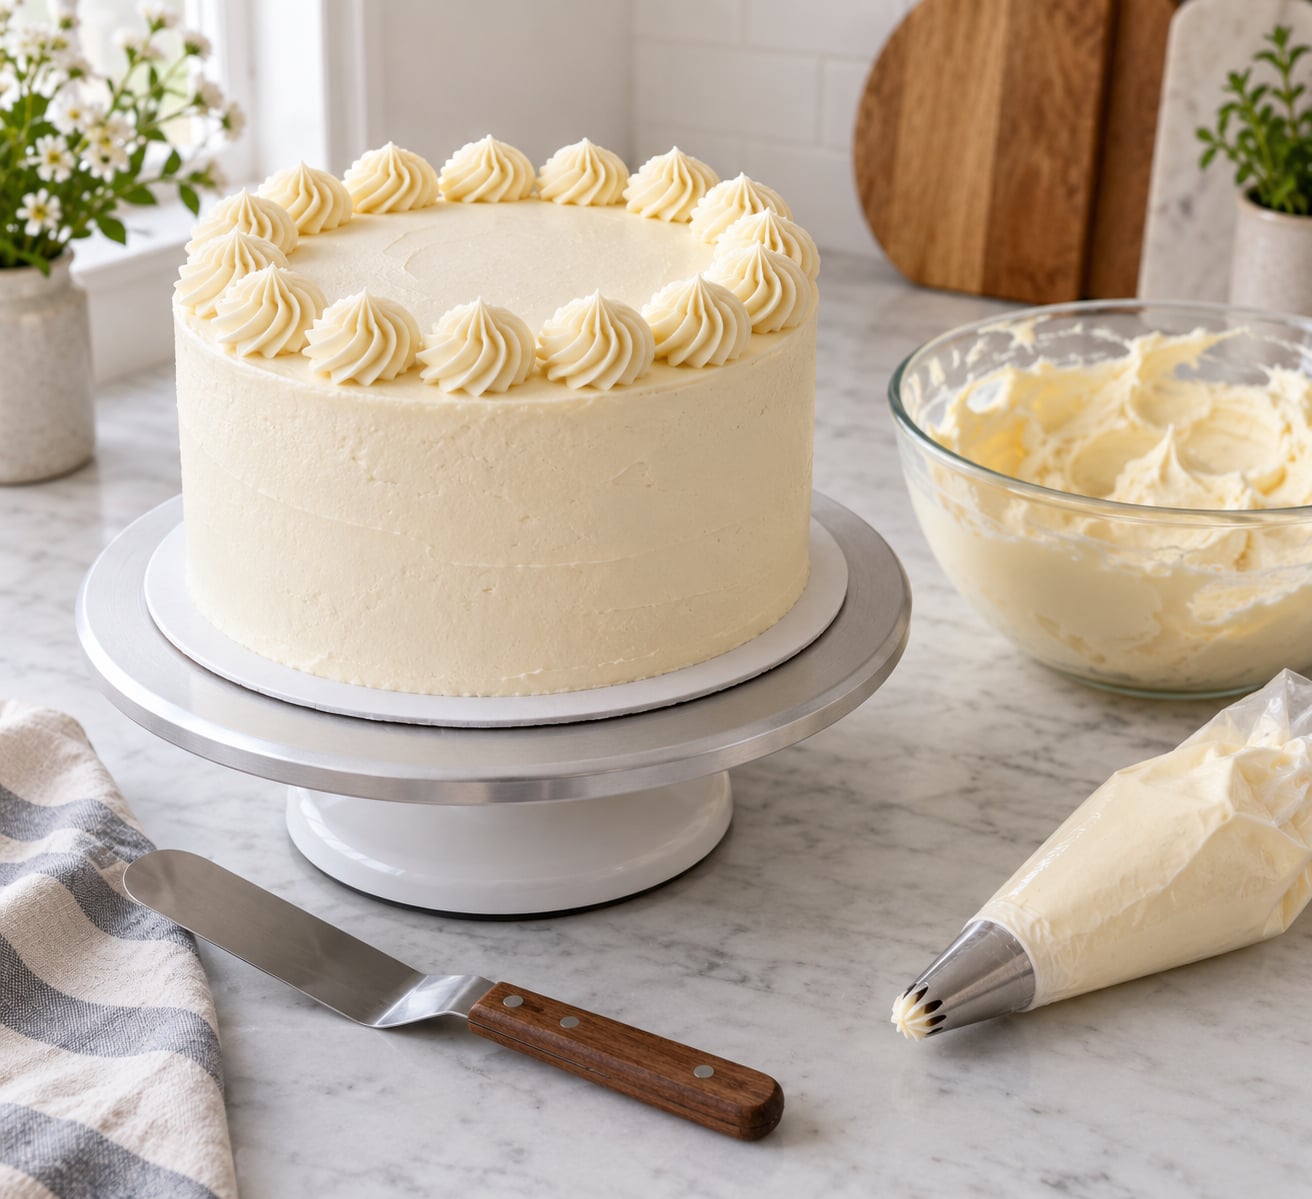
A shell border is a row of ridged, crescent-shaped puffs piped along the top or bottom edge of a cake with an open star tip. The whole effect comes from one motion repeated over and over: squeeze the frosting, release the pressure, and keep the bag moving forward so each puff curls into the next.
Learning how to pipe a shell border on a cake takes about ten minutes of practice once the frosting is right. The part that trips beginners up is rarely the technique, it is the buttercream. If the frosting is too soft the shells slump and slide off the edge, and if it is too stiff they come out small and pointed.
This guide is current for October 2026. It covers the exact consistency to aim for, the two tips that work best, how to keep the spacing honest as the turntable rotates, and what to do when a shell lands badly.
Table of Contents
- What You Need
- Step-by-Step: How to Pipe a Shell Border on a Cake
- 1. Chill the Cake and Smooth the Surface
- 2. Fill and Load the Piping Bag
- 3. Start at the Back and Anchor the First Shell
- 4. Keep the Shells Evenly Spaced
- 5. Add the Top Scallop for a Defined Border
- 6. Finish the Border and Correct Mistakes
- Common Mistakes and Easy Fixes
- Frequently Asked Questions
- What piping tip should I use for a shell border?
- How thick should my frosting be for piping shells?
- Should I pipe a shell border on a cold cake or a room-temperature one?
- How do I keep the shells touching all the way around?
- How do I join the two ends of a shell border?
- How long will a cake with a buttercream shell border keep?
- Conclusion
What You Need
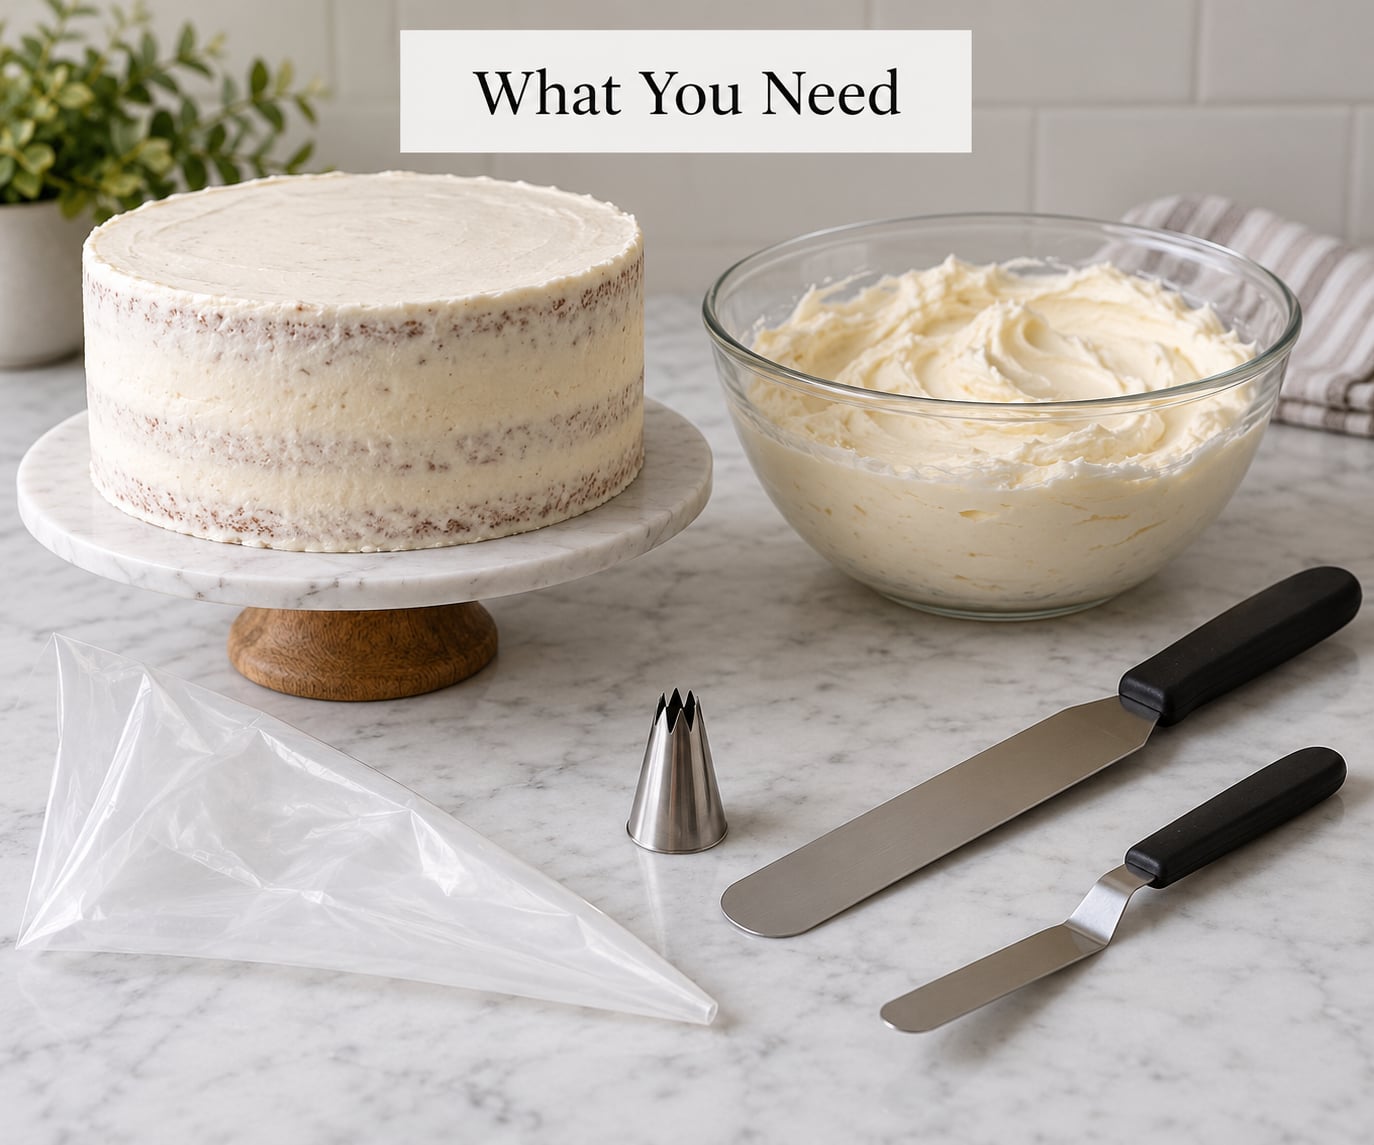
Almost every list of cake decorating supplies is overkill here. Six things matter, and three of them are about the cake rather than the frosting.
- A cake that is level, filled, crumb-coated and cold. The thin crumb coat traps crumbs and gives the frosting something to grip.
- Frosting at medium-stiff consistency. The test is simple: it should feel like smooth peanut butter or soft toothpaste, hold a soft peak when you lift the spatula, and stay put on a vertical surface.
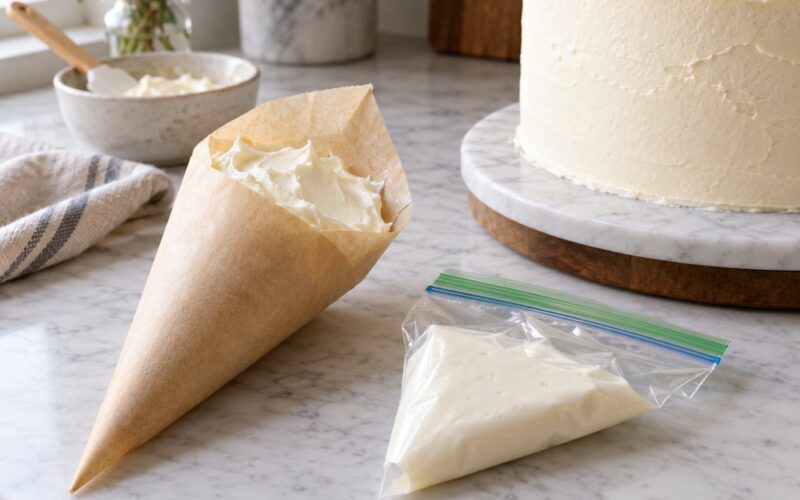
- A piping bag and coupler. A disposable plastic bag with a stand mixer paddle works fine for buttercream.
- An open star tip. Wilton 1M or 4B are the classics. A 1D gives you noticeably smaller shells.
- A small offset spatula or bench scraper for scraping away a mistake without touching the rest of the border.
- A turntable or a non-slip board. A damp tea towel under the board stops the whole thing drifting while you rotate it.
Add one optional item and your life gets easier fast: a practice board. An old cake board, a sheet of acetate or a clean piece of acrylic smeared with buttercream gives you a surface where mistakes cost nothing.
The bag matters more than most people expect. A bag that fits loosely around your hand will make you grip harder and squeeze harder, and grip is where inconsistent pressure starts. If the bag feels loose, roll the top of it down over your knuckles or use a smaller bag.
Step-by-Step: How to Pipe a Shell Border on a Cake
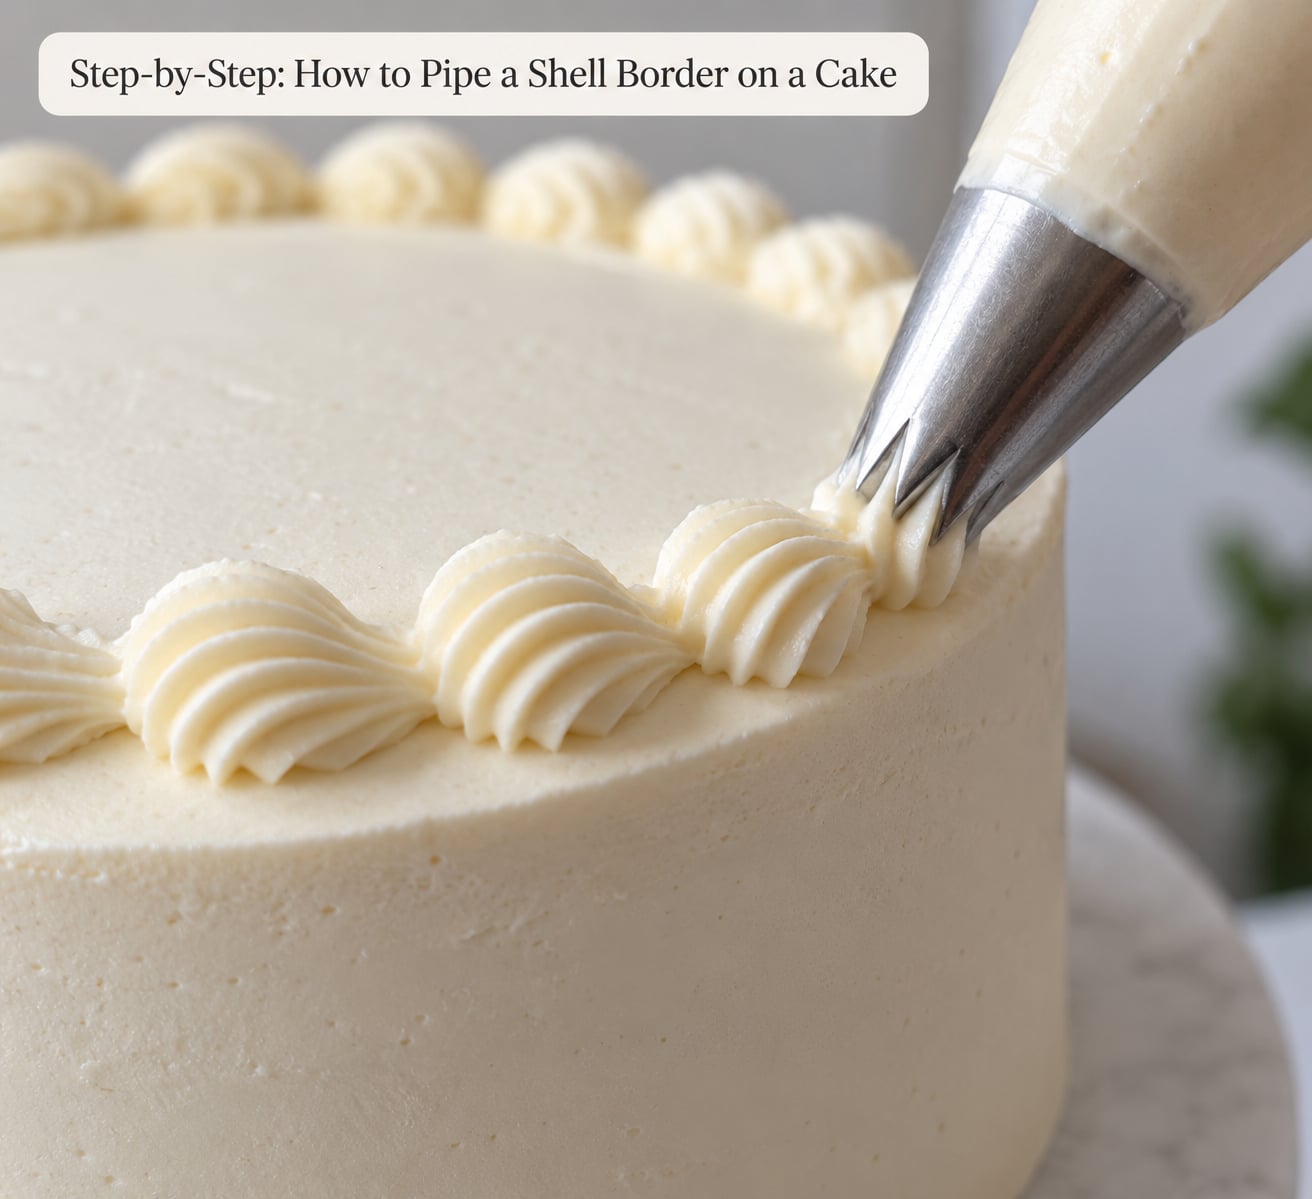
Six steps, and only one of them is difficult. Work through them in this order and the border comes out even the first time you finish a full circle.
1. Chill the Cake and Smooth the Surface
Chill the crumb-coated cake for 20 to 30 minutes until the top feels firm and slightly tacky to a clean finger. Cold frosting does not slide, and a cold cake is far easier to rotate without wobbling.
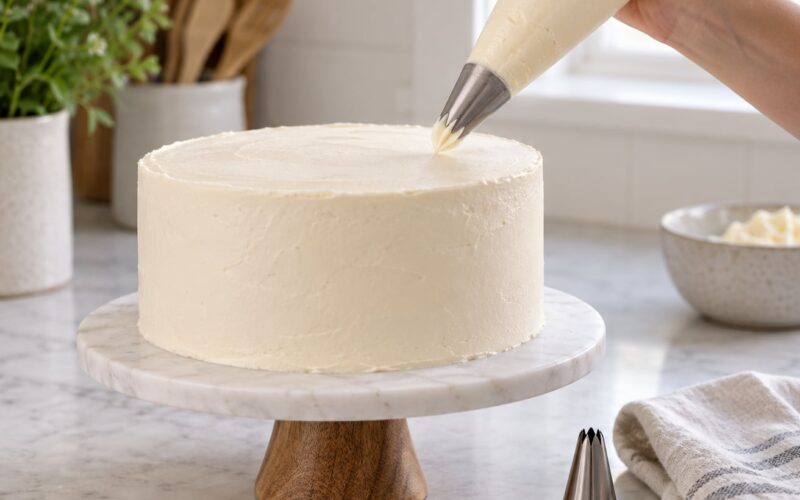
Before piping, run a heated palette knife or a sharp scraper along the top edge to define it. The ridge where the top meets the side is what the shells sit against, and a soft or uneven edge is the number one reason shells end up looking inconsistent. You are ready when the edge is sharp enough that a straight line would run from the side of the cake to the top.
2. Fill and Load the Piping Bag
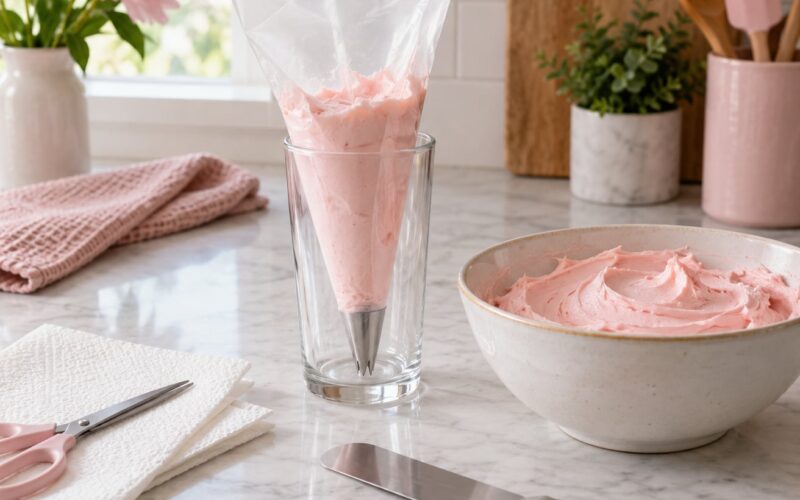
Fit the tip into the coupler, then slide the coupler into the narrow end of the bag so about half an inch of plastic shows through. Add the frosting in two or three loads, pressing it down into the corner each time, and twist the top of the bag closed.
Fill only about a third to half full. A full bag forces your hand to squeeze harder and gives you less control at the tip. Before you approach the cake, pipe three or four test shells onto the practice board. You are looking for clean, defined ridges that hold their shape once released, which means the frosting is stiff enough. If the ridges smear flat, chill the frosting for 15 minutes and test again.
3. Start at the Back and Anchor the First Shell
Always begin at the back of the cake. Whatever small join or tail you create will be at the point nobody photographs, and starting there means you never have to lift the bag over the part you just finished.
Hold the bag at roughly a 45 degree angle with the tip almost touching the cake, and keep the mouth of the bag closed in your non-piping hand so pressure only comes from your squeezing hand. Squeeze, push the bag forward and slightly upward about half an inch, then stop squeezing while you keep moving. That last part is the one beginners skip, and it is what makes the tail lay back into the shell instead of standing up like a tail.
Lift the tip straight up and back when you finish a shell. Pulling it straight up leaves a pointy top; pulling it backward at the moment you release leaves a rounded shell that fits the next one.
4. Keep the Shells Evenly Spaced
Use the previous shell as your ruler. Place each new puff so it touches the middle of the one before it, leaving a gap roughly the width of a fingertip, and rotate the turntable a few degrees after each shell. The cake edge is a consistent reference, so let the shells come to you rather than reaching across the cake.
Work in small sections of four or five shells, then stop and look. If the gap is growing, the shells have been getting smaller, which usually means your pressure is easing as your hand tires. Rest your wrist for a few seconds before continuing. On a square or rectangular cake the direction changes at each corner, so pipe one complete side, stop, rotate the cake a quarter turn and start the next side from the corner you just finished.
5. Add the Top Scallop for a Defined Border
The scallop is optional, and it is what turns a row of puffs into the classic vintage finish. As you begin each new shell, let it overlap the top edge of the previous shell by about a third, so the pair forms a continuous curved ridge.
Keep the pressure light until the shape is established. Piping a tight overlap with full pressure pushes the earlier shell sideways and can drag frosting onto the top of the cake. If you want a heavier rope or ruffle look instead of shells, change tips rather than adding pressure.
6. Finish the Border and Correct Mistakes
Stop squeezing as you approach your starting shell, ease the pressure to zero over the last inch, then lift the tip and finish the join with the small offset spatula. A tiny seam is normal and invisible on the back of the cake.
For a smudge, a slip or an oversized shell, scrape it away with the offset spatula and pipe a replacement in the gap. The replacement shell is usually slightly too big, so trim it back with the spatula a minute later once it has set. Chill the finished cake for 15 minutes before moving it, then hold it at cool room temperature until you serve it.
Common Mistakes and Easy Fixes
Nearly every problem with shell border piping comes back to one of four things: frosting consistency, hand pressure, spacing or cake temperature. Find your symptom in the list below, make the single change noted, and pipe another short section before you judge the result.
- Shells are lumpy or torn. The frosting is too soft, or not cold enough. Chill the frosting 15 minutes and test a shell on the practice board before returning to the cake.
- Shells slide off the edge. The cake is warm, or the top edge was never smoothed. Chill the cake 30 minutes and re-cut the top edge with a heated palette knife.
- Shell sizes change around the cake. Pressure changes as the hand tires, or you squeeze harder at the corners. Pipe four shells, stop, rest your wrist, then resume with the same squeeze as the first shell.
- Gaps open up between shells. You are rotating too far per shell, or the shells are shrinking. Let the previous shell land at the middle of the new one, and mark your starting point with a toothpick.
- A tail sticks up at the end of each shell. You stopped moving before you stopped squeezing. Keep the bag moving for half an inch after the pressure ends, then lift back and away.
- Shells come out tiny and pointed. The frosting is too stiff, or the bag opening is twisted too tight. Warm the frosting 10 minutes, or loosen the top of the bag.
- Shells merge into one another. The frosting is too soft, or the shells are placed far too close. Cool the frosting and leave a fingertip-width gap between each shell.
- The seam at the back is obvious. You stopped and restarted rather than easing the pressure away. Start at the back next time, and fade to zero pressure over the final inch.
A drill beats a decorated cake every time. Pick five shells, pipe them on the practice board, check the spacing with a ruler, and only return to the cake when the row looks even. Once that feels easy, pipe a full circle without stopping. That single uninterrupted circle is the skill, and everything else is a variation on it.
Store the finished cake covered in the refrigerator if your kitchen is warm, since buttercream softens near room temperature, and take it out about 20 minutes before serving so the frosting firms slightly and the ridges sharpen.
Frequently Asked Questions
What piping tip should I use for a shell border?
A Wilton 1M open star tip is the classic choice, and a 4B gives you a slightly smaller, neater shell. Both produce the ridged crescent shape. Use a 1D for a daintier border on a small cake, and avoid closed star tips, which leave a smooth surface with no ridges.
How thick should my frosting be for piping shells?
Medium-stiff, or soft peaks. The frosting should feel like smooth peanut butter or soft toothpaste, hold its shape on a spoon, and not droop off the edge of the bowl. Softer frosting gives lumpy, torn shells that slide off the cake. Stiffer frosting gives small, pointed shells that will not overlap.
Should I pipe a shell border on a cold cake or a room-temperature one?
Cold, every time. Chill the crumb-coated cake for 20 to 30 minutes so the frosting grips and the cake does not wobble as you rotate the turntable. Room-temperature cakes let warm frosting soften, which is why shells slump, drag and slide toward the bottom of the side.
How do I keep the shells touching all the way around?
Let each shell land at the middle of the one before it, then rotate the turntable only a few degrees and bring the cake to you. Mark your starting point with a toothpick so you can see how far you have come, and rest your wrist every four or five shells, because tired hands squeeze lighter.
How do I join the two ends of a shell border?
Start at the back of the cake and pipe in one continuous direction. As you approach the first shell, ease the pressure to zero over the last inch so the frosting tapers off instead of stopping dead, then lift the tip and smooth the join with a small offset spatula. On square cakes, finish one whole side before turning to the next.
How long will a cake with a buttercream shell border keep?
A frosted layer cake keeps in the refrigerator for about 4 to 5 days, covered, and the piped shells stay crisp the whole time. Buttercream is not suitable for freezing, since the fat separates and the ridges go soft. Bring the cake out about 20 minutes before serving so the frosting firms slightly.
Conclusion
Start by chilling the crumb-coated cake, then test a few shells on the practice board to confirm the frosting holds its ridges. Fit a 1M or 4B open star tip, pipe the first shell at the back of the cake, and let each new puff land in the middle of the one before it.
Small, repeated motions are what make an even border. Once one full circle comes out clean, the same hand control carries straight to ropes, ruffles and flowers.