To pipe flowers with a piping tip, load stiff-consistency buttercream or royal icing into a bag fitted with a petal tip, then pipe onto a flower nail lined with parchment: build a small cone in the centre first, and add overlapping petals around it in a spiral. A #104 petal tip makes classic roses and ruffled blooms, while a #102 is a good first tip for daisies and simple five-petal flowers.
Most beginner flowers fail for one of two reasons, and neither one is talent. Either the icing was too soft to hold its shape once your hand moved on, or the centre cone was skipped and the petals have nothing to sit on. Get those two right and you can make the same flower twenty times.
A full session takes about fifteen minutes of setup and twenty minutes of piping, and it is easier than it looks from the outside. The technique is a squeeze, a lift, and a turn of the wrist repeated in a circle. Everything below breaks that loop down so you can practice one piece at a time.
Table of Contents
- What You Need
- Step-by-Step: How to Use Piping Tips to Make Flowers
- Step 1: Choose a Piping Tip for the Flower Shape
- Step 2: Prepare the Frosting
- Step 3: Load and Control the Piping Bag
- Step 4: Pipe the First Layer of Petals
- Step 5: Build Height and Add Inner Layers
- Step 6: Finish the Flower Center
- Step 7: Adjust, Clean, and Repeat
- Common Mistakes
- Frequently Asked Questions
- What is the easiest piping tip for making flowers?
- Can I make flowers with regular buttercream frosting?
- How do I keep piped flower petals from looking flat or messy?
- What piping tip should I use for small flowers?
- How do I fix a flower that came out uneven?
- Can piping flowers be made ahead of time?
- Conclusion
What You Need
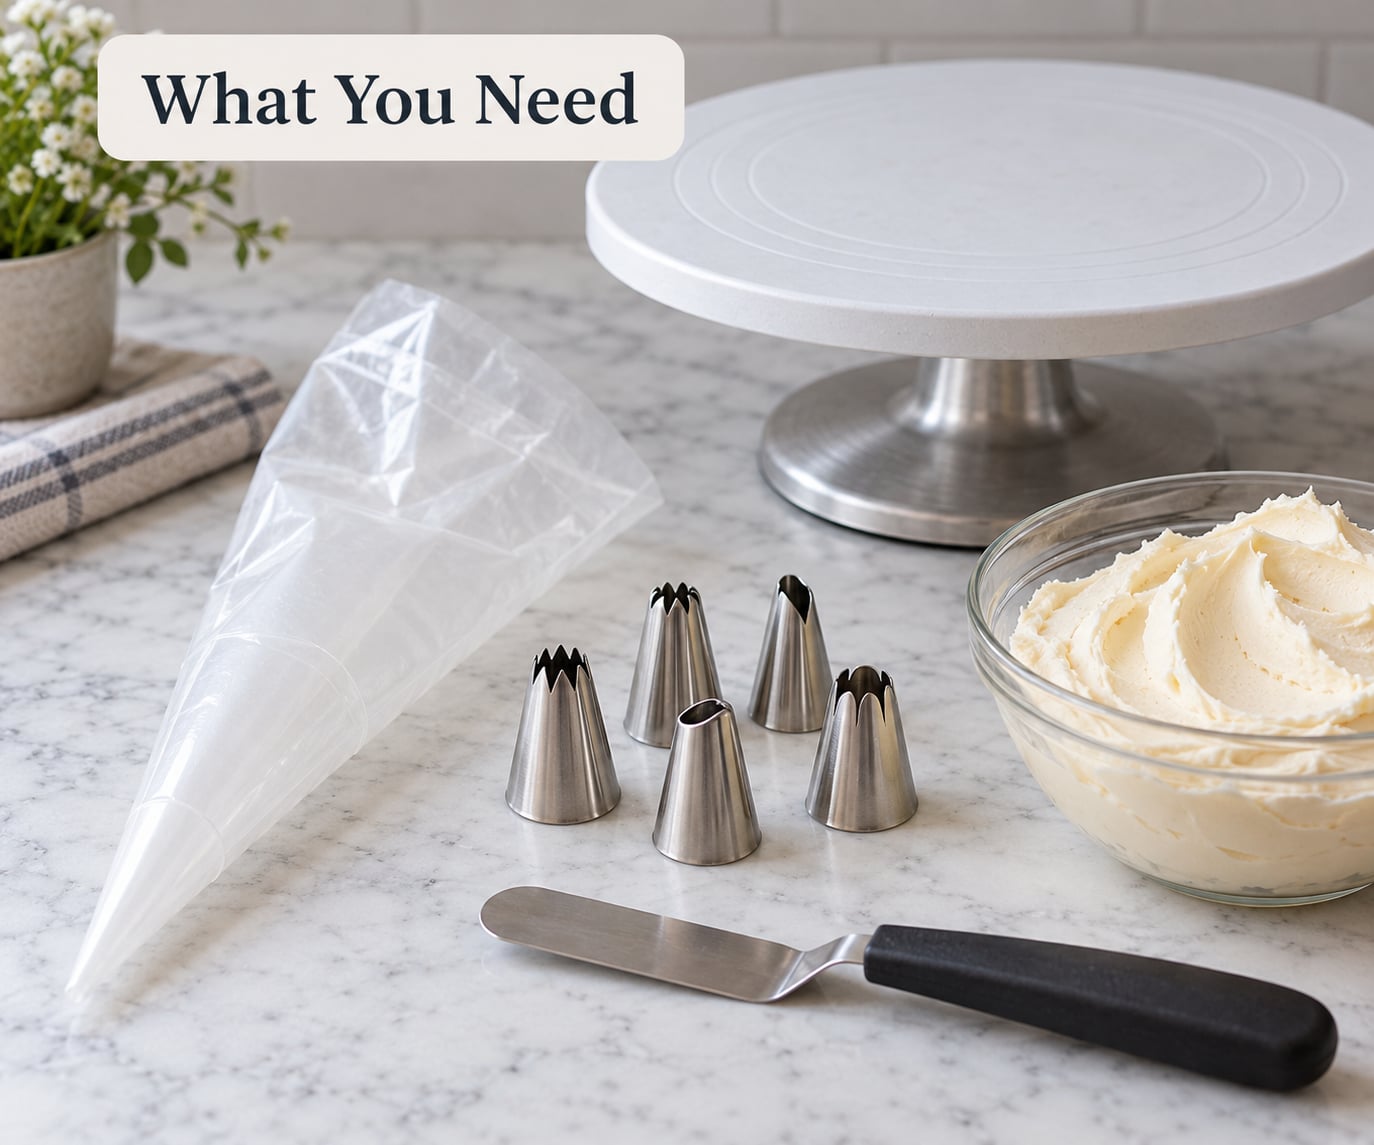
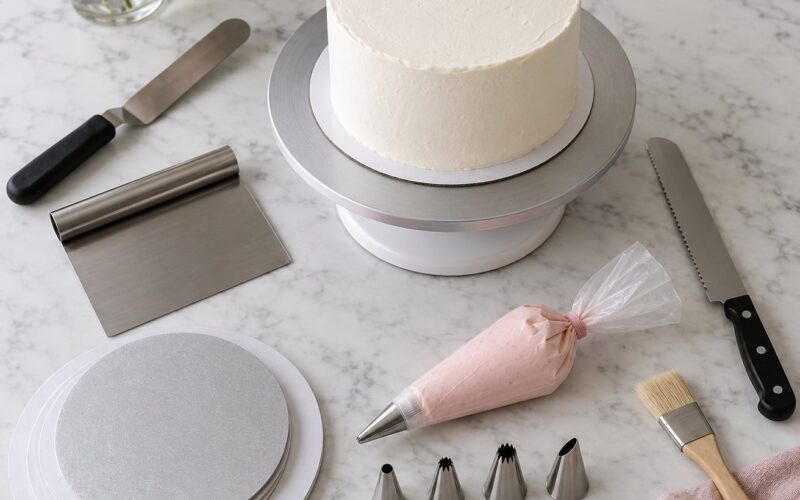
You can start with a short list and add the rest later. Most beginners get a usable result from a single tip and a bowl of stiff buttercream.
- Frosting: buttercream at stiff peak, or royal icing if you want flowers you can make days ahead. Both work; buttercream is easier to squeeze and less forgiving.
- Petal tip: a #102 for simple five-petal flowers and a #104 for roses and ruffled petals. Add a #225 drop tip later, once the basics feel easy.
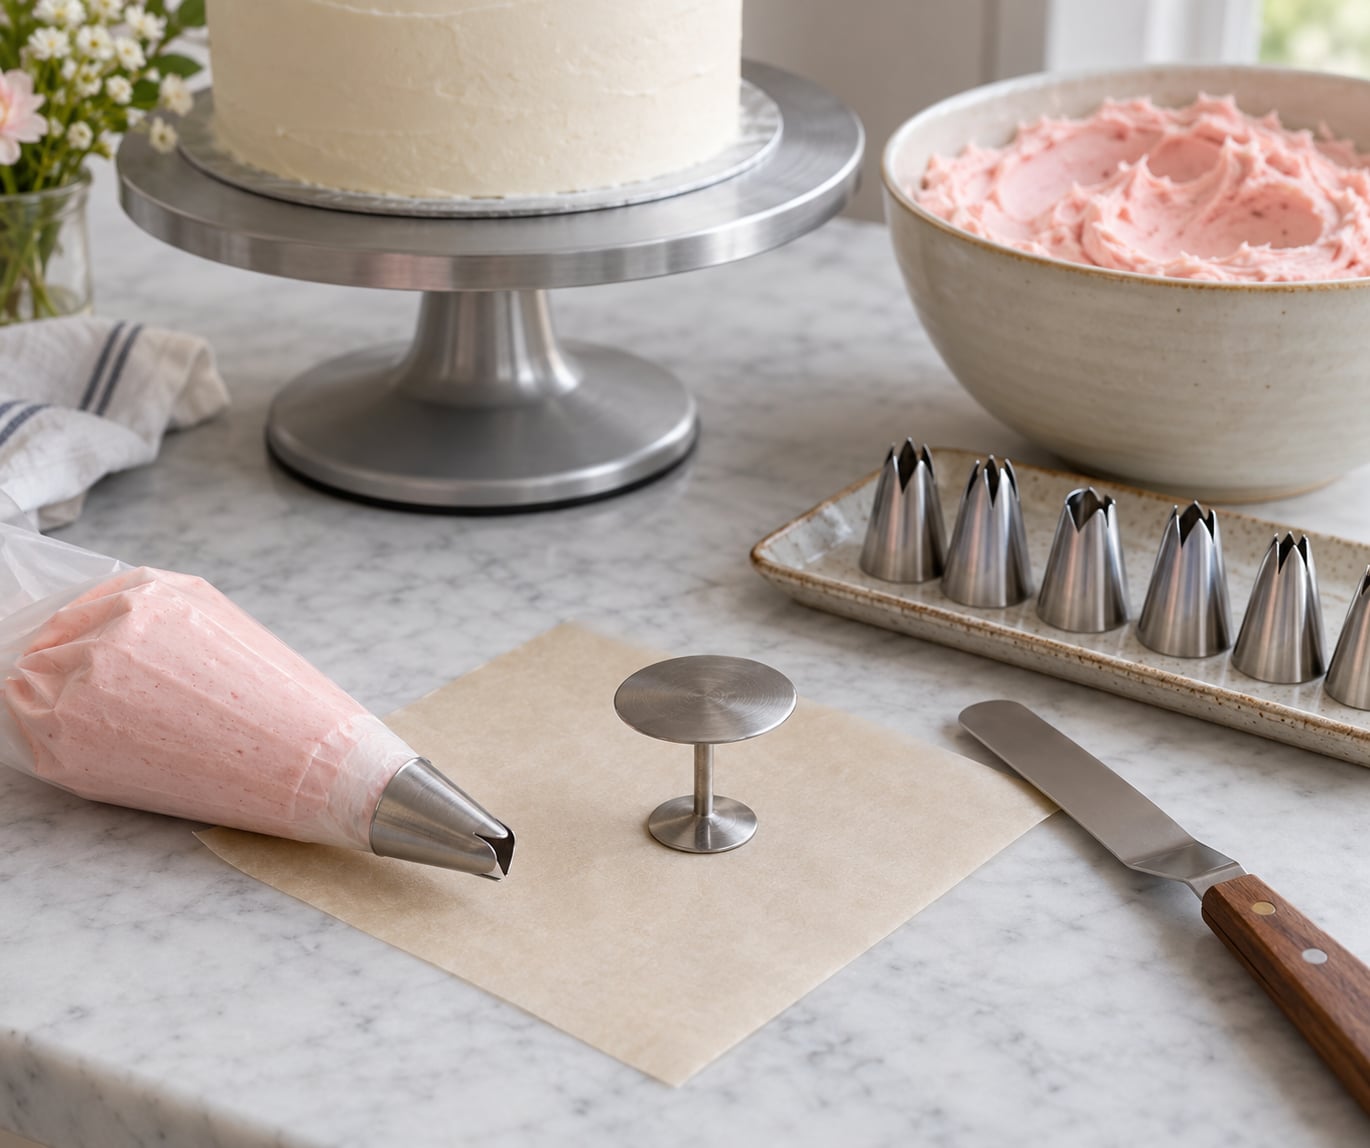
- Flower nail and parchment: a small metal or plastic nail wrapped in parchment and stuck down with a dot of icing. This is what lets you lift a flower off and move it later.
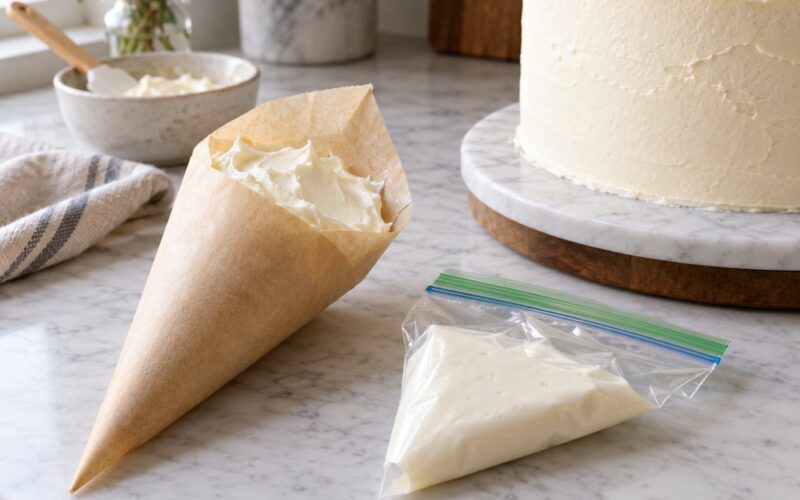
- Piping bag and coupler: a disposable bag is fine for buttercream. A coupler makes tip changes fast once you are making more than one shape.
- Small spatula or knife: for scraping the base of a flower flat and for lifting finished flowers.
- Turntable or cake board: somewhere steady to rest your wrist, so you are not holding your arm up in the air.
- Colour, optional: gel food colouring for tinted petals, or a second colour for a striped bag (see Step 5).
A flower nail is not strictly required. If you do not have one, a square of parchment taped to a flat board works, and piping straight onto a cupcake works too. The catch is that a flower piped directly onto a cake is fixed in place, so you cannot add layers or move it once you are happy with the shape.
Step-by-Step: How to Use Piping Tips to Make Flowers
Step 1: Choose a Piping Tip for the Flower Shape
A petal tip has a wide, teardrop-shaped opening, so one squeeze of stiff frosting comes out as a broad petal edge instead of a thin line. That single shape change is what turns a squeeze into a flower. Round tips make dots and thin stems, leaf tips make leaves and pointed petals, and closed star tips make ruffles and borders.
Here is how the common tips map to what they actually make, including the flower size you should expect:
| Tip | Best for | Typical flower size |
|---|---|---|
| #101 | Small roses, apple blossom, tight five-petal flowers | 1 to 1.5 inch |
| #102 | Daisies, simple five-petal flowers, beginner practice | 1.5 to 2 inch |
| #103 | Medium roses, zinnias, layered flowers | 2 to 2.5 inch |
| #104 | Classic roses, ruffled petals, dahlia-style blooms | 2.5 to 3 inch |
| #125 | Rose leaves, shells, piping roses | Leaf and ribbon work |
| 125K (Korean) | Clean, sharp petals, lilies, calla lilies | 2 to 3 inch |
| #233 / #234 (Russian, slotted) | Two-tone and striated petals, ruffled roses | 2 to 3 inch |
The numbers within each family are just sizes, so a #102 and a #104 work identically and only differ in scale. Russian and Korean tips are a different family entirely: they have slots inside the opening, which drag the frosting into stripes and ruffles as it comes out. They need stiffer frosting than petal tips do, so save them for when the basic flower is already comfortable.
For your first attempt: a #102, one colour, and a five-petal flower. You are learning pressure and wrist movement, not a new flower species.
Step 2: Prepare the Frosting
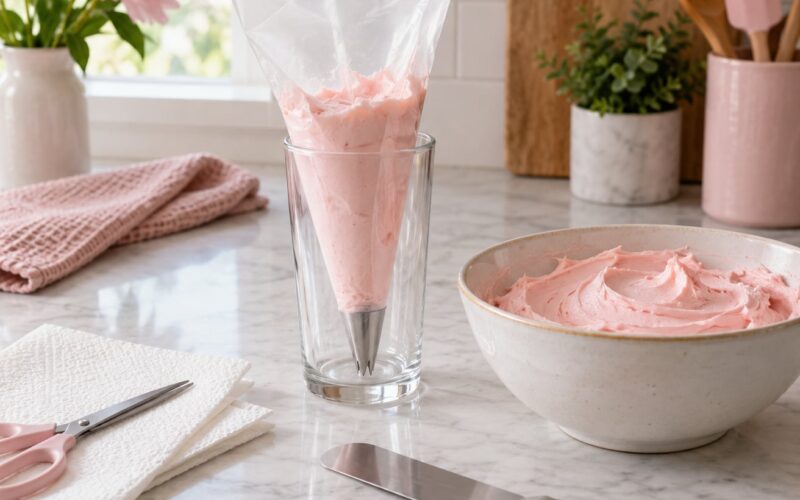
Flowers need stiff peak: the frosting holds a sharp point when you lift the beater, and it does not slump off the spoon. That is stiffer than the frosting you use for a cupcake swirl, so if you are scooping soft frosting into the bag, it will droop.
There are three quick ways to test without a recipe. Turn the filled bag upside down over a bowl and squeeze: if the frosting plops out as a blob instead of pushing through in a stream, it is stiff enough. Or scoop a spoonful onto a cold plate and flip it: a stiff peak sits there. Or just add more powdered sugar a spoonful at a time and re-test, which is what most people end up doing.
If your buttercream is too loose to start with, add powdered sugar in small batches rather than all at once. If it is so stiff it fights back and will not flow, work in a teaspoon of cream or a shorter beat. Cracked petals that snap when you lift the flower mean too stiff; petals that slump into a puddle mean too soft.
Stiff frosting gets tiring fast. Take the bag out in the smallest batches you can manage, and if you are piping for more than half an hour, chill the filled bag in the fridge for ten minutes between rounds. Buttercream softens with warmth from your hands as you work, which is why later flowers often look worse than the first few.
Step 3: Load and Control the Piping Bag
Fill the bag about halfway. Overfilling pushes frosting up into the coupler and can burst the seam when you squeeze, and a bag crammed full is genuinely hard to control.
Twist the top of the bag closed in your dominant hand and rest the point of your index finger on the twist to steady it. Hold the bag with your other hand about three inches above the surface. Your grip does the squeezing; your wrist does the movement.
Squeeze, then lift, then turn. That rhythm is the whole technique. Squeezing without lifting builds a lump, lifting without squeezing gives you nothing, and skipping the turn is what makes flowers look lopsided.
Step 4: Pipe the First Layer of Petals
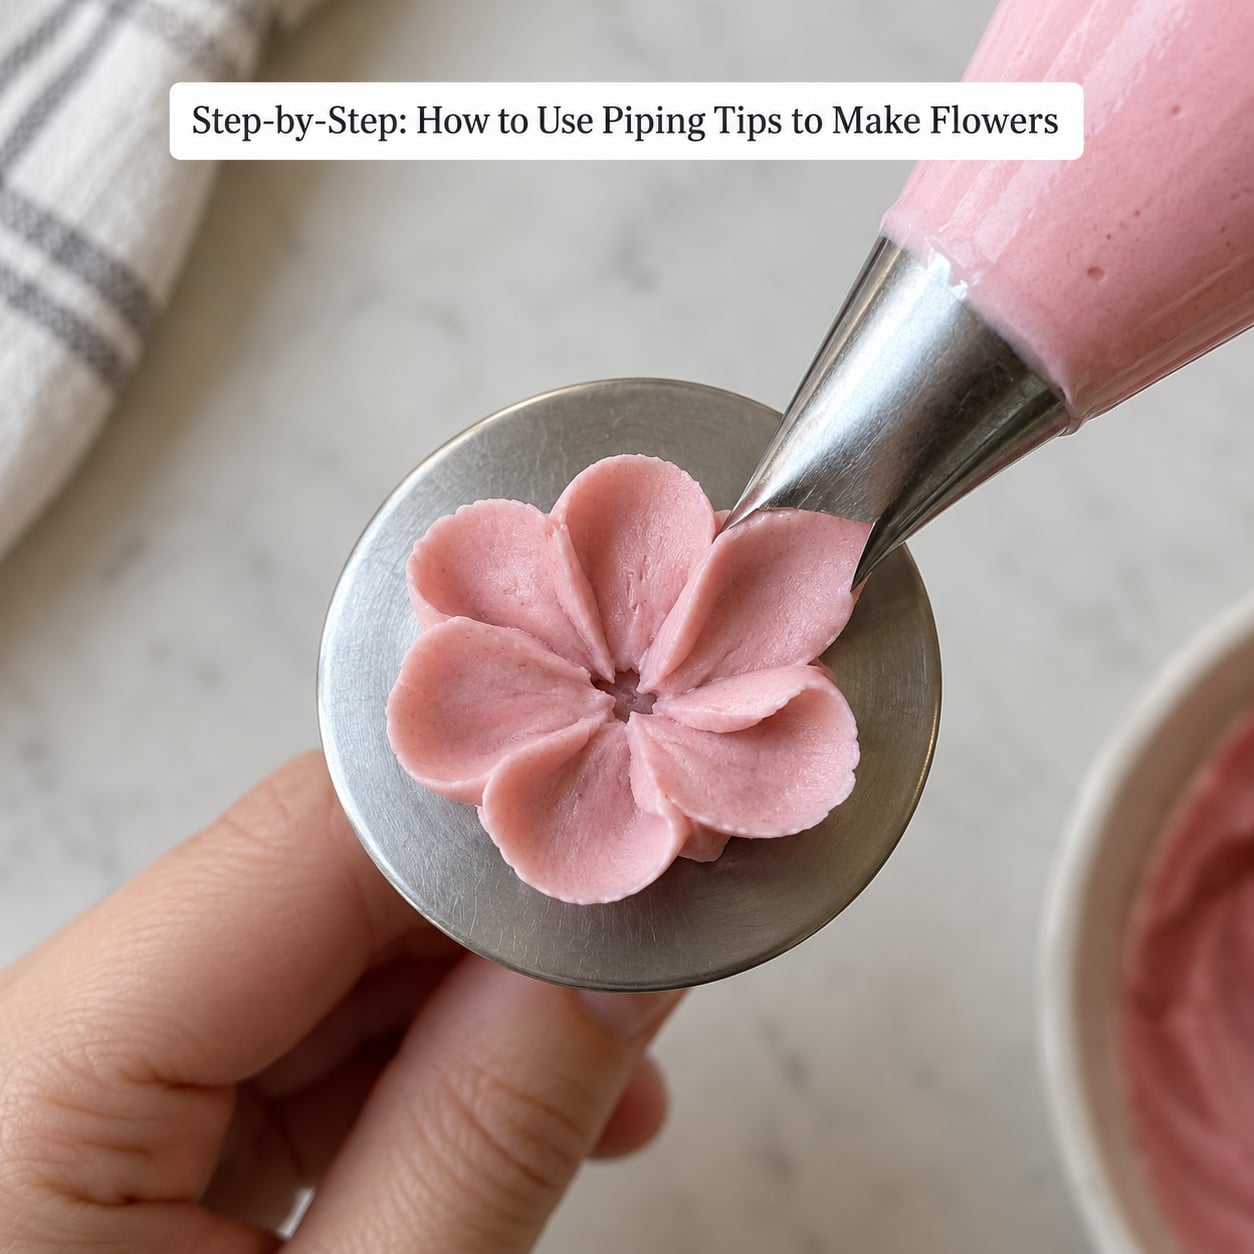
Squeeze a small cone of frosting in the middle of the nail, then add a second smaller squeeze on top. This is the petal cup, and it is the step beginners leave out. It gives the first layer of petals something to lean against, so they angle upward instead of lying flat.
Start at the base of the cone with your tip almost touching it, squeeze, and draw the frosting up and out while you turn your wrist slightly. The petal should be widest at the top and narrow where it meets the cone. Move around the cone one petal at a time, and let each new petal overlap the one before it by about a third.
It worked if the petals all start at the same height and the flower looks like a shallow cup rather than a flat star. If one petal sits much higher or lower than the others, scrape it off with the spatula while the frosting is still soft and re-pipe it.
Step 5: Build Height and Add Inner Layers
For the second layer, squeeze a smaller cone on top of the first cup, pipe it with the same motion, and use shorter, more upright strokes. Keep the spacing even: count your petals so each layer lands over the gap between the two petals below it. That offset is what makes a flower look full instead of striped.
This is also where a striped bag earns its keep. Before you load the bag, smear the inside wall with your second colour, then fill as normal. Every petal comes out two-tone, and you get variegated petals with no extra work per petal.
Keep turning the nail a little as you work. Working from one side only is the other reason flowers come out leaning.
Step 6: Finish the Flower Center
Most flowers look finished with nothing more than a dot. Switch to a small round tip, pipe a short cone in the centre, and pull away without squeezing, which leaves a neat point.
For more detail, a small closed star tip makes a tight swirl, and two colours in the centre stop a single-colour flower from looking unfinished. Leave the centre slightly domed rather than flat, since a raised centre catches light and makes the petals look thinner.
Step 7: Adjust, Clean, and Repeat
While the frosting is still soft, scrape the base of the flower flat with your spatula so it sits flush on whatever it is going onto. Slide the spatula under the parchment and lift, then peel the paper away. If the base tears, the frosting was too stiff or you waited too long.
For buttercream, place the flower straight onto the cake or cupcake and press down gently. For royal icing, let the flower dry completely first, usually five days to a week, then peel it off the parchment and attach it with royal icing as glue.
Wipe the tip with a damp cloth between flowers so dried frosting does not build up and roughen the edges, then pipe the next one.
Common Mistakes
Almost every problem below traces back to consistency, pressure, or wrist position. Here is what each symptom means and what to change.
| What went wrong | Why | Fix |
|---|---|---|
| Petals droop or slide off the nail | Frosting too soft | Add powdered sugar a spoonful at a time and re-test for a stiff peak |
| Flower sticks to the nail or parchment tears | Frosting too stiff | Add a teaspoon of cream or beat briefly to loosen it |
| Ragged, torn petal edges | Uneven pressure or dried frosting in the tip | Wipe the tip clean and squeeze at a steady rate instead of pulsing |
| Flowers near the end look sloppy | Buttercream softened from hand heat | Chill the filled bag for ten minutes between rounds |
| No detail, petals blend together | Too soft, or petals not offset from the layer below | Stiffen, then count petals so each layer overlaps the gaps |
| Flower leans to one side | Hand pressure changed around the circle | Turn the nail as you pipe and keep the bag at the same height |
| Flowers look flat | Skipped the petal cup | Build a small centre cone before the first layer |
| Hand cramps quickly | Stiff frosting takes real pressure | Pipe fewer flowers per batch and rest between rounds |
One more thing worth knowing: if a flower fails, scrape it off the nail and reuse the frosting. Do not scrape it back into the bag, or the next flower inherits the problem.
Frequently Asked Questions
What is the easiest piping tip for making flowers?
A #102 petal tip is the easiest place to start. It is small enough to control, and it makes clean five-petal flowers that show your technique clearly. A round #1 or #2 tip piped with a simple squeeze-and-lift motion makes an even simpler drop flower, which is a good confidence builder on day one. Avoid Russian and Korean tips until the basics feel easy; they need much stiffer frosting and they punish soft hands.
Can I make flowers with regular buttercream frosting?
Yes, but stiffen it first. Ordinary cupcake buttercream is too soft to hold a petal once your hand moves away, so add powdered sugar in small batches until it holds a sharp peak. Chilling the filled piping bag for ten minutes helps too. Buttercream is easier on the hand than royal icing and the flowers can be eaten straight from the cake, but they need to be placed almost immediately.
How do I keep piped flower petals from looking flat or messy?
Build a small cone of frosting in the centre before you start piping. That cup is what angles the first layer upward instead of letting it lie flat, and it is the step beginners skip. Then add short, upright strokes for each layer, counting the petals so every layer lands over the gap between the two below it. Slower, steadier pressure beats squeezing hard in bursts.
What piping tip should I use for small flowers?
A #101 petal tip makes the smallest classic flowers, usually around 1 to 1.5 inches across, and a small round tip such as #1 or #2 makes tiny drop flowers and bud centres. Keep the frosting very stiff for the smallest sizes, since there is less of it to hold the shape. If the petals keep merging, step up one tip size rather than squeezing harder.
How do I fix a flower that came out uneven?
Act while the frosting is still soft. Peel or scrape the offending petal off with a small spatula and re-pipe it at the same height as the others, or scrape the whole flower off the nail and start again, which is often faster. If the flower leans overall, that is usually uneven pressure around the circle, so turn the nail as you pipe. Wait too long with royal icing and the only fix is a new flower.
Can piping flowers be made ahead of time?
Buttercream flowers should be piped on close to serving, since they soften and pick up smells in the fridge. Royal icing flowers can be made weeks ahead: let them dry fully on their parchment, five days to a week for royal icing, then store them in an airtight box with a layer of tissue. If one softens, set it on the parchment back in the oven at a low temperature until firm, then cool before using it.
Conclusion
Every piped flower comes down to the same five moves: stiff frosting, a petal tip, a small centre cone, squeeze-lift-turn around the circle, and one layer at a time until it closes. Get the consistency right and the rest is just practice.
Start with one tip, one colour, and a handful of five-petal flowers on a flower nail. Once those look even, add a second layer, then try a drop flower with a round tip, and only then move on to roses. That order is what most decorators wish someone had told them at the start.