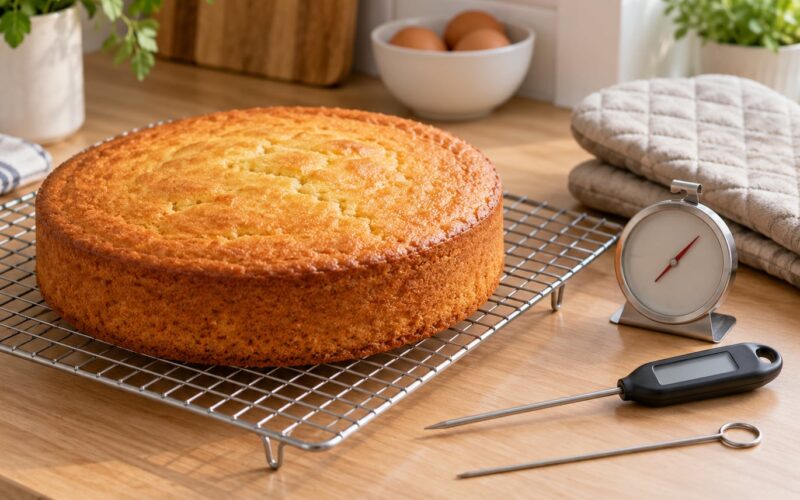
An oven thermometer shows you what your oven is really doing, not what the dial claims. To use one, preheat the empty oven to your recipe’s temperature, set the thermometer on the rack where your food usually goes, wait about 15 minutes past the preheat signal, then compare the reading to the number you dialed in. The whole test takes roughly 25 minutes and changes almost nothing about how you bake.
That last part matters. A surprising number of bakers think an oven thermometer means adjusting every recipe temperature by hand. It doesn’t. You take one measurement, you learn your oven’s personal offset, and you apply it to the dial setting instead. Everything else stays the same.
Table of Contents
- What You Need
- Step-by-Step
- Step 1: Know When to Test Your Oven
- Step 2: Prepare the Oven and Thermometer
- Step 3: Place It Where Your Food Usually Goes
- Step 4: Wait for a Stable Reading
- Step 5: Compare the Reading and Adjust
- Step 6: Confirm the Oven Is Consistent
- Common Mistakes
- Frequently Asked Questions
- Where should an oven thermometer be placed?
- Should I calibrate my oven before using an oven thermometer?
- How long should I wait after preheating to check the oven temperature?
- Can I use an oven thermometer in a convection oven?
- Why does my oven thermometer show a different temperature than the dial?
- Is an oven thermometer necessary for baking?
- Conclusion
What You Need
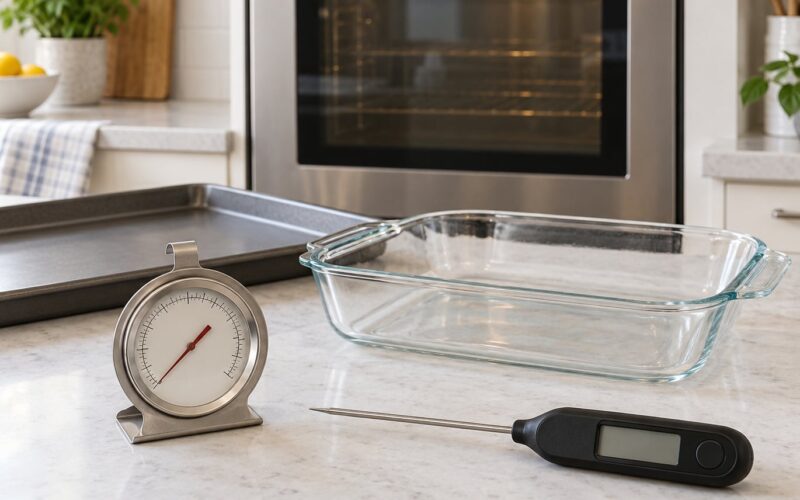
An oven thermometer is a small heat-safe dial or digital device rated for oven temperatures. Most home models cover 100°F to 500°F, which covers everything from meringue to artisan bread. A temperature probe is an alternative you can leave inserted in a dough or a roast, but it isn’t required for a basic test.
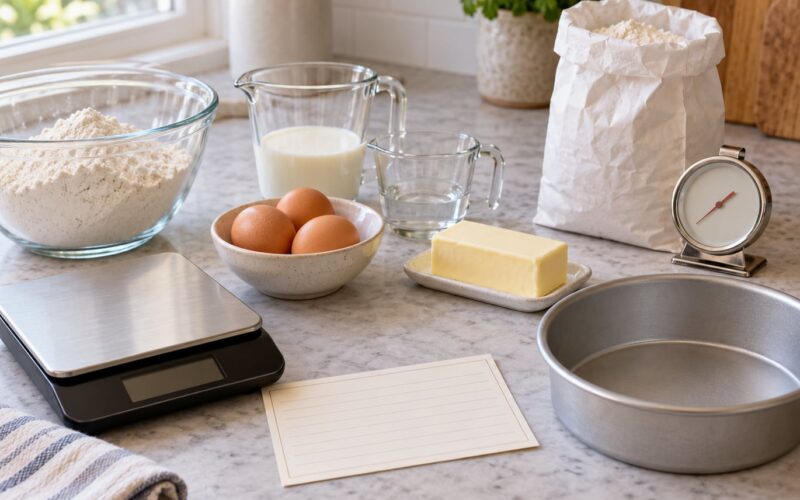
Beyond the thermometer, you need dry oven mitts, a baking sheet or tray to slide under it if your model needs a flat base, and somewhere to write things down. That last item sounds optional and isn’t. The moment you know your oven runs 20 degrees cool, every recipe you own just got easier.
Why bother, when the oven has a display? Because that display is reporting what the thermostat sensor reads, not what the air in the cavity is doing. The sensor is often mounted near the top of the oven and averages readings over time, and the metal walls, the racks, and the baking sheet itself hold heat differently than still air does. Bakers on baking forums report their own ovens landing anywhere from 10 to 40 degrees off the dial, and the preheat beep regularly arrives before the cavity has caught up.
| Type | What it looks like | Best for |
|---|---|---|
| Dial thermometer | A round face you read through the oven door | Everyday baking, durability, no batteries |
| Stand-alone digital | A unit that sits on the rack with a digital readout | Exact numbers, backlit display |
| Probe thermometer | A cable running from a base outside the oven | Checking dough proofing, roasts, cold spots |
| External oven controller | A wall or counter unit that takes over the cycling | Ovens that run far off, or shared kitchens |
Analog dial thermometers get a bad rap for looking old-fashioned, but they have no batteries to fail and no electronics to drift out of calibration. For a once-a-month check, that’s the one I’d buy.
Step-by-Step
Step 1: Know When to Test Your Oven
Test right after a new oven goes in, after any repair or element replacement, and after you move to a different house, since voltage and gas pressure vary by location and can shift a thermostat’s behavior. Beyond those events, test whenever your baking looks off in a consistent direction: cakes that brown on top while the middle stays tacky, cookies that spread into thin discs, or bread that takes far longer than the recipe predicts.
One ruined cake isn’t proof. Three bakes in a row that all fail the same way is a signal. There’s no need to test weekly, either. Two readings at two different temperatures, spaced a few months apart, is a perfectly responsible schedule.
Step 2: Prepare the Oven and Thermometer
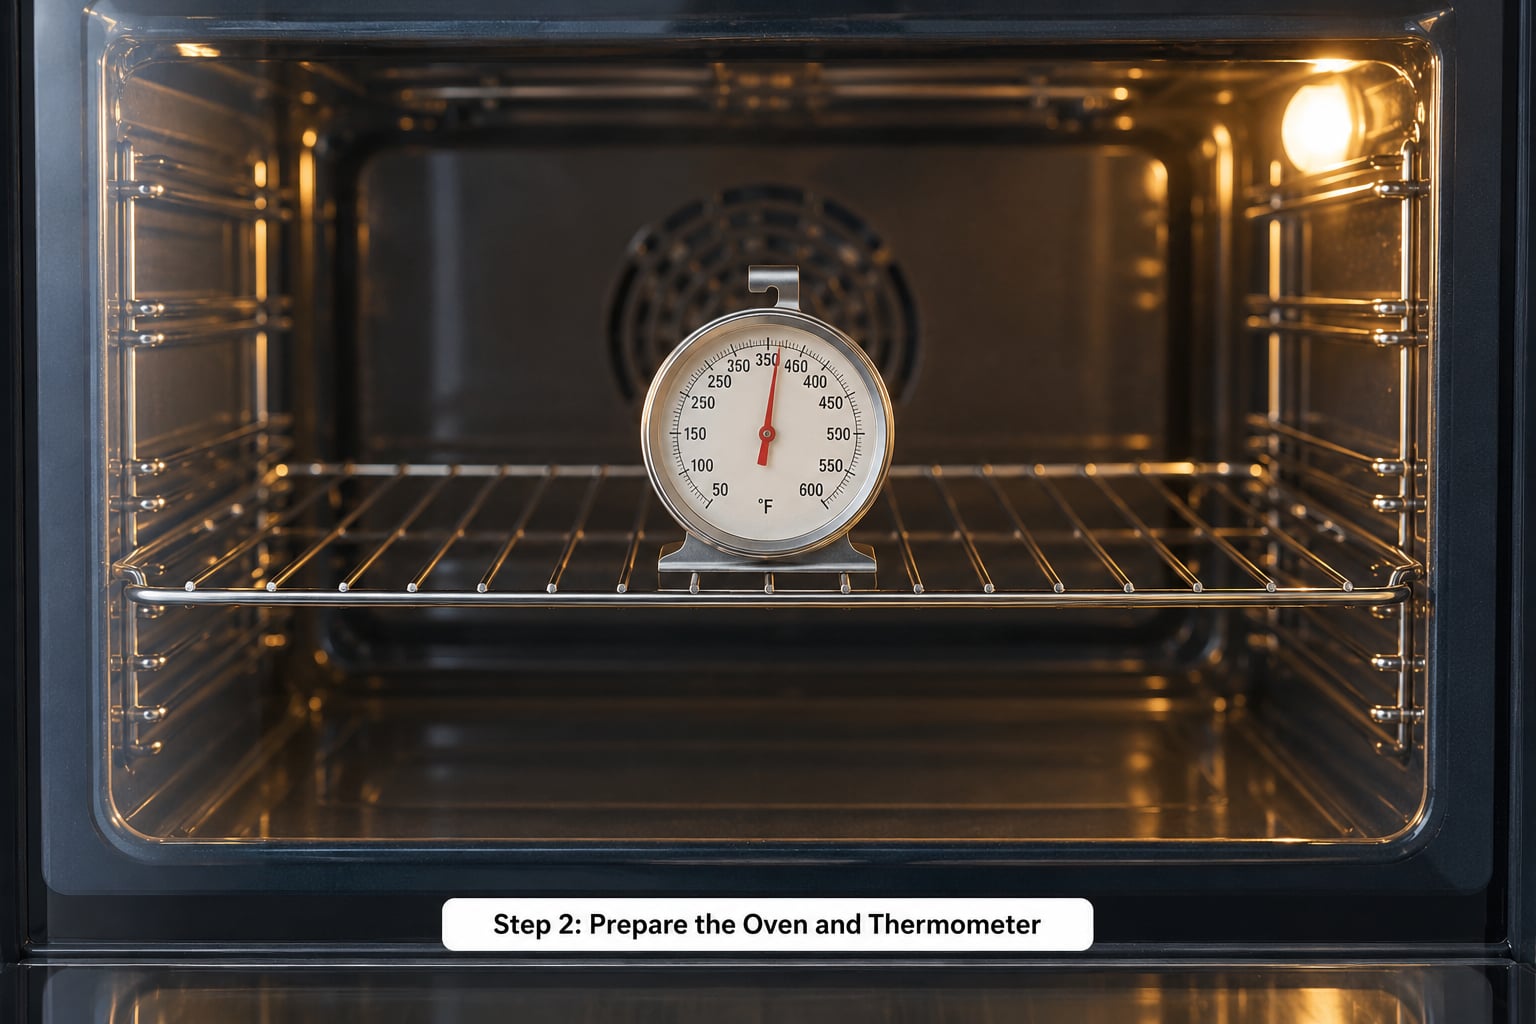
Preheat the oven completely empty. No tray, no cake, nothing. Food absorbs heat and adds moisture, both of which drag the real temperature below what you need to measure. Set it to a temperature you actually bake at often, which for most home kitchens is 350°F.
Set the thermometer where it will stay put, and leave it there. Resist the urge to open the door and check on it, especially in the first ten minutes, because every opening drops the cavity temperature and restarts the climb. A single peek usually costs you a full ten minutes of recovery.
If you want a second data point while the oven is hot, set a probe in a small dish of water. That takes longer than the dial method, but it tells you something useful: it shows whether the thermostat is holding a steady temperature or is swinging widely, which is the difference between an oven that’s slightly off and one that cycles hard.
Step 3: Place It Where Your Food Usually Goes
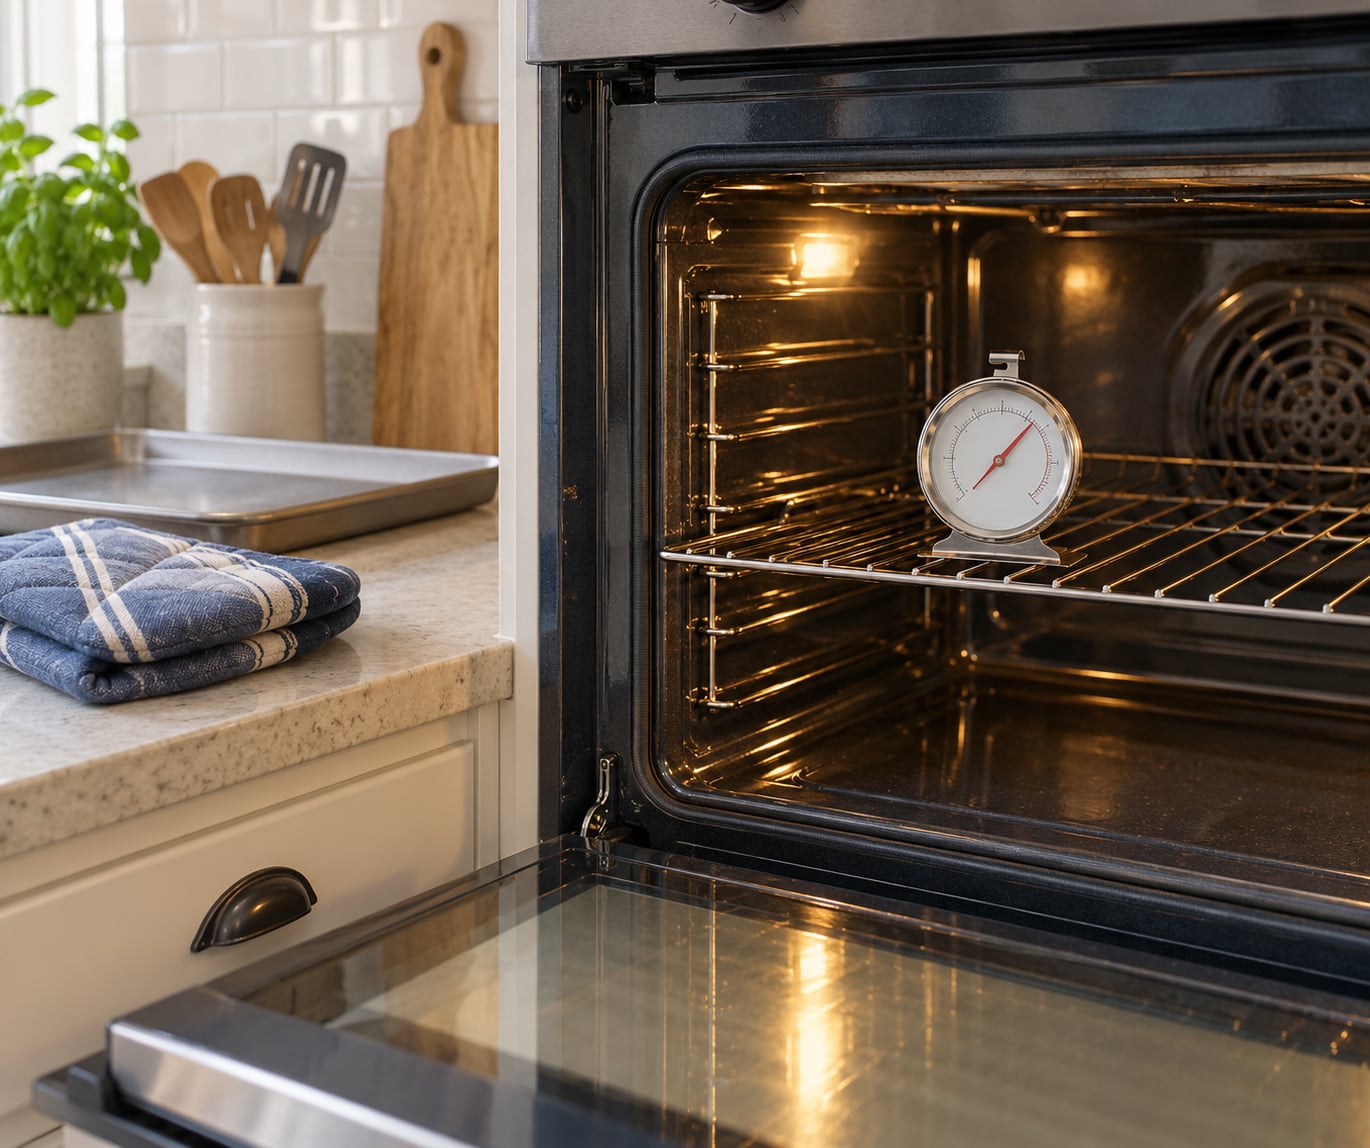
Put the thermometer on the same rack position and in the same part of the cavity where your baking normally sits. If you bake layer cakes on the middle rack, that’s where it goes. If you bake bread on a lower rack, test there instead. Measuring the center of the oven while baking a loaf near the bottom element tells you about a spot you never cook in.
Keep it away from the walls, the back panel, and the heating elements. Metal conducts heat, and a thermometer touching a side wall will read high no matter how good the instrument is. Leave an inch or two of air on every side and center it front to back as well as side to side.
For tall cakes and Bundt pans, the center rack with the thermometer sitting directly in the middle of the cavity is the gold standard. That’s the spot where a cake needs to be for the center to set before the outside burns.
Step 4: Wait for a Stable Reading
The preheat signal is not your reading. It’s the oven’s own guess that it has arrived. Give the thermometer another 15 minutes after the beep before you trust the number, and expect to see the reading climb and then settle. Experienced bakers in the sourdough and baking communities often extend that to 30 minutes, especially on older ovens or after a big tray goes in.
You’re waiting for the reading to stop moving, not for it to hit a round number. Watch it for two or three minutes. If it drifts by more than a degree or two, you still have temperature swing and need to keep waiting. When it holds steady, write down the number, the time, and the setting you used.
Step 5: Compare the Reading and Adjust
Now you have three numbers: the set temperature on your dial, the target temperature from your recipe, and the measured temperature in the oven. The difference between the dial and the thermometer is your offset. Subtract the measured reading from the setting you dialed in, and that difference is what you apply from now on.
| Dial setting | Measured | Your offset | What to do next |
|---|---|---|---|
| 350°F | 325°F | Runs 25 degrees cool | Dial in about 375°F for a 350°F bake |
| 350°F | 360°F | Runs 10 degrees hot | Dial in about 340°F for a 350°F bake |
| 350°F | 348°F | Within 5 degrees | Change nothing |
| 350°F | 375°F or higher | More than 25 degrees off | Check for a failed element, then consider calibration or a service call |
Keep the offset small and consistent. If your oven runs 20 degrees cool, dial 20 degrees higher for every bake, and stop editing the recipe itself. Recipes are written for a 350°F oven that is actually 350°F. The correction belongs on the dial, not in the batter.
If your oven has a calibration or temperature offset mode built into its controls, that’s the cleaner option, since it fixes the problem at the source. Most manufacturers document it in the owner’s manual, and it’s often buried in a service menu rather than the main settings. An external controller is the next step up, and a technician is the honest answer for anything beyond about 25 degrees.
Step 6: Confirm the Oven Is Consistent
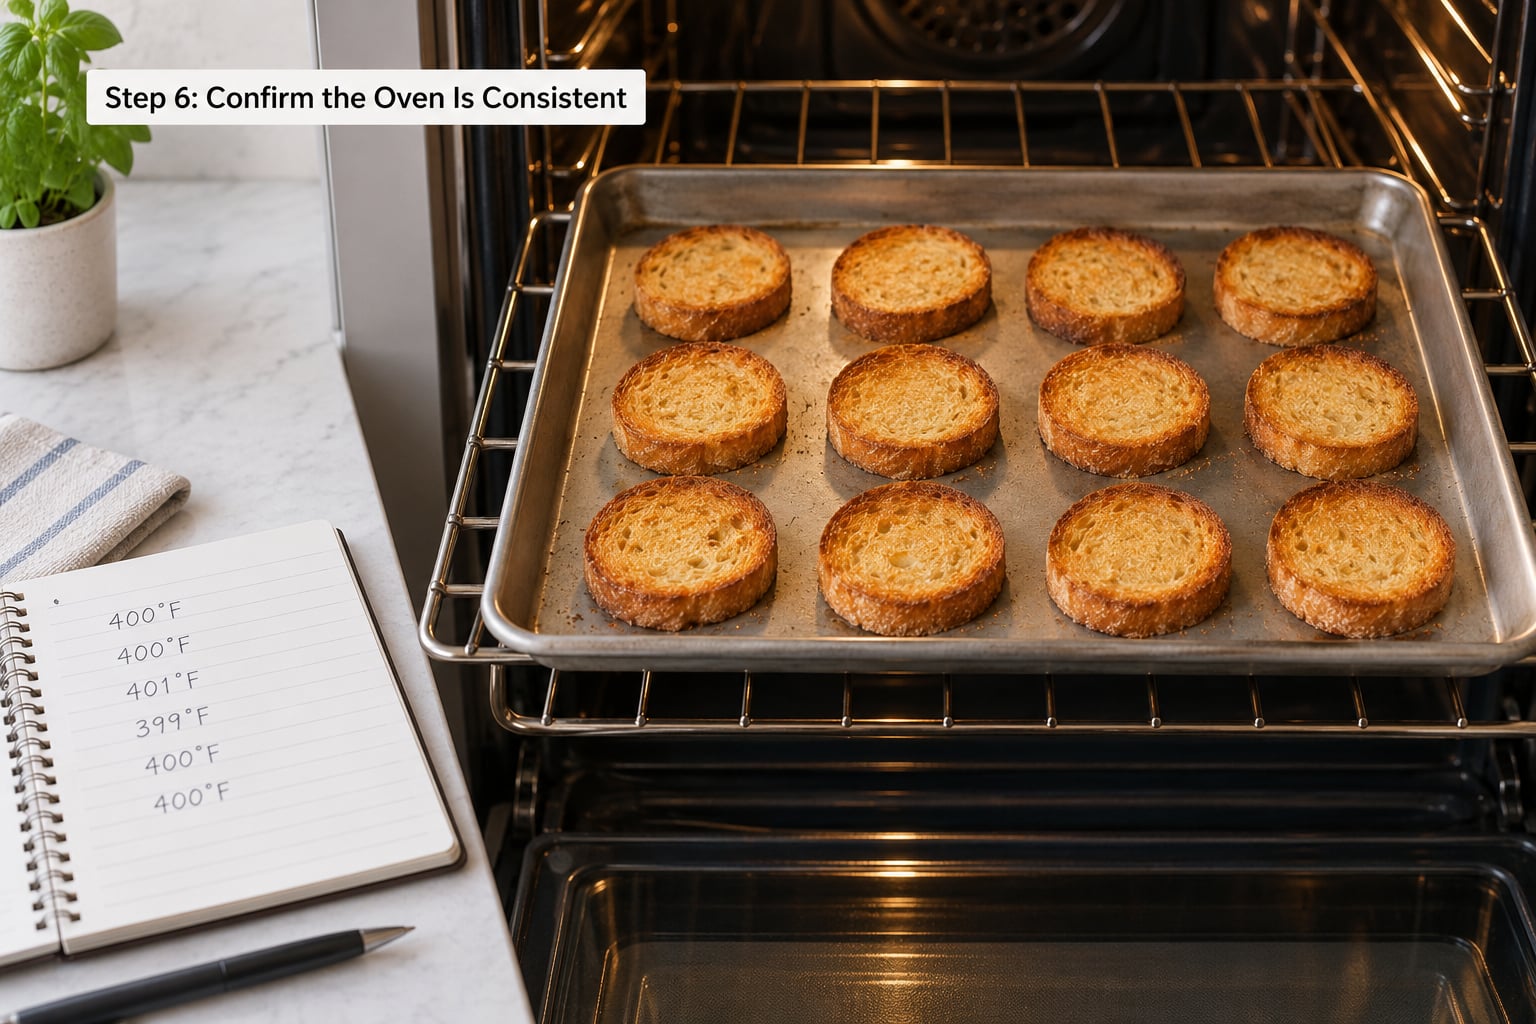
One reading tells you where your oven sits at one temperature. A second test at a different setting tells you whether it holds its error or drifts with the number. Repeat the process at 400°F or 425°F, since ovens with weak elements and weak thermostats tend to fall further behind as you climb.
Then find your hot spots, if you have them. Bake a tray of dry bread slices or crackers on a single rack until they color, and see where they darken first. Crumbs from a slice of sandwich bread spread across a tray work well and cost nothing. Corners that brown while the middle stays pale usually mean the element is heating unevenly, and a spot that stays pale points to a cooling duct or a blocked fan.
Write all of it down. Once you know the oven runs cool at 350°F and has a hot back corner, you bake at the corrected dial setting and rotate your trays at the halfway mark. If the browning runs toward the front, you move the pans back a couple of inches.
Don’t forget the rack position itself. Many bakers who fight constant top browning on layer cakes simply drop the cake to a lower rack and drop the temperature by 25°F, which is a fix that costs nothing and doesn’t depend on the oven being well behaved.
Common Mistakes
Trusting the preheat beep. The signal means the thermostat is satisfied, not that the cavity has stabilized. Fix: wait 15 minutes past it, longer if the oven is old or heavily loaded.
Testing with food inside. A cake or a tray of cookies absorbs heat and adds moisture, so you measure a different oven than the one you bake in. Fix: test empty, always.
Placing the thermometer against a wall or rack bar. Metal pulls the reading toward whatever it’s touching. Fix: center it and give it clearance on all sides.
Opening the door to peek. Every opening drops the temperature and starts the recovery clock. Fix: read through the glass, or open once and commit to the full wait again.
Comparing the thermometer to the recipe instead of the dial. The offset is the gap between what you set and what you measure. Comparing a 350°F recipe to a 360°F cavity reading tells you almost nothing useful. Fix: set, measure, subtract.
Rewriting recipe temperatures. Lowering the oven temperature in the recipe to compensate means you can never reuse that recipe anywhere else. Fix: leave the recipe alone and correct the dial.
Trusting a single reading. One data point might be skewed by a door opening or a rack still warming. Fix: average at least two runs before you commit to an offset.
Ignoring hot spots. A correct average temperature still bakes unevenly if one corner runs hot. Fix: test with bread slices, then rotate your pans halfway through long bakes.
Assuming a gas oven behaves like an electric one. Gas ovens heat fast and cool fast, so the temperature swings wider between cycles. Electric elements ramp more slowly but hold steadier. Fix: give gas ovens the longer wait, and expect a wider band.
Frequently Asked Questions
Where should an oven thermometer be placed?
Place it on the same rack and in the same spot where your food normally goes, centered in the cavity with an inch or two of clearance from the walls, back panel, and heating elements. For tall cakes and Bundt pans, the center rack dead center is the right answer. Metal conducts heat, so a thermometer touching a wall will read high and give you a number that does not match where your cake actually bakes.
Should I calibrate my oven before using an oven thermometer?
No, and in most cases you should not. A thermometer measures your oven, so calibrating first only makes the starting point tidier, not more accurate. Measure first, note the offset between your dial and the reading, then decide whether the gap is small enough to handle with an offset or large enough to warrant a calibration mode, an external controller, or a service call.
How long should I wait after preheating to check the oven temperature?
Wait at least 15 minutes after the preheat signal before trusting a reading, and extend that to 30 minutes on older ovens, on gas ovens with wide temperature swings, or after loading a heavy tray. What you are watching for is stability, not the number itself. If the reading is still moving by more than a degree or two, it has not settled yet.
Can I use an oven thermometer in a convection oven?
Yes, and you should, but test with the fan set the way you actually bake. Convection fans move air faster, so the cavity reaches temperature more evenly and usually holds it more tightly, which often means less offset than conventional mode. Many ovens also recommend dropping the recipe temperature by about 25 degrees when using convection. Measure the fan setting separately, since its offset rarely matches conventional.
Why does my oven thermometer show a different temperature than the dial?
Because the dial reports what the thermostat sensor reads, while the thermometer measures the air in the cavity where your food sits. That sensor is usually mounted near the top of the oven and averages heat over time, and the walls, racks, and metal pans store and release heat differently than still air. The gap is normal, common, and exactly the reason the thermometer exists.
Is an oven thermometer necessary for baking?
It is cheap, it takes 25 minutes, and it removes the most common reason a recipe fails at home. Cakes, meringues, bread, and pastries are all temperature-sensitive, and an oven that is quietly 20 degrees cool will produce a cake that never quite sets in the middle. If you bake more than a few times a month, one reading will pay for itself on the next cake.
Conclusion
Preheat your oven empty to the temperature you use most, put the thermometer on the rack where your food normally goes, and wait 15 minutes past the preheat signal until the reading holds still. Subtract that reading from the setting you dialed in, and that difference is the number you correct by from now on, on the dial rather than in the recipe.
Write it down in a notebook by the stove rather than trusting your head. The next time a cake fails, check your rack position before you reach for the thermometer, because most uneven baking is a placement problem rather than a temperature one.