If you want to know how to make a cake taller without more batter, lower the oven temperature by about 25 degrees and slow the bake. Slower heat keeps the leavener expanding the batter longer, so the layer sets at full volume instead of doming, browning at the edges, and sinking in the middle. Depth, even batter and a stable filling add the rest.
Most short cakes come from one of two problems, and they need opposite fixes. A cake that domes, cracks or sinks was baked too fast, so slow it down. A cake that rises evenly but stays squat is simply short on volume, so add height after the bake with filling, or bake the batter in two pans and stack it.
None of these methods change the recipe, which is why they work on a favorite batter you would never want to rebalance. Everything here uses equipment most kitchens already have, plus parchment and a kitchen scale if you own one.
Table of Contents
- What You Need
- Step-by-Step: How to Make a Cake Taller Without More Batter
- Step 1: Choose a Shallower Pan or Divide the Batter
- Step 2: Prepare the Pan for a Taller, Cleaner Cake
- Step 3: Distribute the Batter and Bake Even Layers
- Step 4: Add Filling or Extra Structural Support
- Step 5: Frost, Chill, and Finish the Taller Cake
- Height Math: How Tall Will Your Pan Make the Cake?
- Common Mistakes That Make Cakes Come Out Short
- Frequently Asked Questions
- How can I get my cake to rise higher?
- How do you get a cake to rise evenly?
- How to make a 6 inch tall cake?
- How can I level a cake without using a leveler?
- How do you put together a layered cake?
- What is the 1234 cake rule?
- Conclusion
What You Need
The kit is short, and every item earns its place:
- Two matching cake pans in the size you already bake in, for split batter. A springform pan is handy because its latch lets you check the side of the cake without lifting the base.
- Parchment paper for the floor and for a collar that adds height to a shallow pan.
- A kitchen scale to weigh batter instead of eyeballing it. A 1 cup scoop sitting on the counter is a decent stand-in.
- An oven thermometer if your oven runs hot or you have ever been surprised by a fast bake.
- A toothpick, a long serrated knife and a small offset spatula for testing doneness and trimming the dome.
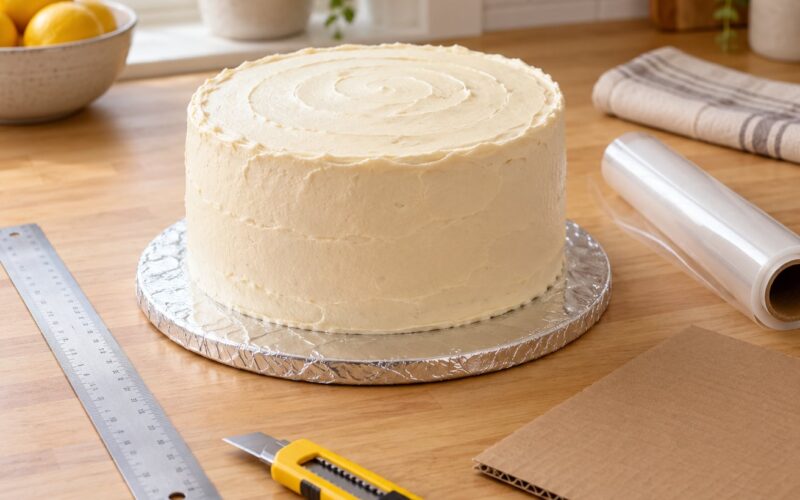
- A cake board and a turntable for assembling and slicing tall cakes. A turntable is optional, though it makes filling far easier.
- Wooden dowels or chopsticks if the cake will be tiered or transported.
Step-by-Step: How to Make a Cake Taller Without More Batter
Step 1: Choose a Shallower Pan or Divide the Batter
Height follows the pan. A batter baked in a shallow pan has nowhere to climb, so the finished layer is only as tall as the pan allows. Dividing the same batter between two pans doubles the number of layers you can stack, and two thin layers often look taller than one thick one because you can correct a dome on each.
When a recipe makes more batter than your pan needs, weighing in saves the extra. Put the empty pan on the scale, tare it, and pour until the batter reaches two-thirds of the pan’s interior height. Any batter over that line either goes into a second pan or into a small batch of cupcakes.
Do not fill a pan more than two-thirds full for a layer cake. The batter needs room for the oven spring that happens in the first 10 minutes, and a pan filled to the brim bakes over the sides and gives you a dense, short layer.
Step 2: Prepare the Pan for a Taller, Cleaner Cake
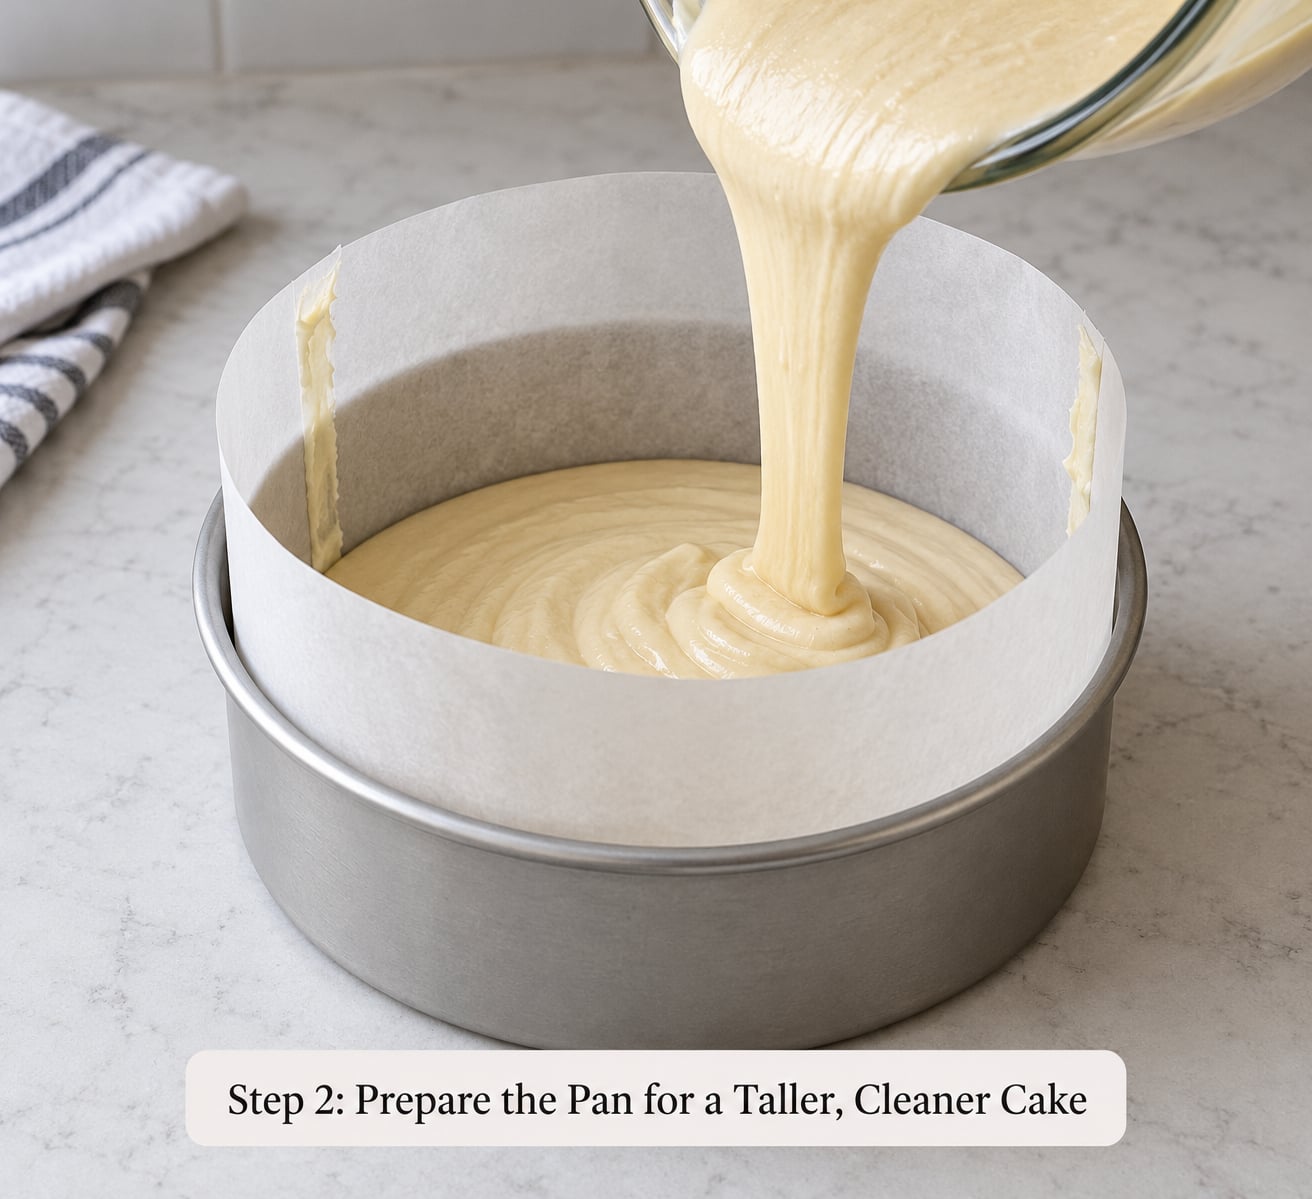
A parchment collar is the cheapest way to gain an inch or two of usable depth in a pan that is too shallow. Cut a strip of parchment tall enough to stand 1 to 2 inches above the rim, fold it to fit the pan’s circumference, and secure it with a thin smear of buttercream or a cake strip.
Buttercream holds better than grease for this job because it grips the paper without sliding. Spread the frosting on the inside face of the paper before you set the collar in, let the top edge of the collar flare slightly outward, then grease and line the paper base as usual.
Adding paper changes the bake a little. Insulate the sides and expect 10 to 15 extra minutes, and test for doneness rather than trusting the timer alone.
Step 3: Distribute the Batter and Bake Even Layers
Weigh the batter and divide it by the number of pans. Two 6-inch pans holding 600 grams each will match to the gram, while eyeballing leaves one layer thinner than the other and the thinner one bakes dry.
Drop the oven temperature 25 degrees below what the recipe prints. Most cake recipes are written 10 to 15 degrees too hot, and that extra heat sets the outer edges before the center can finish expanding, which is what produces a dome and a cracked top.
Place the pans on the center rack with space around them for air to move. Convection fans drive hot air straight at the sides and tops of the cake, so switch convection off and bake on conventional heat when a flat layer matters.
A damp towel strip works as a homemade version of purchased bake-even strips. Cut an old terrycloth towel into strips about 2 inches wide, soak them, and pin them around the outside of the pan. The damp fabric slows the outer edge so it rises with the center instead of setting first, and this is a well-worn trick on baking forums for bakers who do not want to buy cake strips.
Bake until a toothpick in the center comes out with a few moist crumbs, not wet batter. Skewers inserted at an angle near the edge are worth checking too, because the edge sets first and can look done while the middle is still raw.
Step 4: Add Filling or Extra Structural Support
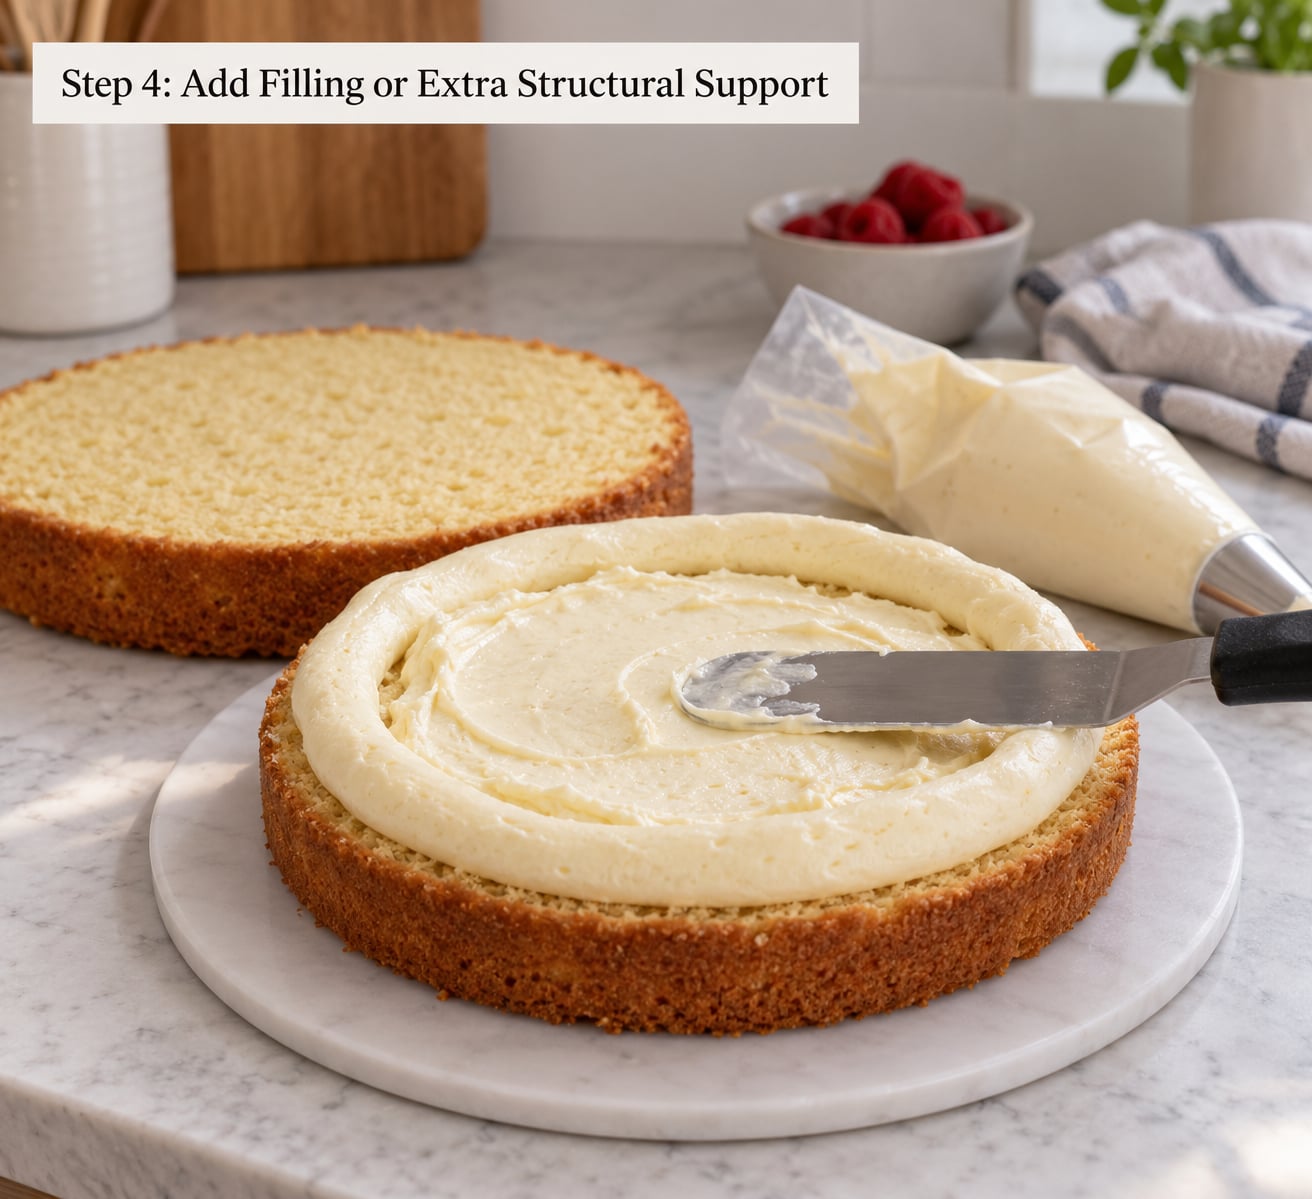
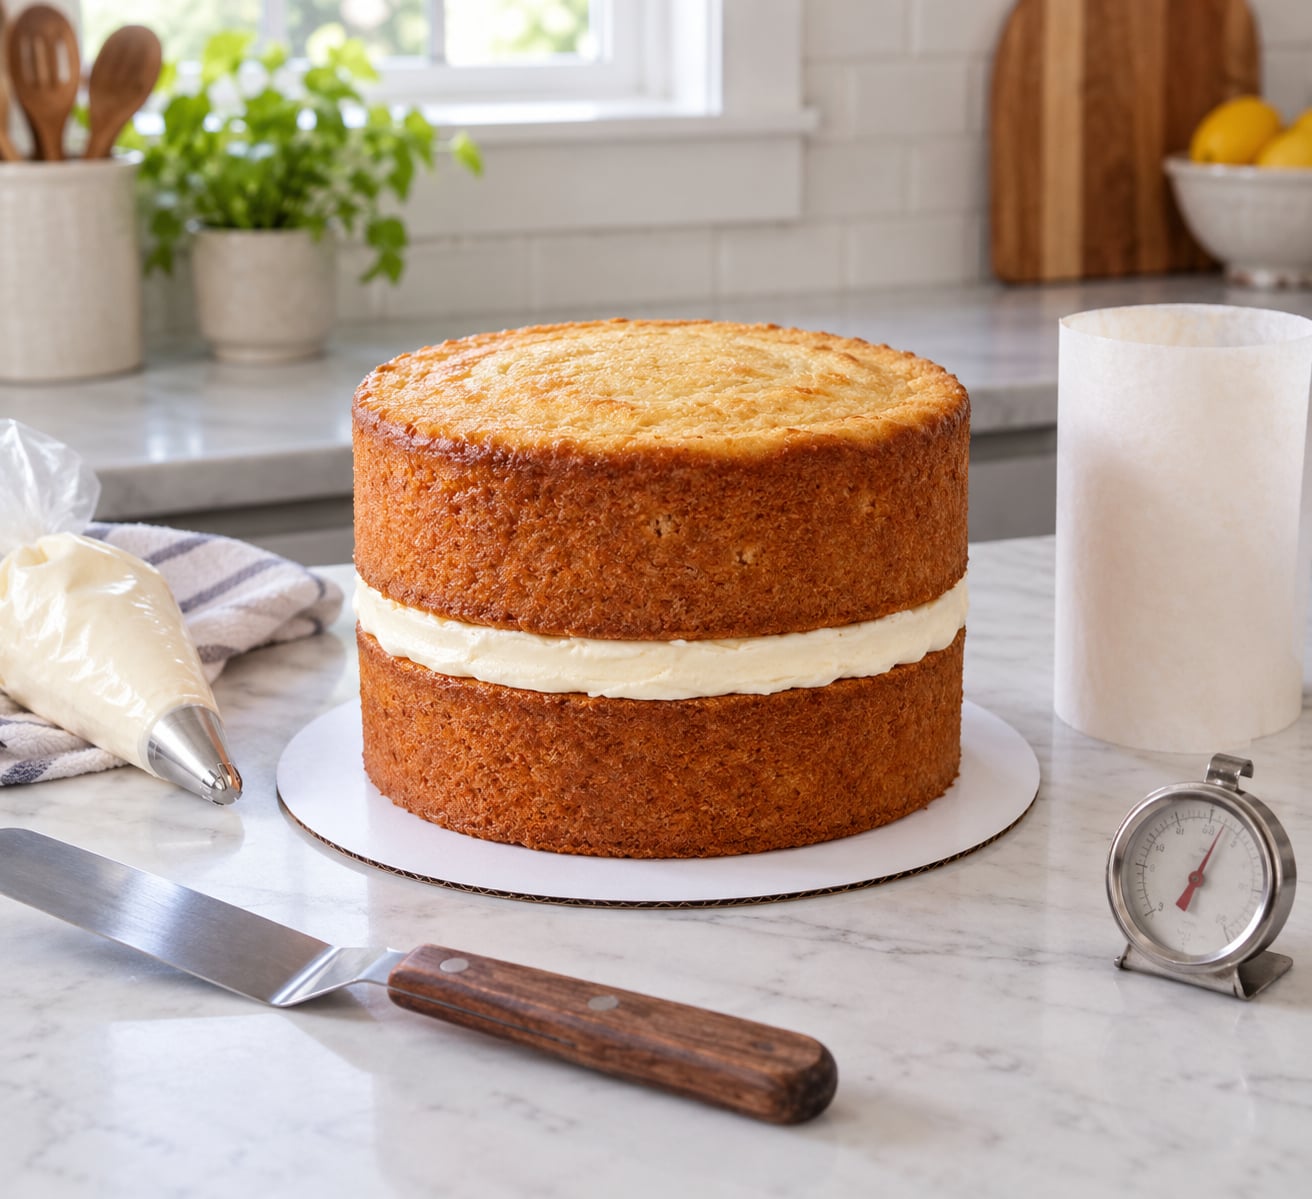
Filling is where a short layer becomes a tall cake. Spread about a third of an inch of firm buttercream or whipped ganache between two layers, and about a quarter inch when the layers are already tall, since a heavy filling slides and bulges more than a thin one.
Build a frosting dam by piping a ring of buttercream around the edge of the lower layer, then fill the space inside it. The dam contains the filling, so the cake keeps a sharp outside edge instead of bulging halfway up the side.
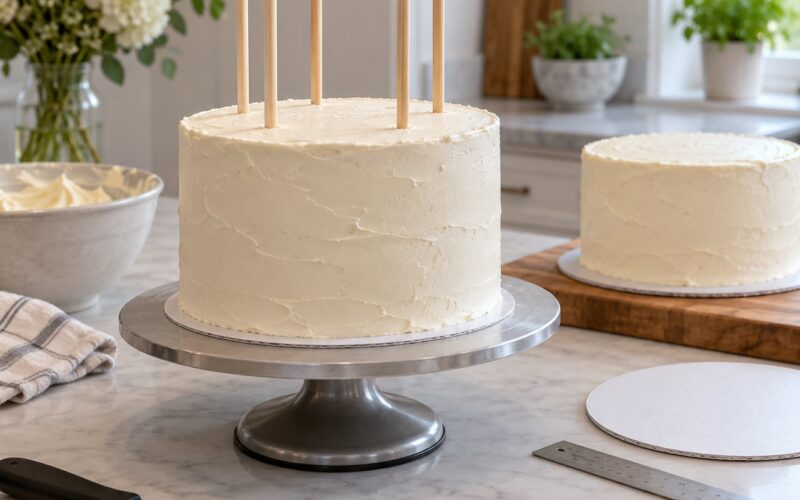
For a tiered or stacked cake, put each layer on its own board and run dowels through the support board, one dowel inside the edge of each layer above. The dowels carry the weight and keep the layers from sliding down into the filling over hours.
Step 5: Frost, Chill, and Finish the Taller Cake
Let the layers cool completely in their pans, then turn them out and cool on a rack. Warm layers melt the filling and slide, and a tall cake assembled warm leans.
Chill the stack for 20 to 30 minutes before the finishing coat. A chilled cake holds its shape against a knife, the crumb coat sets fast, and the final frosting sits cleaner.
Apply a thin crumb coat, chill again for 15 minutes, then finish. A tall cake needs a straight fence and a level top, and a bench scraper against the turntable edge is the fastest way to get both.
Height Math: How Tall Will Your Pan Make the Cake?
Cake batter usually rises to about 1.5 to 1.7 times its unbaked depth. Multiply the depth of your batter by that range and you get the finished layer height, which makes planning a target height far less guesswork.
| Pan and batter | Unbaked batter depth | Expected baked layer |
|---|---|---|
| One 6 x 2 round, full | about 2 inches | 3 to 3.5 inches |
| One 8 x 2 round, full | about 2 inches | 3 to 3.5 inches |
| One 9 x 2 round, full | about 2 inches | 3.5 inches |
| One 8 x 3 deep pan, full | about 2.5 inches | 4 to 4.5 inches |
| Two 6 x 2 rounds, half batter each | about 1 inch | 1.5 to 1.75 inches each |
| Two 9 x 2 rounds, half batter each | about 1 inch | 1.75 to 2 inches each |
So a 6 inch uncut layer from one batch is rare. Reaching it from a single batch usually means baking two full 9-inch layers and stacking them, which is 3.5 inches of cake plus about a quarter inch of filling. If you truly need one 6 inch slice of cake, the honest answer is that you need roughly double the batter.
Common Mistakes That Make Cakes Come Out Short
- Raising the temperature to speed things up. Higher heat sets the outside first and shortens the rise. Drop the oven 25 degrees instead and add 10 to 15 minutes.
- Filling the pan to the rim. No headroom means no oven spring. Keep batter at two-thirds of the pan.
- Overmixing the batter. Gluten development makes a tight crumb that rises less. Mix until combined, then a few more turns.
- Opening the oven early. Cold air and a temperature drop can collapse a cake that is still setting. Wait at least 15 minutes after the start of the bake.
- Skipping the scale. Uneven layers stack unevenly and the thin one dries out.
- Frosting a warm cake. The filling melts, slides and takes the height down with it. Cool fully, then chill.
- Too much filling. More than a third inch per layer makes a tall cake unstable. Add structural support instead of volume.
- Adding flour or extra leavening for height. Extra flour makes a denser, shorter cake, and extra baking powder can taste soapy. Fix the temperature and the pan, not the recipe.
Frequently Asked Questions
How can I get my cake to rise higher?
Lower the oven 25 degrees below the printed temperature, use room-temperature ingredients, and check your baking powder is still active. A slow bake keeps the gases expanding longer so the crumb sets at full volume. Skip extra flour, which makes a denser and shorter cake.
How do you get a cake to rise evenly?
Bake on the center rack with convection off, weigh and divide your batter evenly between pans, and wrap damp terrycloth strips around the outside of each pan as a homemade bake-even strip. The damp edge rises with the center instead of setting first, so you get a flat top and even layers.
How to make a 6 inch tall cake?
From a single batch, bake two full 9-inch layers and stack them with about a quarter inch of filling for roughly 6 inches total. One uncut 6 inch layer nearly always needs double the batter. For a taller single layer without filling, line a shallow pan with a parchment collar to add 1 to 2 inches of depth.
How can I level a cake without using a leveler?
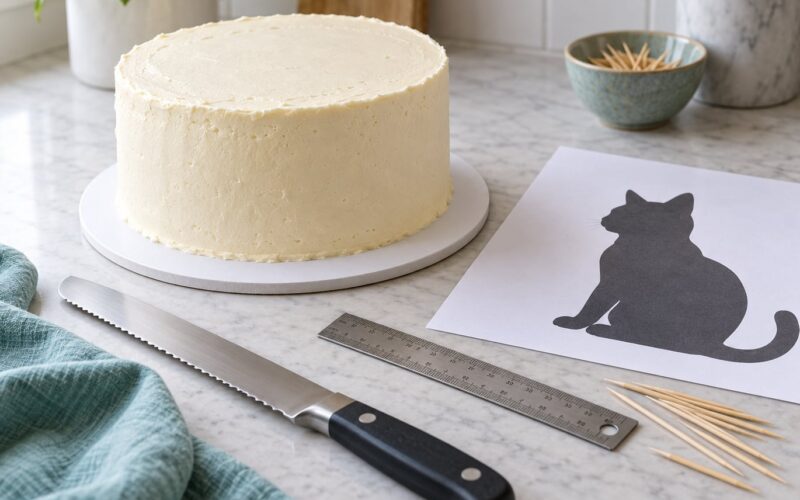
Cool the cake first, then place a toothpick or small piece of pasta in the low point of the dome and rest a serrated knife on top of it. Rotate the cake and shave off thin slices until the knife no longer touches the toothpick. Take off less than a quarter inch per pass to avoid cutting into the dome.
How do you put together a layered cake?
Level each layer, spread a third inch of firm buttercream or ganache on the lower one, and pipe a frosting dam around the edge to hold the filling in. Stack with a slight press to settle it, chill 20 to 30 minutes, then apply a thin crumb coat before the final frosting. Dowels support tiers or cakes that will travel.
What is the 1234 cake rule?
It is a box-mix shortcut for scaling: add roughly 1 cup of batter, or 1/2 cup flour and 1/4 cup sugar, for every extra 3 minutes the cake needs to bake. It helps a thin mix hold structure in a deep pan. It is not needed for a well-tested from-scratch recipe, and too much flour still gives you a shorter cake.
Conclusion
Start with the oven. Drop the temperature 25 degrees, bake on the center rack with the fan off, and add 10 to 15 minutes. That one change alone fixes the dome, the cracks and the sunken middle that make a cake look short.
After that, work through the structure: a parchment collar for depth in a shallow pan, weighed batter for matching layers, and a firm filling with a frosting dam for height you can taste. Chill the stack before the finishing coat, and how to make a cake taller without more batter stops being a trick and becomes the way you bake. It is the same method I lean on every 2026, and it has not failed me once.