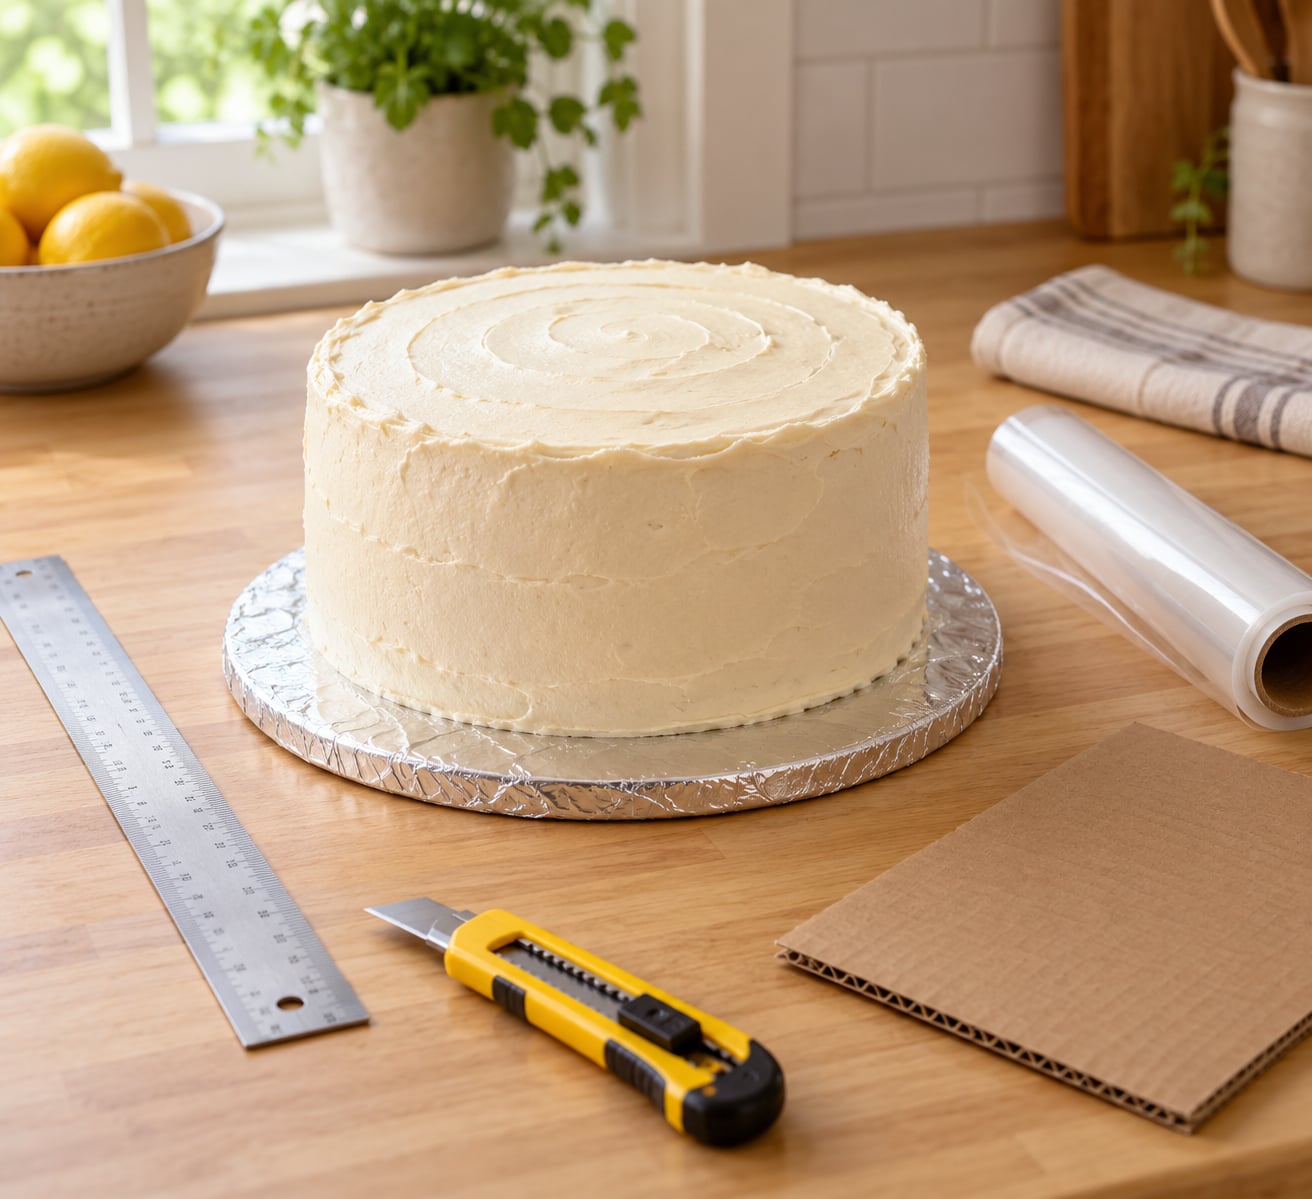
To make a cake board at home, cut two or three identical pieces of corrugated cardboard, tape or glue them face to face, trim it 1 to 2 inches larger than the cake on every side, then wrap the whole thing in aluminium foil or clear contact paper. Forty minutes, a craft knife, and a scrap of shipping box will do it.
A cake board is just a flat, rigid surface that sits under a cake so you can lift it, carry it and decorate it without touching the table. Cut the right size and it works exactly like the ones bakeries sell, which is good news if you have run out mid-project or need four matching boards for a tiered cake and would rather not buy a stack.
How to make a cake board at home breaks into four jobs: pick a size with enough overhang, laminate layers until the board stops flexing, cover it in something food-safe and wipe-clean, then check it is dead flat before the cake goes anywhere near it. Get those right and the rest is decorating.
Materials needed:
- Clean corrugated cardboard — a shipping box or a pizza box lid, ideally double-wall if you have one
- A cake pan, bowl or plate to trace for the size
- A utility knife or serrated knife, plus a steel ruler for straight cuts
- Double-sided tape or a hot glue gun to laminate the layers
- A food-safe covering: aluminium foil, clear contact paper, freezer paper, tissue paper or modelling fondant
- Something flat and heavy — a baking stone, a stack of baking trays, a marble slab
Table of Contents
- What You Need
- How to Make a Cake Board at Home: Step-by-Step
- How to Make a Cake Board the Right Size
- Flatten and Strengthen the Base
- Cover the Board for a Clean Finish
- Check the Board Before Decorating
- Common Mistakes
- Frequently Asked Questions
- What material is best for making a cake board at home?
- How thick should a homemade cake board be?
- Can I cover a cardboard cake board with parchment paper?
- How do I keep a cake board from bending?
- Can I decorate directly on a homemade cake board?
- How far should the board extend beyond the cake?
- Conclusion
What You Need
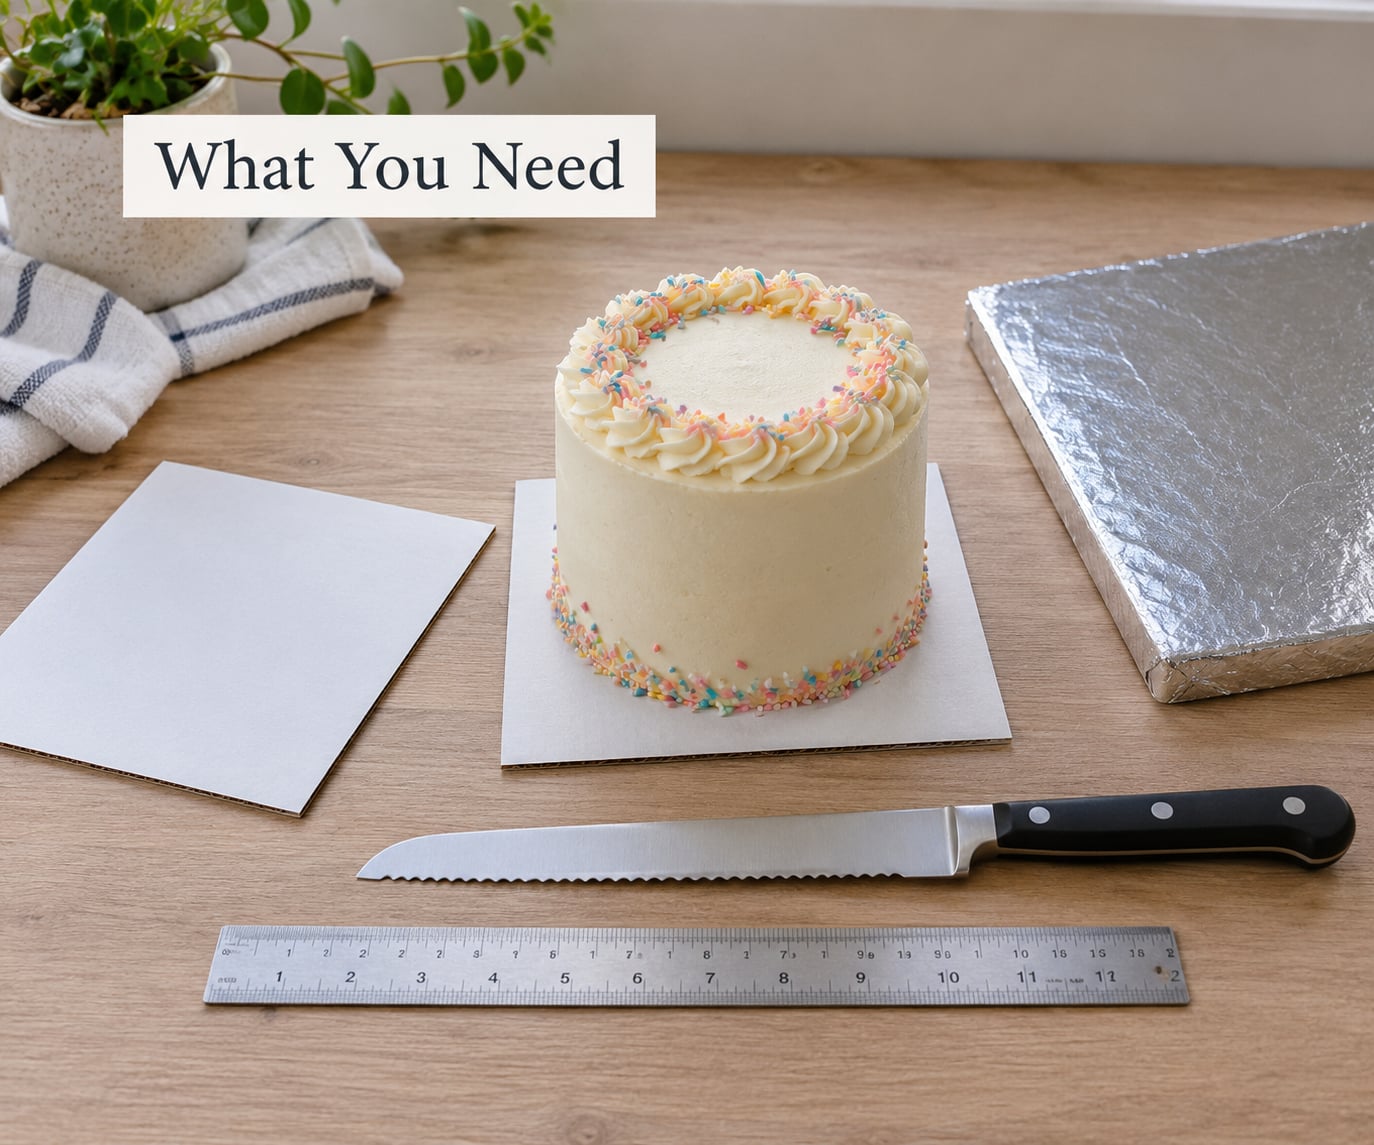
Before you start, one piece of terminology saves a lot of confusion. A cake round and a cake board are the same thing to most people, and that is fine, because they behave identically under a cake.
The word cake drum usually means a thicker, heavier version of the same idea, often sold with a decorative finish already on it. Structurally you are building the same object in every case. If your cake is under about 8 inches and you are not stacking tiers, three layers of corrugated cardboard is enough. For tiered cakes or anything above 10 inches, move up to foam core or MDF.
| Base material | How stiff it is | Best for | Notes |
|---|---|---|---|
| Single-wall corrugated cardboard | Light and slightly springy | Cakes up to about 8 inches, between-tier boards | Cut at least two, ideally three, identical pieces |
| Double-wall corrugated cardboard | Firm, no visible flute lines on the face | Single tier up to 10 inches, one full layer is often enough | The easiest find in a shipping box |
| 1/2 inch foam core | Rigid and dead flat | Base boards under tiered cakes | Cut with a long serrated knife in one stroke, sawing |
| 1/4 inch MDF or Masonite | Very rigid, heavier to carry | Oversized and sheet cakes where no board is sold | Sand the edges and seal it before covering |
| Bought cake drum | Rigid, ready made | When you want a finished look with no build time | The option this guide replaces |
One rule from the decorating forums is worth repeating because it answers most of the worry about recycled cardboard: wipe the board with hot water or neat alcohol before anything food touches it. That sanitising step matters more than which box the cardboard came out of, and the covering layer is what actually separates the raw board from your cake.
How to Make a Cake Board at Home: Step-by-Step
How to Make a Cake Board the Right Size
Measure the cake, not the box. Set your cake pan on the cardboard and trace around it, then add 1 to 2 inches on every side. That ring of overhang is your handling margin — it is where your fingers go when you lift and carry the cake, and it is what stops a board that is exactly cake-sized from looking amateur.
For a 12 inch tier, most decorators go wider, because the bottom tier of a wedding cake is the part everybody wants to photograph. Two inches all round works for a standard single tier; four inches is worth it for anything tall or stacked.
| Cake size | Single tier board | Overhang each side | Layers to laminate |
|---|---|---|---|
| 6 inch round | 8 inch | 1 inch | 2 to 3 |
| 8 inch round | 10 inch | 1 inch | 3 |
| 10 inch round | 12 inch | 1 inch | 3 or 4 |
| 12 inch round | 14 inch | 1 inch, 2 inch for a tall tier | 4 or foam core |
| Sheet cake, 9 by 13 pan | 11 by 15 inch | 1 inch | 4 |
For rectangular cakes, cut the base square first and trim it to a rectangle after laminating. Trying to cut a clean rectangle in one pass out of a shipping box is where beginners end up with ragged corners.
Flatten and Strengthen the Base
Cut every layer the same size. That sounds obvious, but mismatched edges are the reason a homemade board still rocks after you have taped four pieces together. Trace the first cut onto the second sheet and use a steel ruler as a straight edge for the knife.
Score the shiny side of the cardboard lightly with your knife before cutting, then cut on the score line. The cut stays far cleaner this way, and a fresh blade matters more than technique — swap the blade the moment it starts tearing fibres rather than slicing.
Run a line of double-sided tape around the edge of each layer, or zig-zag hot glue across the back, then press the next layer down. Let it sit under something heavy for twenty minutes. Laminating three layers and then weighting it flat removes almost every warp you would otherwise fight later.
Add layers by weight, not by guesswork. Put the cake on the finished board and press down hard with your palm. If you feel the surface flex, add one more layer. Professional decorators split the job differently, using light cardboard between tiers and half-inch foam core for the base, and that is a good rule to steal once you are building a set of boards in one go.
Cover the Board for a Clean Finish
The covering does two jobs: it makes the surface food-safe and wipe-clean, and it makes the board look finished. Whatever you choose, the cake never sits on raw cardboard, and every material below does that job.
| Covering | Finish | Wipe clean | Best for | Watch out for |
|---|---|---|---|---|
| Aluminium foil | Brushed metal | Yes | Structural base boards, matching tiered sets | Wrinkles at the rim; secure with hot glue, not just tape |
| Clear contact paper | Glass-smooth, invisible | Yes | Any cake, especially buttercream | Cut the fringe 1/8 inch short so no raw edge shows |
| Freezer paper | Matt, professional | Yes | Greaseproof base boards | Apply shiny side up so nothing sinks in |
| Tissue plus contact paper | Decorative, pleatable | Contact paper layer protects it | Birthday and shower cakes | Two layers means two chances to wrinkle |
| Modelling fondant or MMF | Fully custom colour | No, but forgiving | Tiered cakes where colour matching matters | Wet spots and imprints over time |
For foil, wrap with the shiny side facing out and pull it taut around the edge, tacking with small dabs of hot glue at regular intervals. For contact paper, run it across the top, down one side and under, then pleat the excess around the edge with a bench scraper so it lies flat instead of ballooning.
Fondant-covered boards develop damp patches if moisture gets trapped between the fondant and the board. The rule that comes up repeatedly on CakeCentral is to roll a batch of modelling fondant, wrap the board in one layer, and freeze the surplus in a bag for the next board.
Check the Board Before Decorating
Set the finished board on your counter and put a spirit level or a glass of water on top. If either rocks or the water tips, the board is warped — go back and add a layer. A warped board shows up as a cake that leans, and no amount of frosting fixes it.
Also check that the surface is dry and free of crumbs, and that the covering has no gaps where raw cardboard could show once the cake is centred.
Position the cake in the middle of the board, then dab a little buttercream or a smear of ganache on the bottom of the cake and set it down. That sticky layer stops the cake sliding on the turntable while you pipe the sides, which is the most common complaint about homemade boards. Melted chocolate works the same way and sets harder.
Once the cake is on, wipe the visible ring of board clean before you start piping. Whatever you use, keeping the cake off the table on a flat, food-safe board is the entire point of the exercise.
Common Mistakes
The board bows under the cake. Too few layers for the weight. Add a layer and re-weight it flat overnight. For cakes over 10 inches, switch to half-inch foam core rather than piling on more cardboard.
Cardboard splits or tears at the cut line. Usually a dull blade or cutting against the flute direction. Score the shiny face first, cut in one confident pass, and change the blade regularly. Pulling the knife back and forth tears the liner instead of cutting it.
Foil wrinkles at the rim. Work in small sections, pulling each one taut before tacking it, and glue rather than tape. Wrinkles catch light badly and, worse, create a gap where buttercream can sit and stick.
Fondant-covered boards get wet spots and imprints. Moisture is getting trapped. Wrap in a single tight layer, keep spare fondant frozen between uses, and store finished boards somewhere dry rather than in a garage.
The cake slides around the board while decorating. Buttercream, ganache or melted chocolate on the base of the cake fixes it in seconds. Do it before the cake goes near the turntable.
The board is too small, or the overhang looks uneven. Cut the trace 1 to 2 inches wider all round rather than eyeballing it. Measure the finished board in two places to confirm.
Raw cardboard is showing at the edge. The covering material is either not food-safe or is cut too large. Trim a fringe about 1/8 inch short of the base edge and pleat it underneath.
Corners on a rectangular board look ragged. Cut oversize squares, laminate them, then trim the finished block with a ruler. Edge cuts on a laminated block stay straight where single-sheet cuts never will.
Frequently Asked Questions
What material is best for making a cake board at home?
Corrugated cardboard is the best all-round choice for cakes up to 8 inches: two or three identical layers taped together give you a flat, sturdy surface for the cost of a scrap of a shipping box. For tiered cakes or anything above 10 inches, half-inch foam core holds its shape far better under load.
How thick should a homemade cake board be?
Aim for about 1 inch of finished board for a single tier and 1.5 inches or more for a stacked cake. Three layers of standard corrugated cardboard usually land near that. Test it by pressing the finished board firmly in the centre with your palm; if it flexes visibly, add another layer.
Can I cover a cardboard cake board with parchment paper?
Parchment works as a layer, but on its own it is too thin to wipe clean and it flutters at the edge. Most decorators prefer foil, clear contact paper or freezer paper, which greaseproof the board properly and give you a surface you can wipe after frosting. Skip the parchment unless you are protecting the board from condensation in a fridge.
How do I keep a cake board from bending?
Cut every layer exactly the same size and laminate them with tape or hot glue, then weight the stack under something heavy for at least twenty minutes. Thickness is the main fix: add layers or move to foam core until the centre no longer flexes when you press it. Keep a wide overhang, because a heavy edge also pulls the board down.
Can I decorate directly on a homemade cake board?
Yes, once the board is covered in a food-safe material like foil, contact paper or freezer paper. Wipe the covering with hot water or neat alcohol first, then attach the cake with a dab of buttercream, ganache or melted chocolate so it does not slide while you pipe. You are working on the covering, never on raw cardboard.
How far should the board extend beyond the cake?
Leave 1 inch on every side for a standard single tier and go to 2 inches for a tall or stacked cake. That overhang is your handling margin, so it needs to be even all the way round. Trace the cake pan on the cardboard, then measure out from the traced line rather than guessing at the finished board.
Conclusion
Start by measuring the cake and tracing it on cardboard, 1 to 2 inches bigger on every side. Cut three identical pieces, tape them face to face, and weight the stack flat for twenty minutes. Then wrap it in foil or contact paper, and you have a board that will carry a cake across a room without flexing.
Three things decide whether the board works: flat, food-safe and big enough. Check all three before the cake touches it. Once the board holds up under the weight, a dab of buttercream keeps the cake from sliding while you decorate, and the same board will still be in use next time you need one.