A tiered cupcake display is built by stacking round tiers in descending sizes on top of supports, with each support shorter than the one below it, so the finished tower holds 24 to 100+ cupcakes in the footprint of a single cake board. Most beginners finish a three-tier build in an hour and a half, using cardboard rounds or thrifted plates plus a hot glue gun, and the only genuinely hard part is keeping the structure from wobbling once the cupcakes go on.
Below is the method I would hand a friend: plan the sizes, cut the tiers, glue the pillars to the base, test the wobble before any frosting goes near it, then fill upward from the bottom tier. Skip those steps and you will end up with a leaning tower and squished frosting.
Table of Contents
- What You Need
- Step-by-Step: How to Make a Tiered Cupcake Display
- How to make a tiered cupcake display for a party
- Prepare and frost the cupcakes
- Build the tiered stand
- Arrange the cupcakes
- Decorate and finish the display
- Common Mistakes
- Tips for transport, setup and serving
- Frequently Asked Questions
- How many cupcakes do I need for a tiered display?
- Can I make a tiered cupcake display without a tiered stand?
- What frosting works best for a cupcake display?
- How do I keep a tiered cupcake display stable?
- How far ahead can I make the cupcakes for a party?
- How do I transport a tiered cupcake display without damaging it?
- Conclusion
What You Need
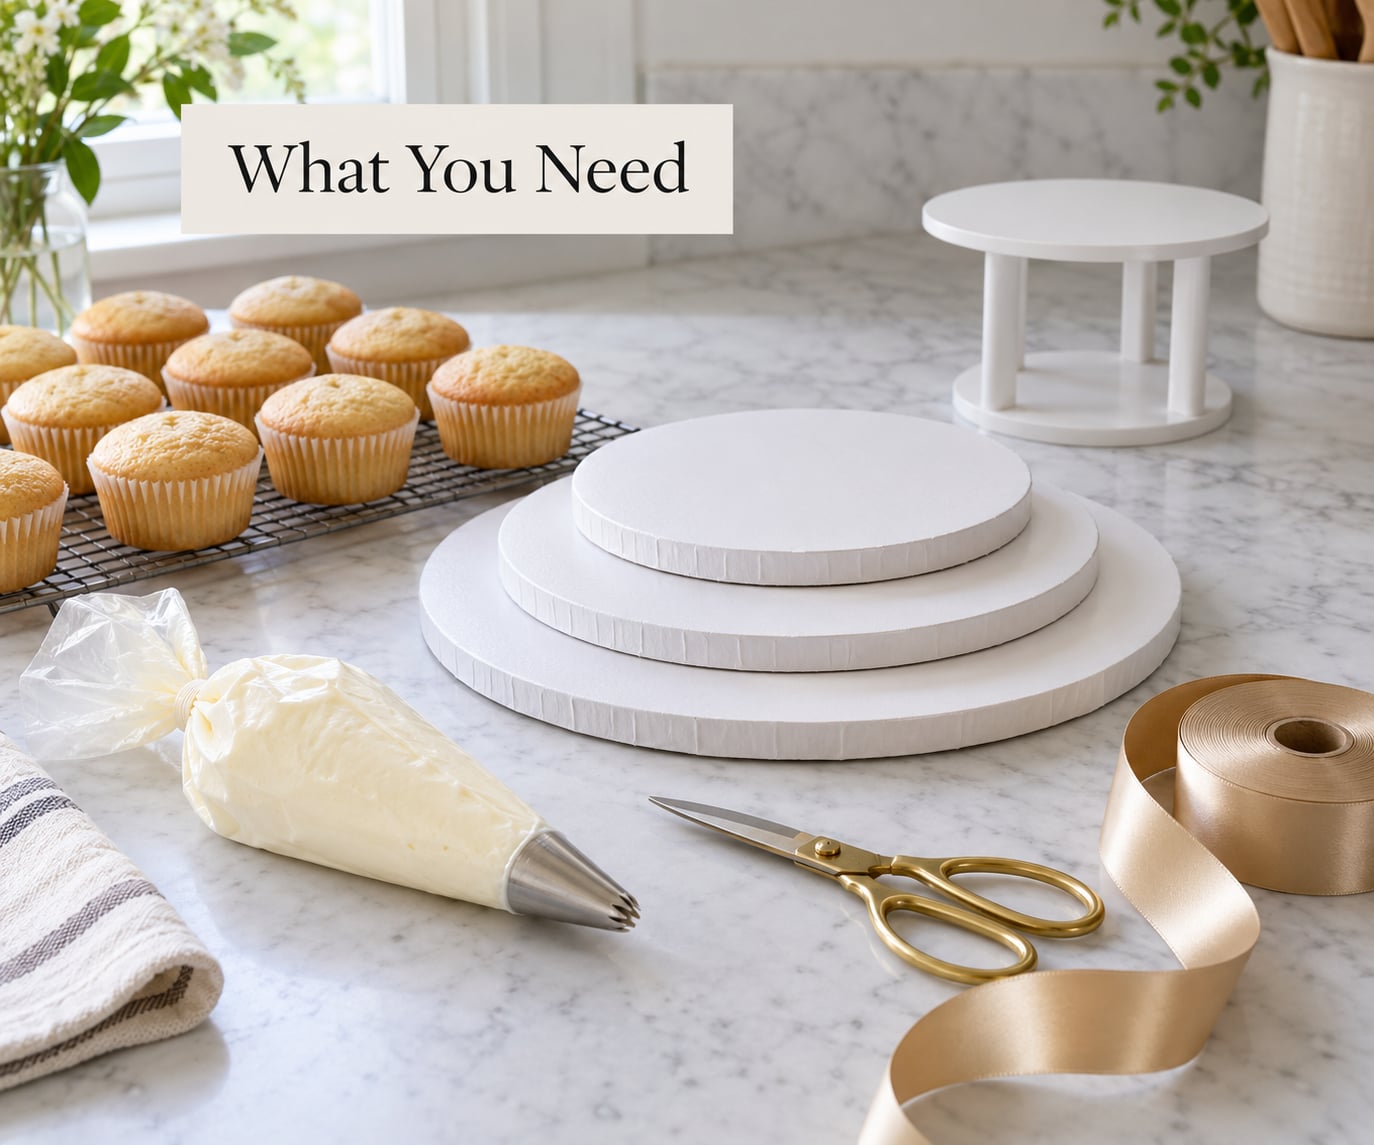
Five builds work well for a tiered cupcake display, and the right one depends mostly on how much time you have and whether you own a drill. All of them use the same three parts: a base, supports, and round tiers.
Here is how the five compare before you commit to one.
| Build method | Time to assemble | Cost band | Skill level | Typical capacity |
|---|---|---|---|---|
| Cardboard rounds plus foam board | 60-90 min plus drying | Low | Beginner | 24-60 cupcakes |
| Layered foam board with a solid core | 2-3 hours | Low | Beginner to intermediate | 60-120 cupcakes |
| Thrifting plates plus hardware | 45-60 min plus drilling | Low | Intermediate, needs a drill | 18-36 cupcakes |
| Plates plus candlesticks, no drilling | 20-30 min | Low | Beginner | 12-24 cupcakes |
| Dollar Store rounds and risers | 45-60 min | Low | Beginner | 24-48 cupcakes |
The core materials list stays short: cupcakes, tier rounds in three descending sizes, supports, adhesive, a non-slip mat, and a finishing treatment.
- Tier rounds: three circles in descending diameter. Cardboard rounds, foam board cut with a craft knife, or foil-covered cake boards all work. Cardboard alone is fine once it is laminated or covered.
- Supports: wooden dowels, short lengths of PVC pipe, thrifted candlesticks, or a foam cake dummy. Each support must be shorter than the tier above it sits on.
- Adhesive: hot glue gun for the pillars and paper wrap, heavy-duty double-sided tape for the tiers themselves.
- Non-slip mat: a shelf liner or thin silicone mat that goes under the base. This single item fixes most wobble complaints.
- Finishing supplies: spray paint, decorative paper, satin ribbon, or fabric wrap for covering the raw cardboard edge.
- Tools: craft knife and cutting mat, ruler, pencil, hand towel or spray water for drilling, and a cordless drill with a glass or tile bit if you are using plates.
As for what can you use instead of cupcake holders: for the supports, candlesticks, wooden dowels, PVC pipe, wine bottles of matching height, and empty jam jars all work as pillars. For the tiers themselves, cake boards, cutting boards, wooden rounds, upside-down bowls, large plates and clean window shutters all stand in for a purpose-built shelf. What matters is that the surface is food safe and clean.
Skip decorative china that you cannot verify is food safe. Some painted pieces and older decorative pieces can leach lead into food, so wash everything first and stick to plain white, clear glass, or wood for anything a cupcake will actually touch.
Step-by-Step: How to Make a Tiered Cupcake Display
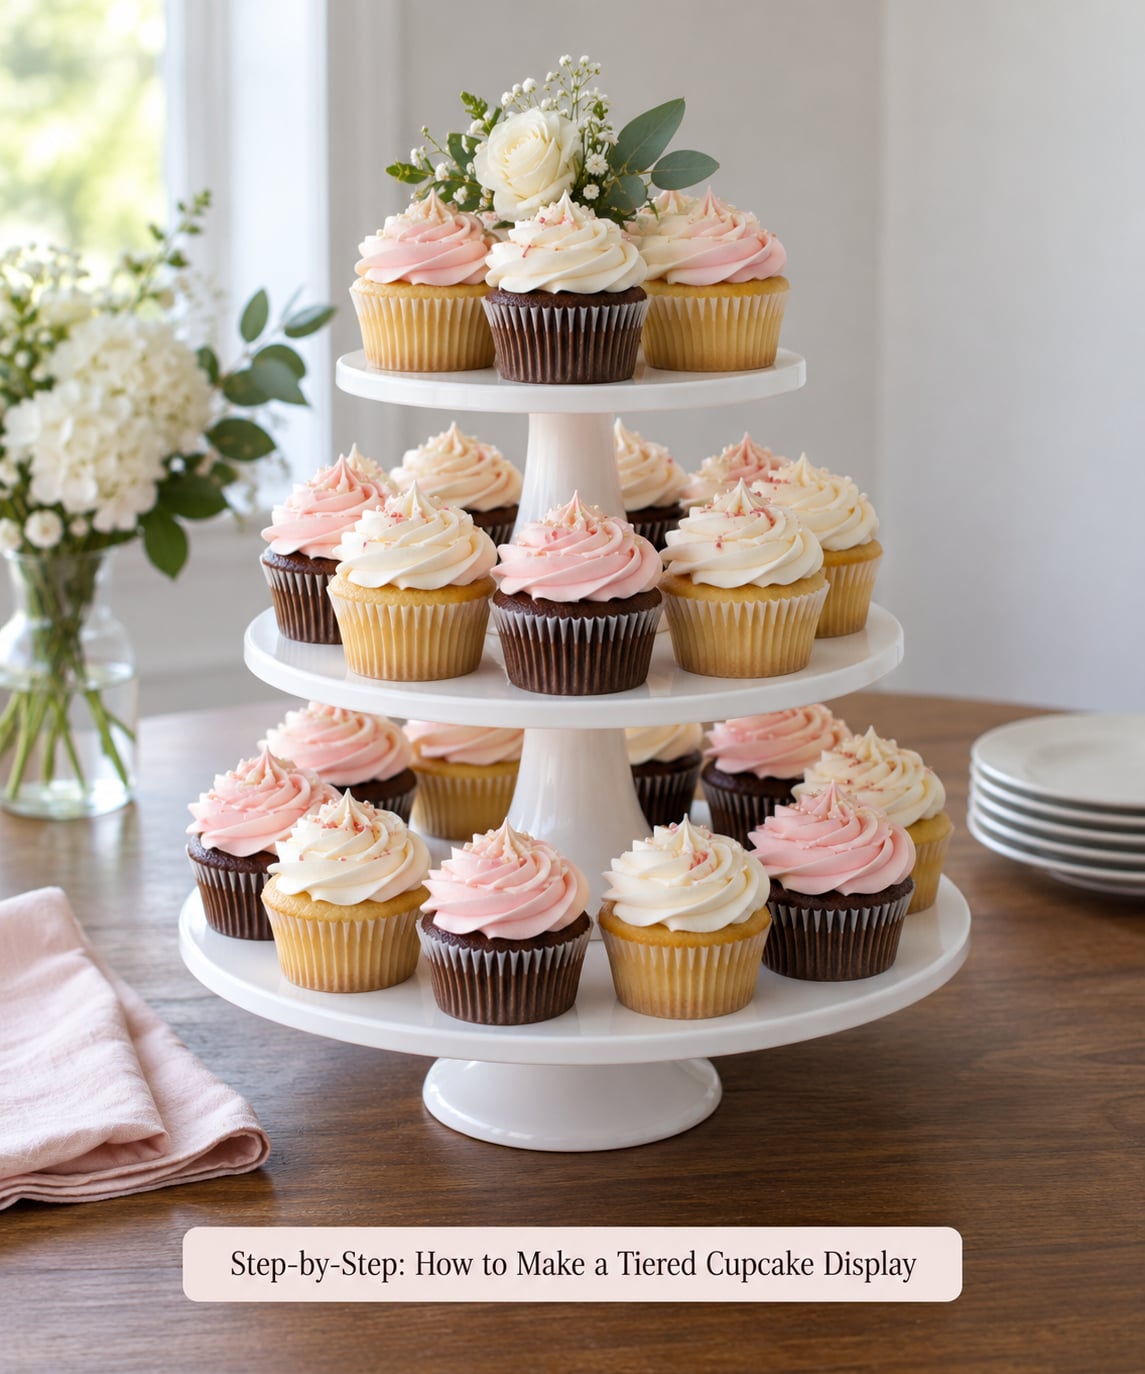
To build a tiered cupcake display, cut three rounds in descending sizes, glue two or three supports to the smallest base, set the largest tier on top, test the wobble with your hand, then stack the next support set and the final tier. Fill from the bottom up with evenly spaced cupcakes, keeping at least 3 inches of clear height between tiers so the lower rows stay visible.
- Choose your tier diameters and write the three numbers down before you cut anything.
- Cut the three rounds and sand or trim the edges so they sit flat.
- Cover each round: paint, wrap in paper, or ribbon the edge.
- Glue supports to the underside of the middle and top tiers, not to the base.
- Set the largest tier on the table on your non-slip mat and centre the next tier on it.
- Press down firmly on the top tier, then release and watch for movement. Any wobble gets fixed now, not later.
- Fill the bottom tier first, then work upward.
- Add the topper only after the whole tower has passed the wobble test.
How to make a tiered cupcake display for a party
Sizing a party display starts with the guest count, not the stand. Plan two to three cupcakes per adult guest, one per child, and add about ten percent as a buffer for the person who eats two. A hundred guests is usually 200 to 300 cupcakes, which is far more than a small three-tier tower can hold, so you will want two towers or a table that mixes towers with a flat tray behind them.
Here is the capacity math almost nobody publishes, which is why this question comes up so often. It assumes standard cupcakes about 2.5 inches wide in their liners.
| Tier diameter | Cupcakes that fit | Typical role in the tower |
|---|---|---|
| 6-8 in | 4 to 6 | Top tier |
| 8-10 in | 8 to 10 | Upper or second tier |
| 10-12 in | 12 to 16 | Middle tier |
| 12-14 in | 18 to 24 | Bottom tier on a three-tier build |
| 16-18 in | 28 to 36 | Bottom tier on a four- or five-tier build |
A common three-tier build of 6, 10 and 12 inches holds about 32 to 36 cupcakes. Add a fourth and fifth tier and you are looking at 60 to 80. Seven tiers is where most builds stop being sensible, and that is also where toppling starts, so treat anything past five as a display project rather than a serving plan.
Keep the tallest tier visually prominent by putting the widest tier at the bottom and letting each one above step in by two to three inches all the way around. Leave about an inch of empty surface at the outer edge of every tier so guests can lift a cupcake off without grabbing their neighbour.
Prepare and frost the cupcakes
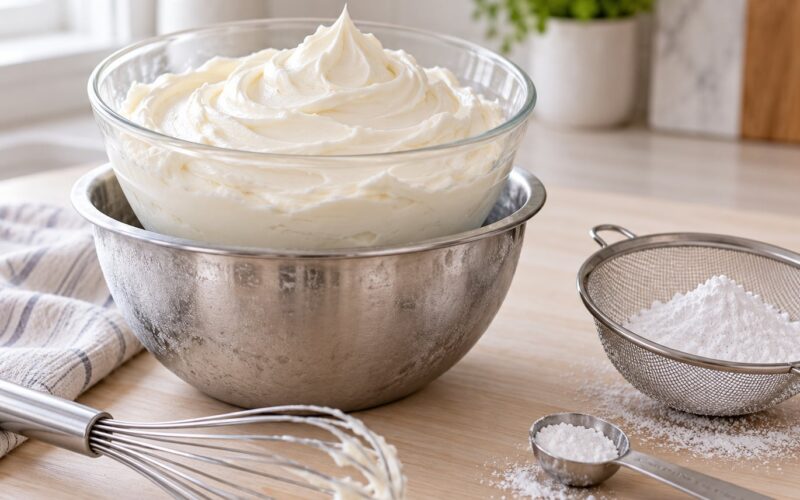
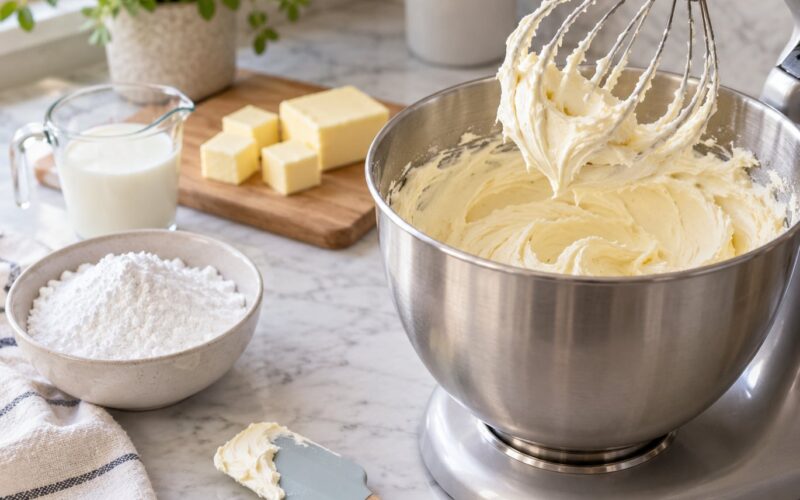
Frosting is what makes the display look deliberate, so keep it simple enough to repeat twenty times without losing your place. A smooth swirl, a flat spread, or a thin glaze all read cleanly from across a room. Skip the tall buttercream rosettes on the bottom tier, where cupcakes get stacked visually right behind them.
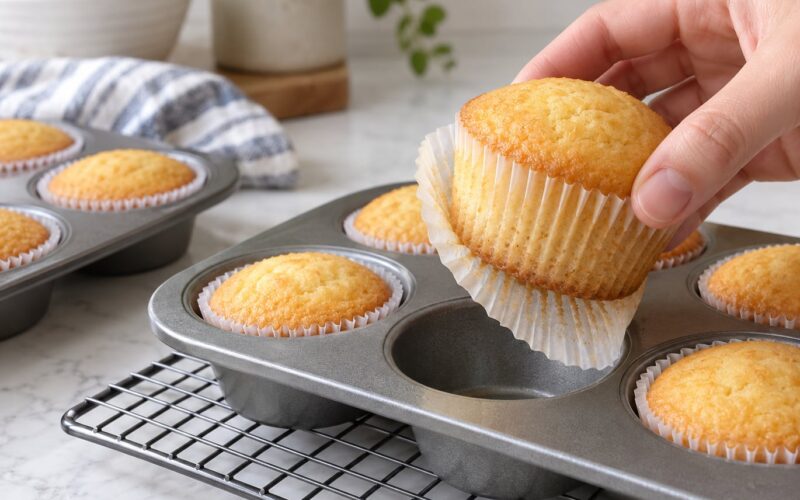
Let the cupcakes cool completely before frosting. A warm cupcake melts buttercream and slides frosting onto the tier, which is the fastest way to ruin a display you spent an hour building.
Keep the finished display out of direct sun, away from hot lights, and somewhere with no dust or pet traffic. Buttercream softens faster than people expect, and a tier that looks perfect at noon can be sagging by the time guests arrive.
Build the tiered stand
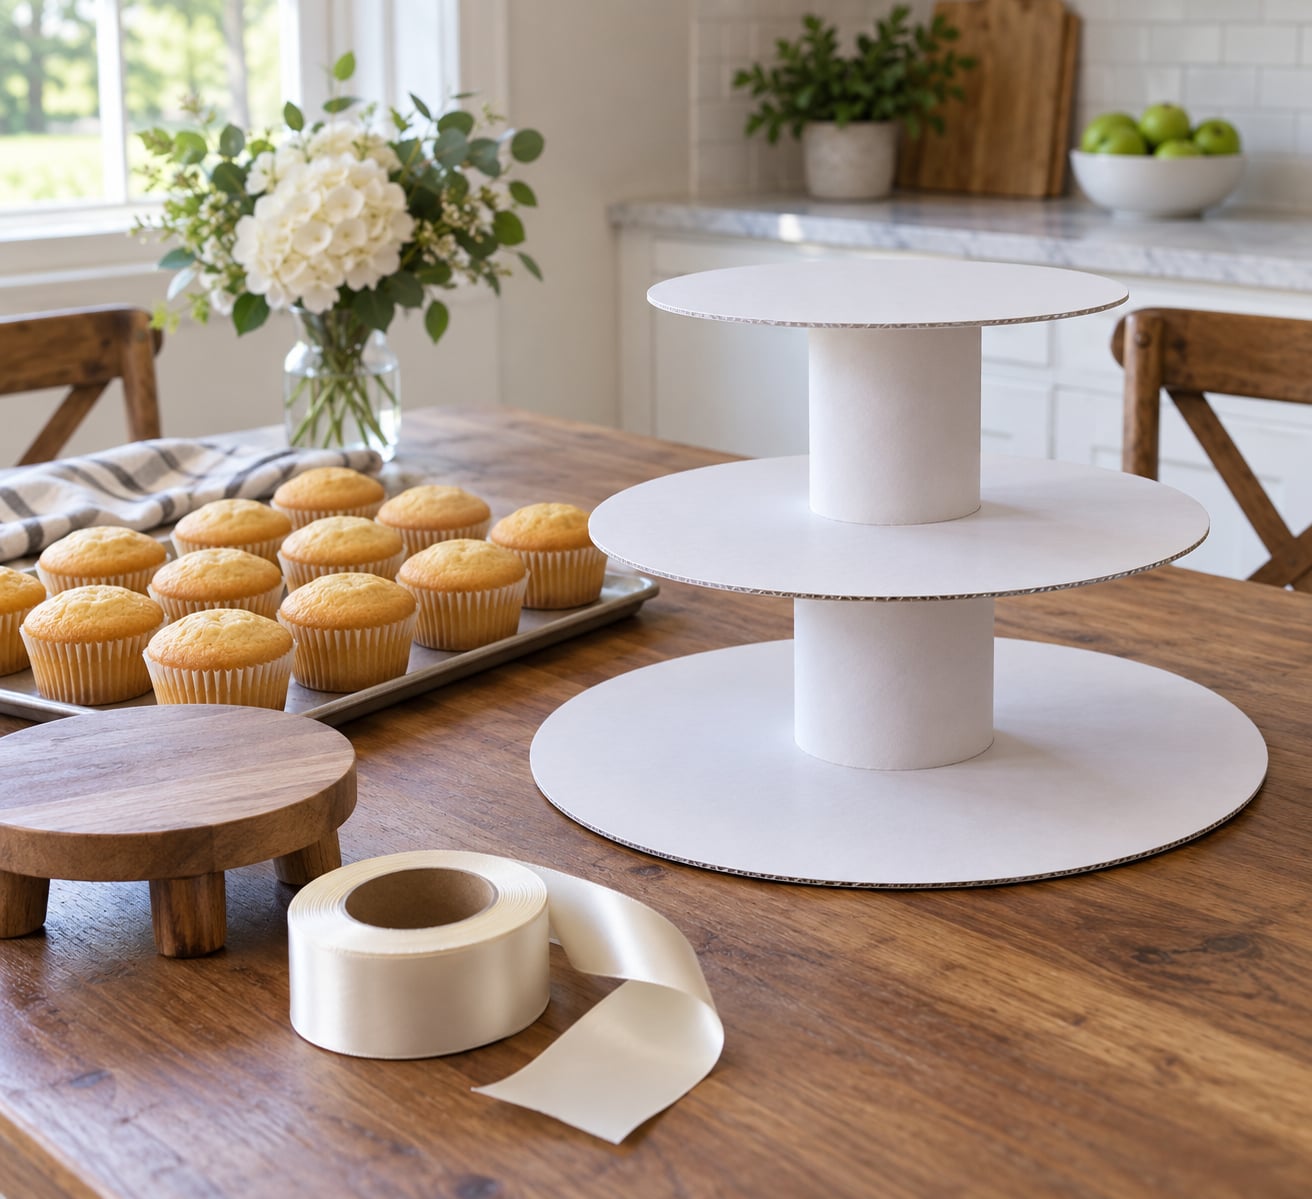
Start with the largest round as the base and lay it flat on your non-slip mat. Glue the first set of supports to the underside of the middle tier and set that tier on the base, centred so the overhang is even on all sides. Then repeat with the shortest supports and the smallest tier on top.
Three things stop wobble before it starts. Glue the pillars, do not just rest them on the base. Use two or three pillars per tier rather than one, spaced evenly under the weight. And keep every pillar the same height within a tier, because one short pillar is what tips a tower sideways.
For the foam board version, cut a shallow cylinder from the leftover foam board core and wrap it in paper or ribbon to look like a pedestal. It is stronger than cardboard and heavier, which is exactly what you want on the bottom tier. For large counts, join two or three cardboard circles per tier so the load is spread across a wider core.
If you are using thrifted plates, drill a hole through the centre of each plate with a glass or tile bit. Spray water on the bit and keep a damp towel nearby, because a dry bit will crack thin plates in seconds. Stay away from bone china and anything with a painted or gilded rim.
The no-drill version works too. Set the largest plate flat, stand three candlesticks or dowels on it, then rest the next plate on top. It looks less engineered and more like something from a farmhouse table, which plenty of people prefer.
When the structure is up, press down on the top tier and release it. If it rocks, drop the base onto the mat, add weight to the lowest point, or glue the offending pillar rather than trying to shim it with a folded paper towel.
Arrange the cupcakes
Start from the outer edge and work inward so the gaps get smaller where nobody looks closely. Measure once with a ruler and use that spacing everywhere: about half an inch of visible tier between cupcakes is enough, and anything tighter means a lifted cupcake takes its neighbour with it.
Align the tops. A display where every swirl sits at the same height reads as intentional, while one with a stray tall cupcake in the front row reads as an accident. Turn the best-looking cupcakes to the front and the slightly squashed ones to the back row, where frosting damage is easier to hide.
Vary the frosting colour in stripes or blocks rather than scattering it randomly. Two or three colours in repeating bands around the tier gives you height variety without creating an uneven outer edge that guests will brush against.
Keep the tier spacing honest. You need roughly 3 to 4 inches of clear height between one tier and the one above it, and about 12 to 14 inches total for a three-tier build, or the bottom row disappears behind the middle tier the moment you set it down. You will know the spacing is right if you can see the bottom cupcake tops while standing at normal viewing height.
Decorate and finish the display
Once the tower passes the wobble test, decorate. Ribbon wrapped around the pillars, a scalloped paper edge on the tiers, or a coordinating doily under the base each take under ten minutes and pull the whole thing together. A single topper on the highest tier, kept light, finishes the look without adding wobble.
Keep every decoration food safe. Anything a guest might touch or breathe near should be washed, and nothing loose should sit where guests reach in. Silk or paper florals on a pick work better than fresh ones near the frosting, which absorb smell and can wilt within hours.
Style the table around the display rather than on it. A linen runner, a couple of low flower arrangements at the base and a small sign give the eye somewhere to land without competing with the cupcakes. Set the tower on the tallest, most central part of the table so it is visible over the crowd.
Common Mistakes
- The tower wobbles. Almost always too few pillars, or pillars resting on the base instead of being glued to it. Add a second pillar per tier and glue both.
- Cupcakes sit too close together. Fix it by removing every second cupcake from the outer ring. Guests need room to lift one out without disturbing the rest.
- Lower tiers are invisible. The tiers are stacked too close. Raise the middle tier until you can see the bottom cupcake tops from standing height.
- Frosting looks uneven. Match the frosting depth instead of the swirl style. One consistent swirl repeated beats three different techniques done halfway.
- The display looks overloaded. Remove the small topper, the extra florals and the second sign. Overdecorating hides the cupcakes, which were the point.
- Colours fight each other. Pick one main colour, one neutral and one accent, and let the cupcakes supply the fourth.
- You moved the display before it was supported. That is the collapse story most people tell. Move it while it is still empty, then fill it in place.
- Plates cracked while drilling. Use a glass or tile bit, keep it wet, and go slow. Thin porcelain and bone china crack regardless of technique.
Tips for transport, setup and serving
Do not lift a filled tower. Cupcakes weigh more than the surface looks like it should, and the failure always happens at the joints. Build at the venue if you can, or carry each tier separately in a flat box with towels around the edges and stack it on arrival.
Set the display up before the cupcakes go on, on the actual table, and put the non-slip mat down first. Give yourself ten minutes, walk around the table as a guest would, and check the wobble from a distance rather than from directly above.
For serving, put small plates and napkins at hand height on a side table so nobody reaches over the top tier. The tower is the centrepiece, not the buffet, and guests will treat it differently if they can take a plate without balancing.
When the event is over, disassemble it back to flat panels and store them flat between sheets of parchment. A build that comes apart cleanly is the one that survives long enough to be used again for cookies, macarons, donuts or favours.
Frequently Asked Questions
How many cupcakes do I need for a tiered display?
Plan two to three cupcakes per adult guest, one per child, plus about ten percent spare. For a hundred guests that is roughly 200 to 300 cupcakes, which no single three-tier tower holds, so plan two towers or add a flat tray behind them. A three-tier build of 6, 10 and 12 inch rounds carries about 32 to 36 cupcakes.
Can I make a tiered cupcake display without a tiered stand?
Yes, and most of the best versions are built that way. Use plates, cake boards, cutting boards or wooden rounds as the tiers and candlesticks, dowels, PVC pipe or foam board cores as the pillars. The only real requirements are descending tier sizes, supports that get shorter as they go up, and a base that sits flat on a non-slip mat.
What frosting works best for a cupcake display?
Buttercream is the safest pick because it holds a shape at room temperature and pipes fast enough to repeat across thirty cupcakes. Cream cheese frosting works if you refrigerate the display until the last minute. Glaze is fine on the bottom tier but too plain on its own, and whipped cream needs cold storage the whole time it is out.
How do I keep a tiered cupcake display stable?
Glue every pillar to the tier it supports, use two or three pillars per tier at equal height, and lay a non-slip mat under the base. Keep total height within about 12 to 14 inches for three tiers and stay under five tiers overall. Test the empty tower by pressing the top tier and releasing it before any cupcakes go on.
How far ahead can I make the cupcakes for a party?
Unfrosted cupcakes keep well covered at room temperature for two days, and frost them a day ahead. Buttercream cakes stay fresh in a cool room for a day or two. Build the stand any time you like, since a foam board build is more stable once the glue has set for 24 hours, and fill the tiers the morning of the event.
How do I transport a tiered cupcake display without damaging it?
Never transport it filled. Carry each tier separately in a flat box with towels packed around the edges so nothing slides, and keep the base flat on a seat or the floor rather than a bouncy trunk. Stack it at the venue on the non-slip mat, test the wobble empty, then fill upward from the bottom tier once it is confirmed solid.
Conclusion
Start with one decision: pick your three tier diameters and write down the capacity for each before you cut anything. Everything after that is cutting, gluing and spacing, and a stable structure with evenly spaced cupcakes will look better than a tall display covered in decorations that nobody can see past.
Build a simple two- or three-tier version first and get the wobble out of it while it is still empty. Once that one stands up on its own, the next display, whether it is cookies, macarons or a hundred and twenty cupcakes, is just a bigger version of the same five steps.