To plan a dessert table for a baby shower, work backwards from your guest count: decide how many treats you need, pick three to five that complement each other, repeat one colour palette across every element, then set the display on stands of varying heights with plates and labels within reach. The whole process takes an afternoon of planning and a couple of hours of setup on the day.
Most table disasters I see come from one of two places. Either the host planned by recipe instead of by guest count and ended up with either a bare corner or a table buried in cupcakes. Or they bought eight kinds of sweets because each one looked good in isolation, then nobody could work out what to eat first. Both are easy to avoid once you do the counting before the shopping.
Here is the order I work in, whether the shower is for 18 people in a living room or 75 at a rented hall.
Table of Contents
- What You Need
- How to Plan a Dessert Table for a Baby Shower Step by Step
- How to choose a baby shower dessert-table theme
- How to calculate how much dessert to make
- How to choose a balanced mix of treats
- How to arrange the dessert table
- How to handle allergy-aware desserts and labels
- How to set up and refresh the table
- Common Mistakes
- Frequently Asked Questions
- How many desserts should I plan for a baby shower?
- What desserts work best for a baby shower dessert table?
- How far in advance can I make desserts for a baby shower?
- How should I label allergy-friendly desserts at a party?
- Should a baby shower dessert table include cakes and cupcakes, or choose just one?
- What serving utensils and table supplies do I need for a dessert table?
- Conclusion
What You Need
You do not need much to start, but you do need these five things settled before you pick a single treat.
- A guest count with a buffer. Use the number you invited plus about 10 percent. People bring friends, plus-ones get counted, and someone always assumes there is more food elsewhere.
- The shower palette. Two or three colours from the invitations, balloons or linens already bought. Pick these before the cake order, not after.
- A quantity note. Even a scrap of paper with the guest count and a column per treat keeps you from doubling a batch at midnight.
- Serving supplies. Plates, napkins, forks or napkins-with-forks, a small knife for the cake, and a box or tin for leftovers. Guests should never need to walk away from the table to find a plate.
- Stand and display materials. Whatever you already own: cake plates, tiered trays, wooden risers, plinths, cake dummies, mason jars for individual portions, and a few crates or boxes to build height.
- Dietary information. Ask the host or co-host which guests avoid nuts, gluten, dairy or animal products. Write the answers down. This conversation takes two minutes and it is the part hosts most often forget.
How to Plan a Dessert Table for a Baby Shower Step by Step
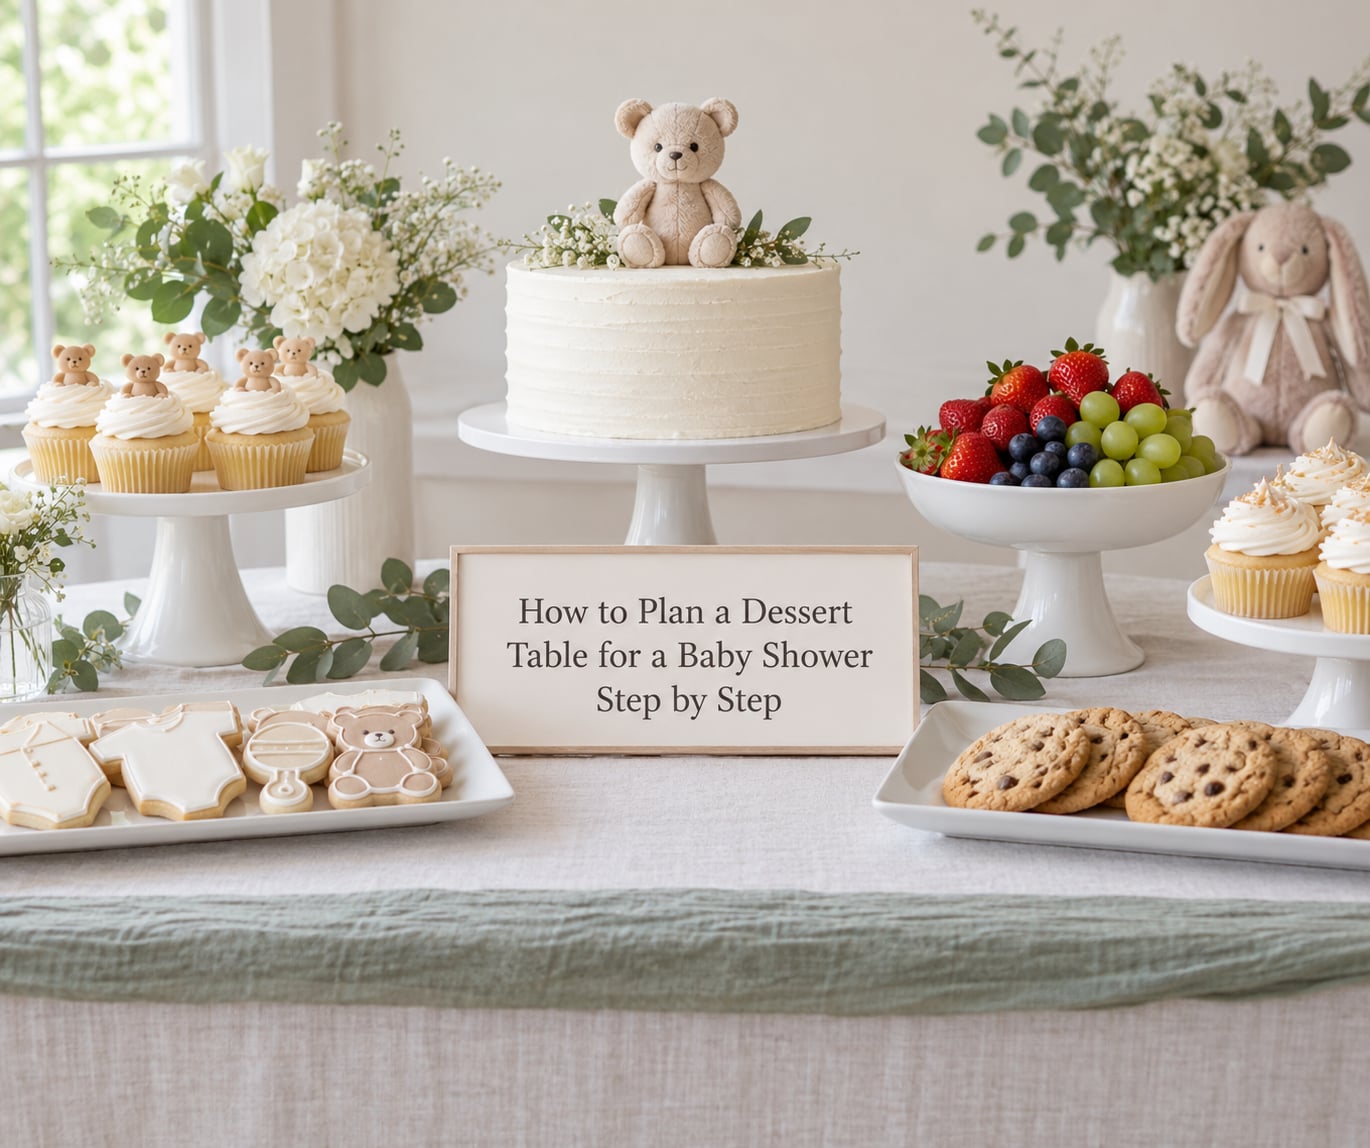
Six decisions make up the plan: theme, quantities, treat mix, layout, allergy handling and setup. Take them in that order and each one answers the next.
How to choose a baby shower dessert-table theme
A good dessert-table theme is just your shower colours narrowed to three and repeated on the food, the linen and the small signs. Pull the palette from whatever you already committed to, whether that is a balloon garland, an invitation or a set of napkins, so nothing needs re-buying.
Hosts on baking forums tend to fall into two camps: the over-decorated camp that pipes every cookie in four colours, and the neutral camp that buys white plates and calls it minimalist. The middle works better. Set the food colours with sprinkles, a single drip, dusted cocoa or one colour of buttercream, then let the decor carry the rest.
Season gives you a shortcut. An autumn shower in rust, mustard and deep green takes naturally to apple-based treats and spice colours. A spring shower in cream and soft green looks good with lemon and berries. If the shower is gender-neutral, stay with two neutrals and one accent rather than splitting the difference into a muddy beige.
One more step worth doing early: send the palette to your cake maker, balloon artist or print supplier the same week you settle it. Mismatched ivory and cream shows more than you think it does, and redoing a cake is far more disruptive than reprinting a menu card.
How to calculate how much dessert to make
Use 2 to 3 bite-sized pieces per guest as your base, or one generous slice plus a few small sweets if a cake is involved. Guests arriving after a savoury meal eat less than guests who came straight from work, and children eat less than adults but pick more.
If the dessert table is the only sweet food at the party, plan toward the higher end. If there is a cake-cutting moment with slices handed out, the table is grazing rather than the meal, and two pieces per guest is plenty.
| Guest count | Small cake or cupcakes | Cookies | Bite-size sweets | Fruit or savoury |
|---|---|---|---|---|
| 15 to 20 | 12 to 15 cupcakes or a 6 inch cake cut into 18 | 24 | 40 to 50 | 1 tray |
| 25 to 30 | 24 cupcakes or an 8 inch cake cut into 24 plus 8 spare | 36 | 60 to 75 | 2 trays |
| 40 to 50 | 36 to 48 cupcakes or a sheet cake plus a small round | 50 | 90 to 120 | 3 trays |
| 60 to 75 | 60 cupcakes or two sheet cakes | 75 | 150 to 180 | 4 trays |
| 100 or more | 1 sheet cake per 25 guests plus cupcakes | 100 | 200 | 5 trays |
For a 75-guest shower, that table reads as roughly two sheet cakes, 75 cookies, 150 to 180 bite-size sweets and four trays of fruit. It sounds like a lot written down, but spread across a long table with guests taking two or three items each, it lands about right.
One habit worth copying: build in a little extra of the flavour that goes down best, usually because one flavour quietly becomes a hit and the other disappears. Extra is cheap insurance on the most popular item, not a licence to bake double.
How to choose a balanced mix of treats
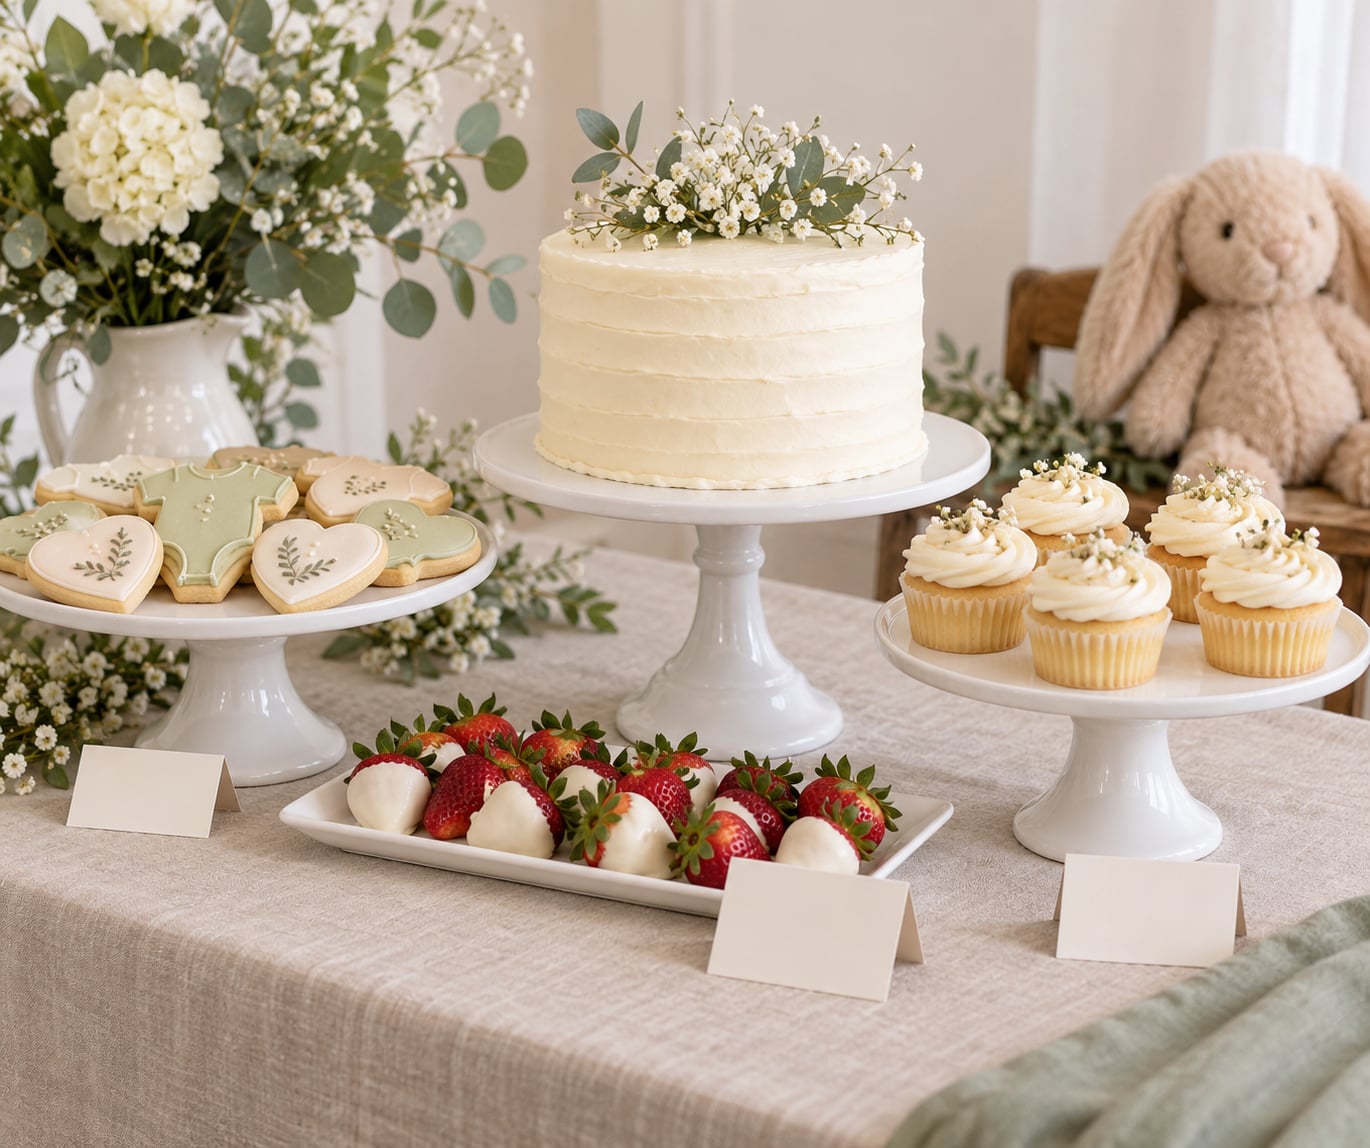
Build the table from three roles: one centrepiece, one or two individually portioned sweets, and one lighter or fruit-based option. That gives you contrast in size, texture and sweetness without a long list.
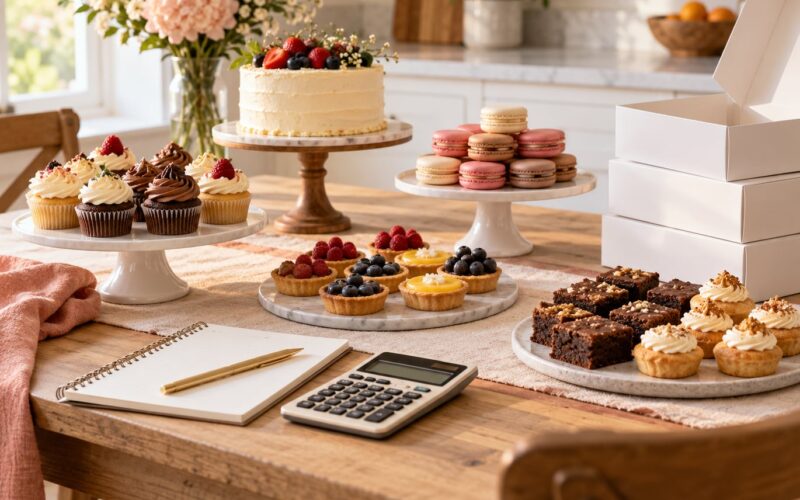
- Centrepiece: one cake, semi-naked and frosted in your palette colour, or a tray of 24 to 36 cupcakes. Pick one, not both, unless you are hosting a large crowd.
- Individually portioned: cake pops, macarons, Rice Krisies squares, dipped pretzels or decorated cookies arranged on a tiered tray. These are what guests pick up with one hand while they are chatting.
- Lighter option: a fruit tray, chocolate-dipped strawberries, meringue kisses, or shortbread. This is the element most tables skip and most guests appreciate after a heavy meal.
- One savoury note: a small tray of cheese crackers, mini quiches or salted pretzels. It gives late-arriving guests something to eat and keeps the table from tasting like one long sugar hit.
Vary the texture more than the flavour. A table of five soft bakes looks flat no matter how pretty the colours are. Adding something crisp, something chewy and something fresh does more for the spread than a fifth frosting colour.
How to arrange the dessert table
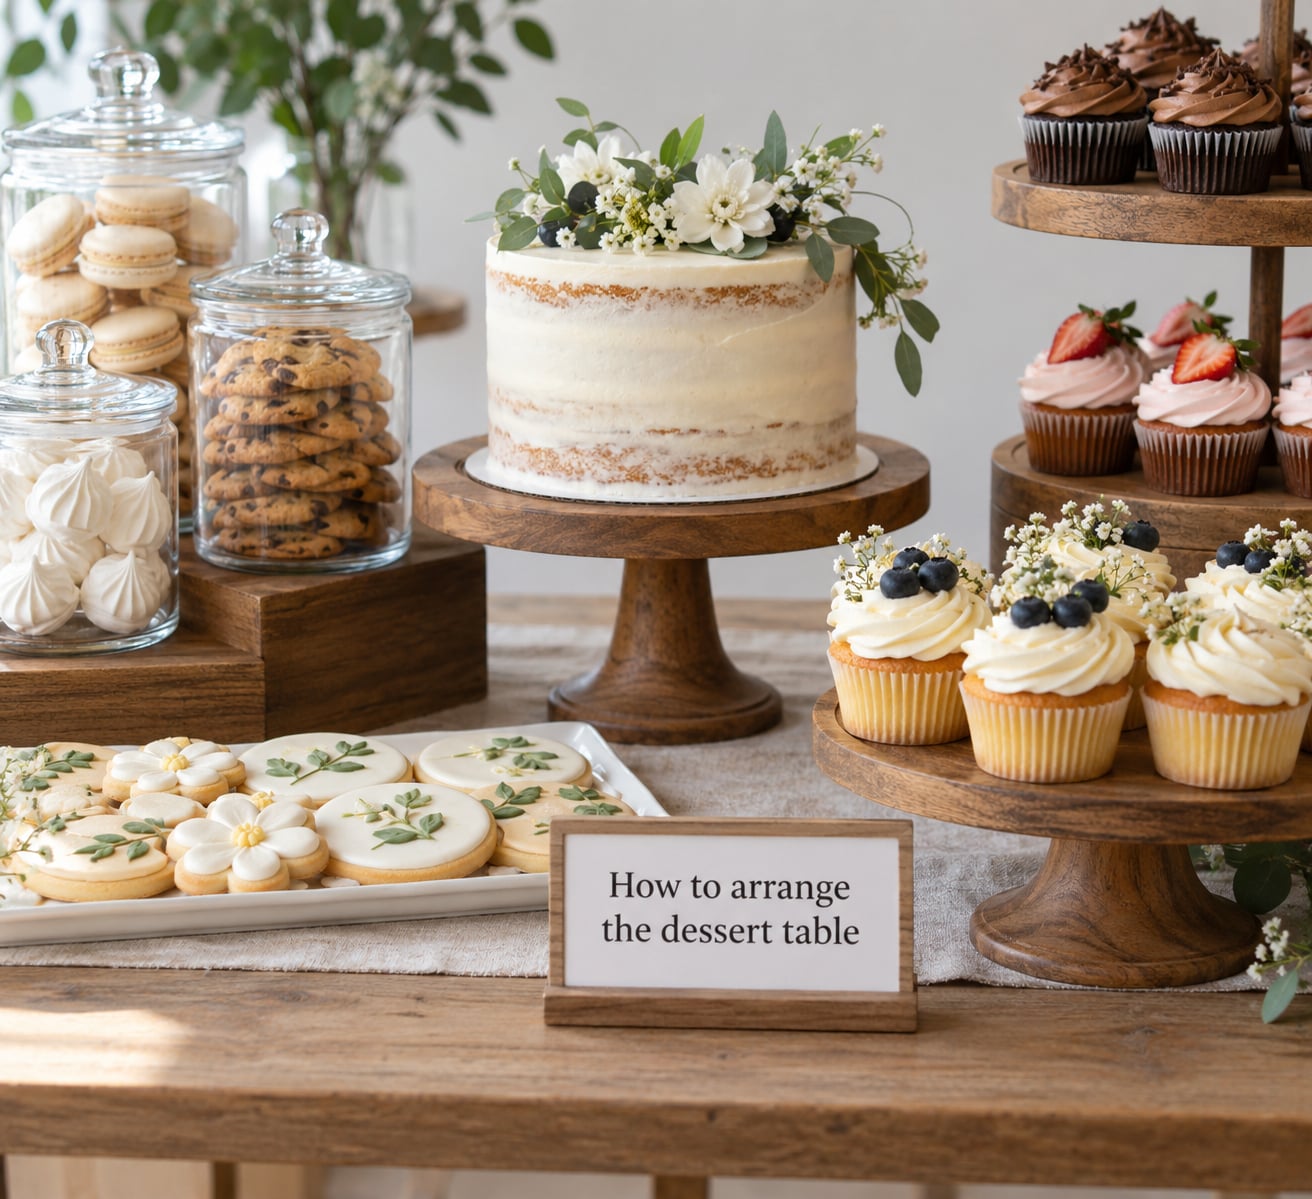
Arrange the table so the tallest items sit at the back, the mid-height items in the middle, and the things guests handle most at the front edge. Height variation is what makes a table of inexpensive treats look styled rather than stacked.
Build height with what you own: a tiered stand, upside-down bowls, wooden crates, cake dummies, or boxes covered in linen. Leave gaps between groups. A crowded table reads as chaos and slows self-service, because people cannot see what is on the far side.
Give yourself serving space at both ends of the table, with plates, forks or napkins-with-forks, and a separate plate for cake slices. Put the knife and cake server beside the cut cake, not in a drawer. Add a small tin or basket for leftovers near the exit path so nobody cuts slices and carries them around in a napkin.
If the shower is outdoors, keep the table in shade and off the ground. Buttercream, chocolate and cream fillings soften fast in direct sun, and a tray that looks perfect at load-in can slump by the time guests arrive. Moving the table into shade partway through the afternoon is a small job that saves the display.
How to handle allergy-aware desserts and labels
Ask about the major allergens in advance, then label anything that does not contain them in plain words on a small card next to that treat. “Gluten-free lemon bars” tells a guest everything they need. “Lemon bars” tells them nothing.
Keep specialized treats physically separate from the main group, ideally on their own stand at one end, and use separate tongs or a separate spoon for each. Handling utensils are the main route for cross-contact at a self-serve table, not the treats sitting next to each other.
Verify ingredients with the baker or the manufacturer rather than guessing from a recipe name. Labels on commercial items change, and a product reformulated without nuts is worth checking before you promise anything to a guest. Nobody with an allergy should have to make a judgment call about your table, and where a treat’s ingredients you cannot confirm, say so on the card instead of leaving it blank.
How to set up and refresh the table
Set up from the back of the table forward. Lay the linen, place the stands and risers, then move down to the food, then add plates and utensils at the ends, then the labels last so you can see where something is missing.
Give yourself an hour, plus fifteen minutes more if you are transporting rather than building on site. Put a small backup of napkins, extra plates and a spare cake server in a bin below or behind the table. Nothing signals an amateur table faster than a guest asking where the forks are.
Before guests arrive, walk the length of the table twice. Once at standing height to check the layout reads as a picture, and once crouching to check labels face outward and nothing is hidden behind a taller stand. Once people start serving, the back row disappears first, so any spare treats belong there.
Common Mistakes
Planning by recipe instead of by guest count. Pick the quantity first, then choose recipes that hit it. Baking a full batch of something popular because it was on sale is how tables end up with 60 cupcakes for 20 guests.
Trying to make ten things. Three to five treats is the sweet spot. Each extra item needs a container, a label, a utensil and space, and beyond five nobody can choose.
An all-sugar table. Guests arrive after a savoury meal and pick at what they know. One fresh or savoury element fixes this immediately.
Everything at one height. Flat tables photograph badly and hide the back row. Two or three risers change the whole look for almost no cost.
Outdoor heat with no plan. Shade, a cool time of day, and treats that hold up better than cream-based ones. Buttercream melts before you notice it.
Styling at home and transporting the finished table. Frosting smudges and layouts collapse in a car. Bring the stands, the food and the decorations separately and rebuild on site in about twenty minutes.
No labels. Treat names at minimum, allergen notes where relevant, and plates within reach at both ends. A labeled table serves itself; an unlabeled one creates a queue.
Waiting until the night before to start. Most treats can be made two to three days ahead and stored airtight. Frosted cakes and anything with fresh fruit are the exceptions.
Frequently Asked Questions
How many desserts should I plan for a baby shower?
Plan three to five treats, and count in pieces rather than in items. Two to three bite-sized pieces per guest works well, or one cake slice plus a couple of small sweets if the table is the only sweet offering at the party. Keep one centrepiece, one or two individually portioned treats, and one fresh or savoury option so the table has contrast without becoming hard to serve.
What desserts work best for a baby shower dessert table?
Bite-sized sweets in your shower palette work best, because they can be eaten one-handed while guests are standing and talking. Cake pops, decorated cookies, macarons, dipped pretzels and Rice Krisies squares are reliable choices. Pair them with one cake or a tray of cupcakes, and add a fresh element such as a fruit tray or chocolate-dipped strawberries so the spread is not all sugar.
How far in advance can I make desserts for a baby shower?
Most cookies, cake pops, brownies and Rice Krisies treats can be made two to three days ahead and stored airtight at room temperature. Cupcakes and buttercream cakes hold well covered in a cool room. Refrigerate cream-based items, mousse cups and anything with fresh fruit on the day, or freeze them and finish them the morning of the shower. Frosted cakes are best assembled and decorated the day before.
How should I label allergy-friendly desserts at a party?
Use a small card next to each treat written in plain words, such as gluten-free lemon bars or dairy-free chocolate cookies, rather than relying on placement alone. Keep specialized treats on a separate stand at one end of the table with their own serving tongs or spoon, and verify ingredients with the baker or manufacturer first. Where you cannot confirm ingredients, say so on the card instead of leaving it blank.
Should a baby shower dessert table include cakes and cupcakes, or choose just one?
Choose one for the centrepiece, not both, unless you are hosting 50 guests or more. A cake cut into slices gives you a natural cake-cutting moment and fills a wider table, while cupcakes are easier to portion, easier to store and add height when arranged on a tiered stand. Pairing both works at large showers but needs two focal points, which is harder to style well.
What serving utensils and table supplies do I need for a dessert table?
Plan on small plates for every guest, napkins or napkins with forks, a cake knife and server, and a separate plate for cake slices. Place plates and utensils at both ends of the table so guests do not queue in one spot. Add risers or tiered trays for height, a small tin for leftovers, and a handful of spare plates and napkins hidden behind the table for when the first batch runs out.
Conclusion
A baby shower dessert table comes together in six decisions: guest count and quantities, palette, treat mix, layout, allergy handling and setup order. None of them needs special equipment or advanced decorating skills, and most of the visible polish comes from height variation and clear labels rather than expensive sweets.
Start with three questions today: how many guests are coming, what colours are already committed to, and who has dietary needs. Answer those and the rest of the plan writes itself.