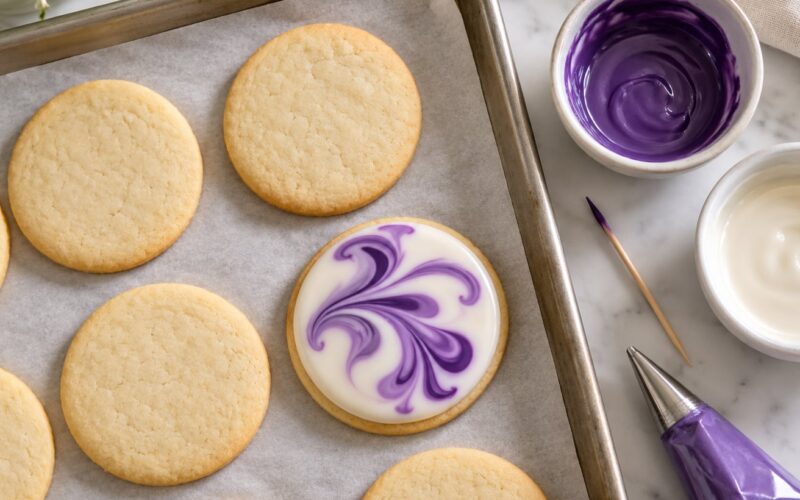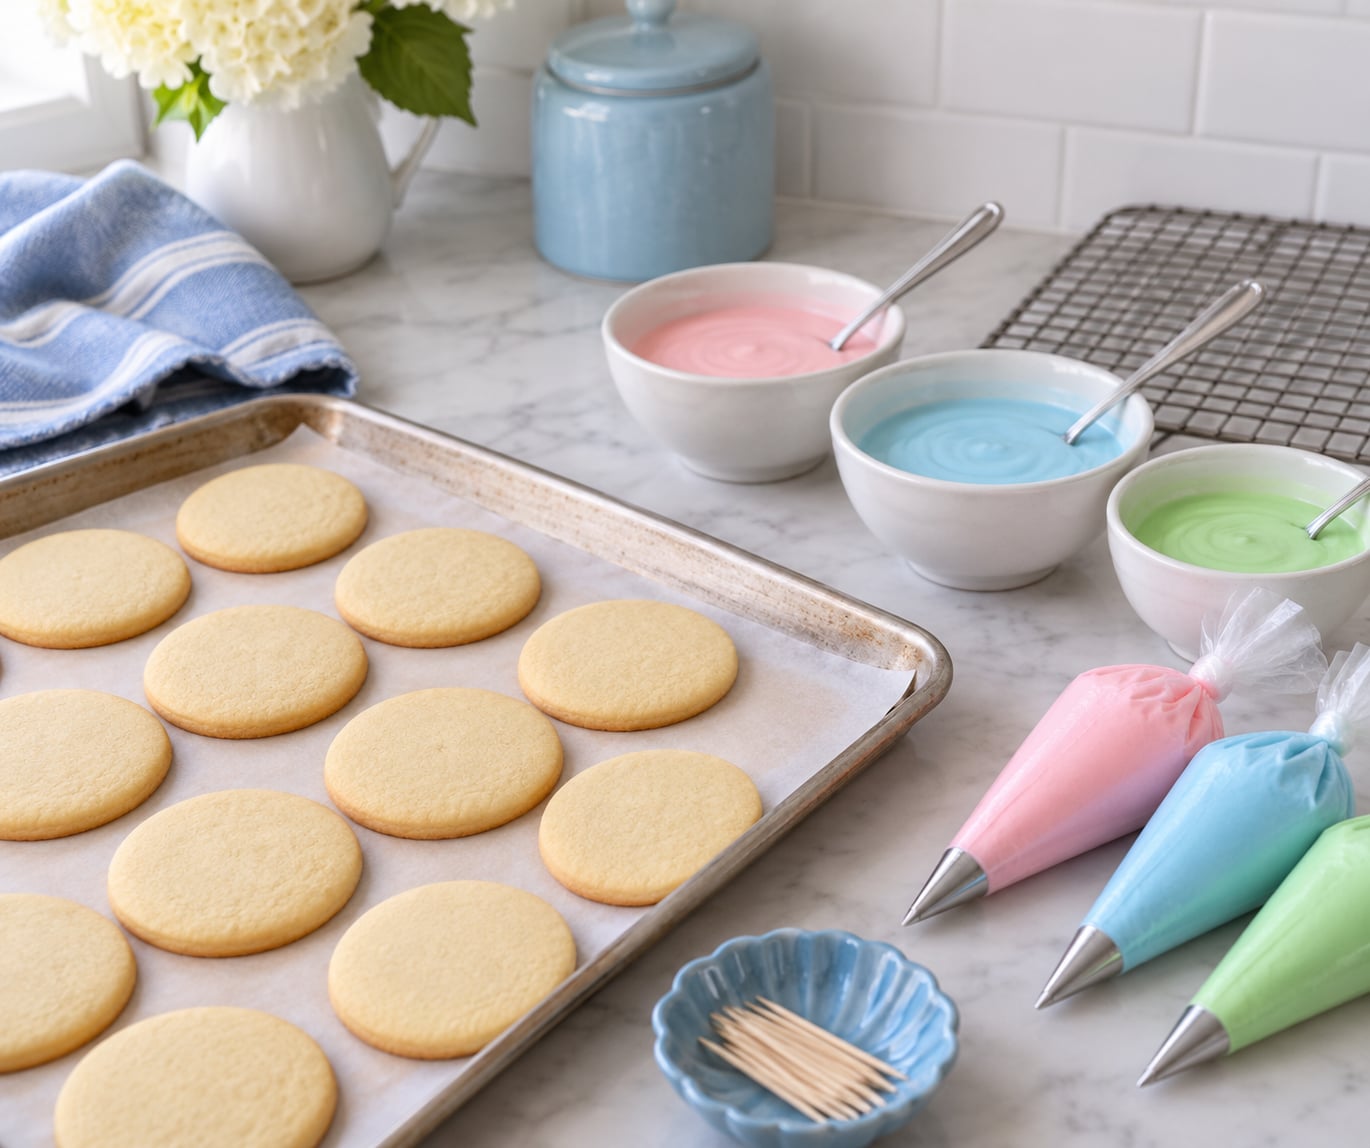
Wet-on-wet cookie decorating is a royal icing technique where you pipe your detail colors onto a freshly flooded base while that base is still wet, so the colors settle together instead of stacking up as separate piped lines. Learning how to make wet-on-wet cookie designs takes about 7 to 10 minutes of actual decorating per cookie, and because there are no fragile details on top, the finished cookies stack and package without snapping. It is a good first technique to learn, since it rewards speed rather than a steady piping hand.
The technique in one sentence: flood the cookie with a thick royal icing base, pipe your other colors onto it immediately, then drag or tap them with a scribe tool or toothpick while everything is still wet so it all dries together as one flat surface with no raised lines.
Table of Contents
- What You Need
- Step-by-Step: How to Make Wet-on-Wet Cookie Designs
- 1. Bake and Cool the Cookies
- 2. Prepare the Icing for Wet-on-Wet Cookie Designs
- 3. Add the First Icing Layer
- 4. Layer Additional Colors
- 5. Create Lines, Shapes, and Details
- 6. Let the Icing Dry Completely
- 7. Finish and Store the Cookies
- Common Mistakes
- Tips for Cleaner Wet-on-Wet Designs
- Frequently Asked Questions
- What kind of icing works best for wet-on-wet cookie designs?
- How long should each icing layer dry before adding the next colour?
- Can I use buttercream or glaze for wet-on-wet cookie decorating?
- How do I keep the colours from bleeding into one another?
- Can I make wet-on-wet cookie designs ahead of time?
- What cookies hold their shape best for this decorating technique?
- Start With One Practice Cookie
What You Need
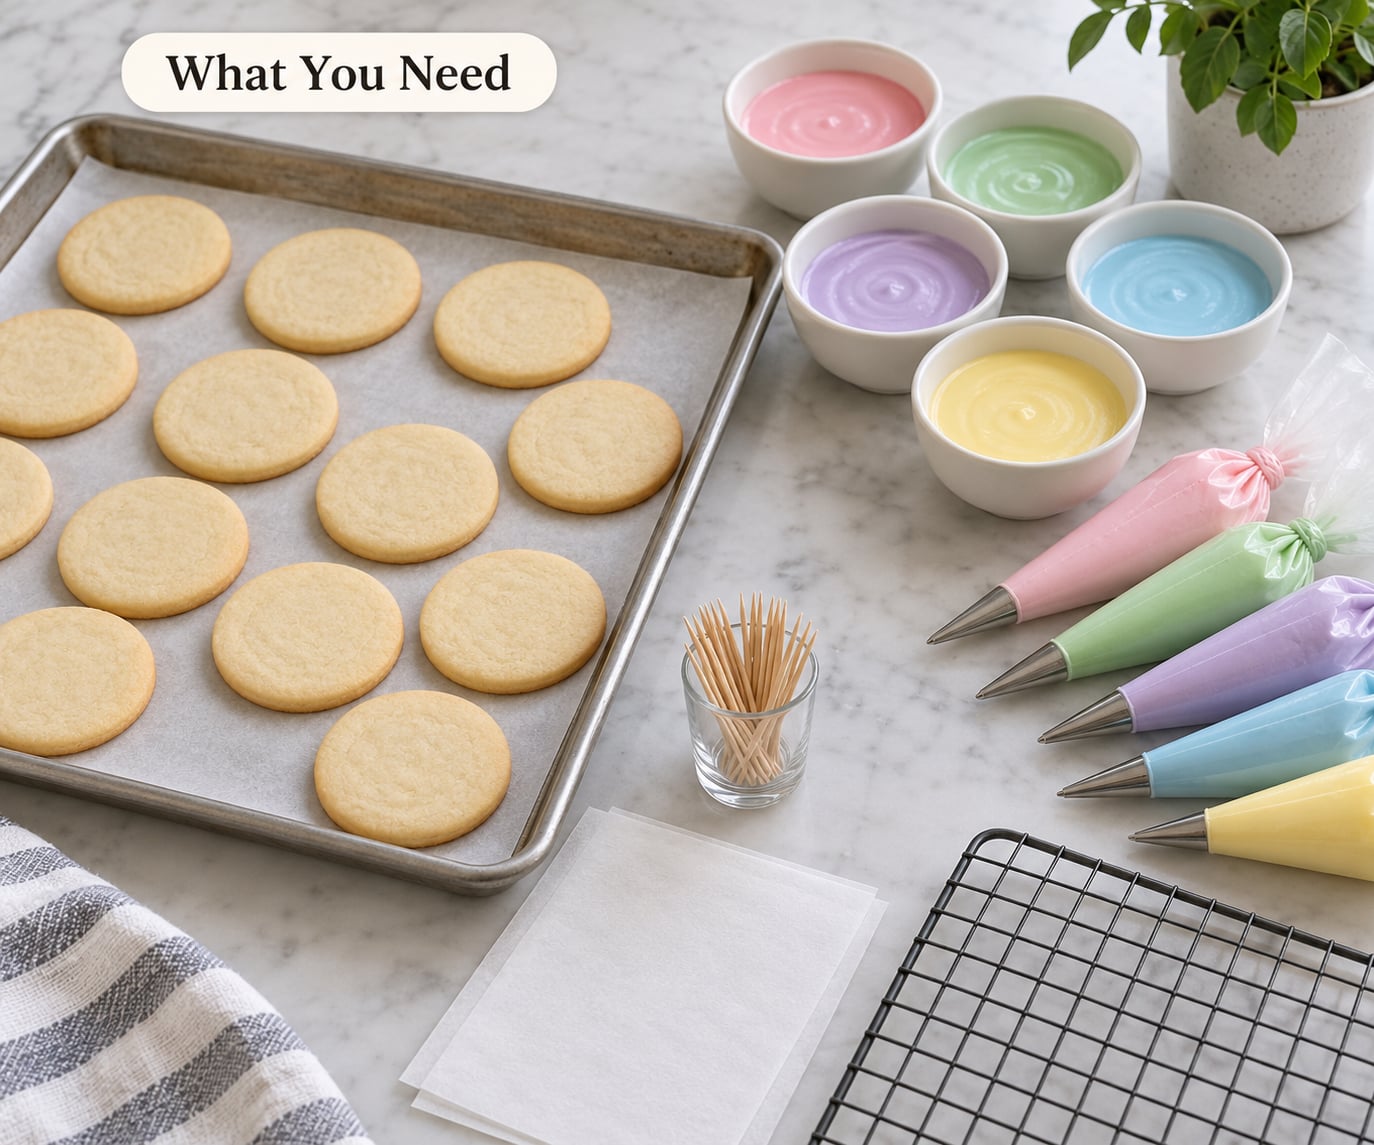
Everything here is standard cookie-decorating kit. Nothing on the list is specialised for wet-on-wet, which is part of why the technique is so accessible.
- Cookies. Sugar cookies or gingerbread both work. You want a sturdy base that does not snap when you flood it.
- Royal icing. Mixed with meringue powder, or a packaged royal icing mix. Buttercream and thin glaze will not hold the technique.
- Edible gel colour. Two or three colours is plenty for a first batch. Gel colour is stronger than liquid drops, so you use less of it.
- Decorating bags and couplers. One bag per colour, so you are not re-loading mid-cookie.
- Number 1 and number 3 round tips. Number 1 for thin lines and swirls, number 3 for a wider outline or a dot.
- Scribe tool, needle tool or a plain toothpick. The scribe is the one tool beginners buy last, and a toothpick genuinely works in a pinch.
- Parchment or a silicone mat. Wet-on-wet icing needs a surface you can move a cookie on without it sticking.
- A fan or a dehydrator. Optional but useful. A dehydrator set around 90 to 95°F dries these evenly in a few hours.
Load and tie every bag before you flood the first cookie. That single habit removes most of the panic in the middle of a batch.
Step-by-Step: How to Make Wet-on-Wet Cookie Designs
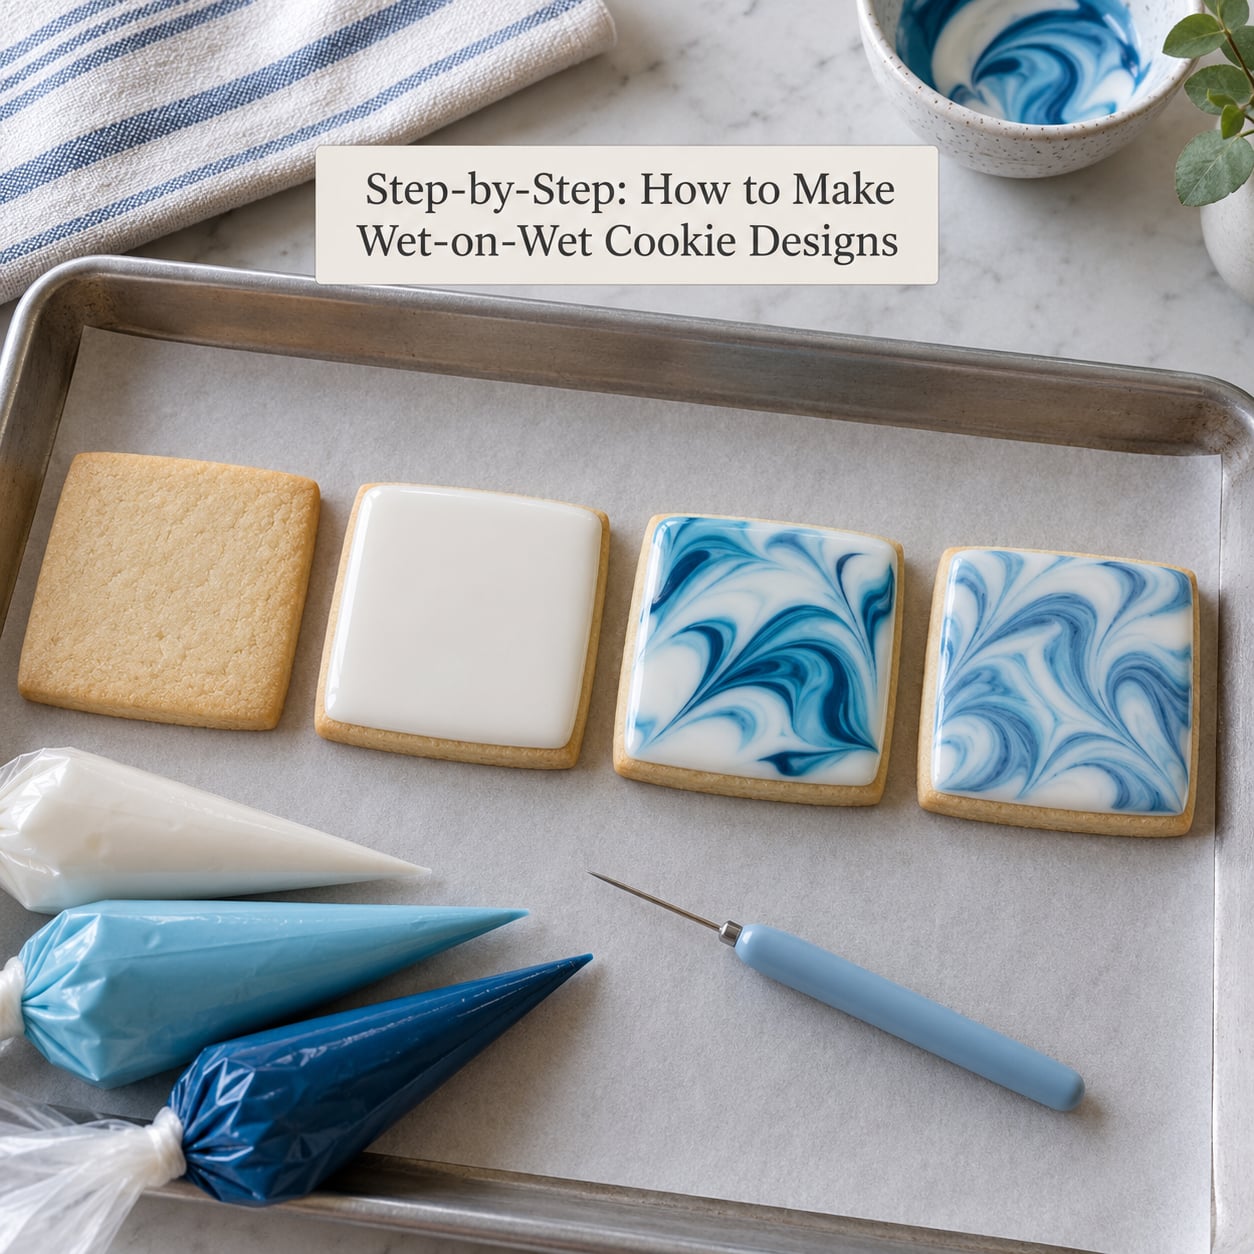
Wet-on-wet is a decorating sequence, not a single action. You flood, pipe, drag, and dry without ever waiting for the icing to set, so read the whole sequence once before you start.
1. Bake and Cool the Cookies
Bake until the edges are set and the centres no longer look wet, then cool the cookies completely on a rack. A cookie that still holds warmth will melt the icing the second it lands on it.
How to tell it worked: the cookie is room temperature to the touch and firm enough that pressing the top with a fingertip leaves no dent. A dent means there is still warmth or softness in the middle.
2. Prepare the Icing for Wet-on-Wet Cookie Designs
Royal icing for this technique needs to be thicker than a normal flood. Aim for a 10 to 13 second count: drag a line through the icing with a scribe or the tip of a knife and count how long the line holds before it flattens out.
Thicker icing dries faster, and faster drying is exactly what stops your colors bleeding into a muddy swirl. Divide the icing into separate bowls, tint each one, and spoon each colour into its own bag.
| Consistency | Seconds count | Used for | Wet-on-wet |
|---|---|---|---|
| Thick flood | 10-13 seconds | Base layer for wet-on-wet | Yes, this is the one you want |
| Standard flood | About 15 seconds | Plain single-colour cookies | Works, but colours bleed more |
| Outline and detail | 25-30 seconds | Lines and lettering on dried icing | Too stiff to settle and blend |
| Stiff peaks | Holds a peak | Flowers, borders, 3D pieces | No, it will not move at all |
How to tell it worked: when you squeeze a piping bag, the icing pushes out slowly and holds its shape for a second before slumping. If it pours like warm paint, add sifted powdered sugar a spoonful at a time.
3. Add the First Icing Layer
Flood the cookie with your base colour, starting at the edge and filling in toward the middle. Pipe on, then nudge the surface flat with the scribe held at a low angle.
How to tell it worked: the layer is even from edge to edge and stops right at the cookie line. Thick icing will look slightly bumpy at this point; a few light passes with the scribe settle it without pushing it over the sides.
4. Layer Additional Colors
While the base is still wet, pipe your second and third colours straight onto it. Do not outline first. Wet-on-wet is the one technique where piping onto a wet flood is the entire point.
How to tell it worked: the new colour sits on the surface and slowly starts to sink at the edges rather than keeping a raised ridge. If it keeps a ridge, you piped too thickly or the base has already started to dry.
5. Create Lines, Shapes, and Details
This is where the design happens, and it goes fast. Drag a scribe tool or toothpick through the wet colours for stripes and waves, tap the tip to pull colour outward into petals, or pipe dots with a number 1 tip and pull straight up for teardrops.
How to tell it worked: every line you draw stops cleanly at the cookie edge without picking up colour from the wrong place. Gentle pressure beats a firm drag, because a hard scrape tears the icing and leaves a rough edge behind.
A few shapes that suit this technique well: florals where petals pull outward from a piped centre, plaid and geometric blocks with straight scribe drags, scalloped borders made by tapping a tip repeatedly, and simple two-tone waves for a beginner first batch.
6. Let the Icing Dry Completely
Move the cookies to a level surface and leave them alone. A fan at room temperature works well, and a dehydrator set to 90 to 95°F gives you a dry cookie in a few hours. Do not stack anything on top while the surface still dents under a light touch.
How to tell it worked: the icing is firm to a light fingertip and no longer transfers to your finger. Wet-on-wet dries faster than piped cookies because there is only one layer to dry, but the underlayer still needs longer than the surface.
7. Finish and Store the Cookies
Check the contrast between your colours and trim any icing that broke past the edge with a small knife once it is dry. Store finished cookies in a single layer in an airtight container with parchment between the layers if you must stack them.
Royal icing keeps for weeks at room temperature, so decorated cookies outlast most baked goods. If your icing itself goes slack after sitting overnight, stiffen it back up with sifted powdered sugar rather than thinning it again with water.
Common Mistakes
Almost every wet-on-wet failure traces back to icing that was too thin, a batch that dried too fast, or a tool dragged too hard. The table below covers the six problems beginners hit most.
| Problem | Why it happens | Fix |
|---|---|---|
| Icing runs over the edge | Flood was too thin, usually 15 seconds or thinner | Add sifted powdered sugar a spoonful at a time and re-test with the line count |
| Icing crusts before you finish | Dry air, a fan pointed straight at the tray, or slow work | Decorate fewer cookies at a time and keep the room humid, not ventilated |
| Colours bleed into a muddy mess | Icing too thin and drying slowly, often in humid weather | Thicken to 10-13 seconds and speed up drying at 90-95°F |
| Ragged marbled lines | Dragged too hard, or the two colours sit at different consistencies | Lighter pressure, and mix both colours to the same count before tinting |
| Bumpy flood surface | Icing too thick to settle on its own | Add water a drop at a time, or settle it with the scribe held flat |
| Cracks or tracks in a finished cookie | Icing crusted partway through the design, then you kept working it | Stop the moment it skins over and let the next cookie be your practice one |
Tips for Cleaner Wet-on-Wet Designs
- Plan the colours before you pipe. Two to four colours per cookie is realistic. Every extra colour is another bag, another squeeze, and another chance for bleeding.
- Contrast beats subtlety. A dark colour next to a light one stays readable after settling. Two pale colours merge into one patchy tone.
- Repeat one simple pattern. A straight stripe or a single ring pattern is far easier to keep consistent across twelve cookies than a different design on each.
- Always decorate one wasted cookie first. Bake one extra and run the whole sequence on it with a drop of water left on your bench. Nobody learns this technique from reading.
- Work in small batches of six to eight. Bag all the colours up front, then flood and finish cookies in waves so nothing sits damp for longer than a few minutes.
- Use a toothpick in a pinch. A plain toothpick does everything a needle tool does at a slower pace. You will not outrun the icing, but you will finish the cookie.
Frequently Asked Questions
What kind of icing works best for wet-on-wet cookie designs?
Royal icing is the right choice, mixed with meringue powder or from a boxed mix. It holds a thick flood consistency, dries to a hard finish, and keeps colours separate long enough for you to decorate. American buttercream is too soft for this technique because it never firms up, and thin glaze runs before you can layer anything on it.
How long should each icing layer dry before adding the next colour?
Not at all. That is the whole point of wet-on-wet. You add every colour while the base flood is still wet, then you have roughly 7 to 10 minutes of working time per cookie before the surface starts to skin over. If you wait for the base to dry, you are doing dry-on-dry decorating instead and the colours will sit on top as raised lines.
Can I use buttercream or glaze for wet-on-wet cookie decorating?
Not for the technique itself. Buttercream stays soft and any colour you pipe on top just blends into a uniform smear, while a thin glaze runs over the cookie edge before you can work with it. A thin pourable glaze works as a background wash if you let it set fully first, but the wet-on-wet layering has to happen on royal icing.
How do I keep the colours from bleeding into one another?
Thicken your royal icing to a 10 to 13 second count, and use as little colour as you can to get the shade you want, since every drop of liquid adds water. Dry the cookies faster at 90 to 95u0026deg;F so colours set before they have time to migrate, and keep the design to three or four colours. Bleeding is worst in humid weather, when the icing stays open far too long.
Can I make wet-on-wet cookie designs ahead of time?
Yes, and this is one of the technique’s best qualities. Decorated cookies keep for weeks in an airtight container at room temperature, and because the surface is flat with no fragile piped toppings, they stack and travel far better than traditional piped cookies. What you cannot do is pause mid-design, so always finish one cookie completely before moving to the next.
What cookies hold their shape best for this decorating technique?
Sugar cookies are the easiest starting point because the dough is forgiving and the baked surface is flat and sturdy. Gingerbread also works well and gives you a warmer, spiced flavour that suits seasonal designs. Avoid thin, brittle or very porous cookies, and skip anything with a crackled surface, since every crack becomes a channel for wet icing to run into.
Start With One Practice Cookie
Thicken your icing to a 10 to 13 second count, flood one cookie, and see how long the surface stays open. That single test tells you more than any amount of reading, and it is the fastest way to get wet-on-wet cookie designs looking the way you pictured them.