Baking for a child with a peanut allergy comes down to four things: read every ingredient label, remove peanut residue and peanut dust from your workspace before you start, control cross-contact through every stage, and tell the child’s family exactly what you made and how. Peanut protein causes the reaction, so a recipe without peanuts is only the first half of the job.
This is general baking guidance, not medical advice. If a child has a diagnosed peanut allergy, follow the written plan from their pediatrician or allergist, and ask that team before changing anything about how the child eats. Guidance here was reviewed for 2026; food labeling and school rules change, so check them again each year.
Most of the work happens before the oven is on. A parent’s hands move fast around a toddler with a peanut allergy, and the window for a mistake is small.
Table of Contents
- What You Need
- Step-by-Step: How to bake for a child with a peanut allergy
- 1. Check every label and recipe component before you start baking for a peanut allergy
- 2. Plan substitutions before you mix the batter
- 3. Prepare the workspace to reduce cross-contact
- 4. Bake and cool the treat without introducing peanuts
- 5. Label, store, serve, and communicate the ingredients
- Common Mistakes
- Tips for safer baking and shared celebrations
- Frequently Asked Questions
- Is homemade food labeled peanut-free safe for a child with a peanut allergy?
- What is the best peanut-free substitute for peanut butter in baking?
- Is sunflower seed butter safe for a child with a peanut allergy?
- How can I bake a peanut-free cake for a school or birthday party?
- What should I do if a child with a peanut allergy may have eaten peanuts?
- Start With the Child’s Allergy Plan
What You Need
Before you buy anything, talk to the child’s parent or guardian. Ask how severe the allergy is, whether the child reacts to airborne flour or only to eating peanut, and whether other allergens are in play, such as tree nuts, egg, dairy, wheat or sesame.
That conversation should also cover who has the child’s epinephrine auto-injector, what the family’s emergency plan says, and whether the school or childcare setting has its own rule about food brought in from outside.
Then gather the following:
- A verified ingredient list. Every ingredient including baking powder, baking soda, chocolate, flour blends, vanilla extract, icing and sprinkles. Check each one in the shop, not from memory.
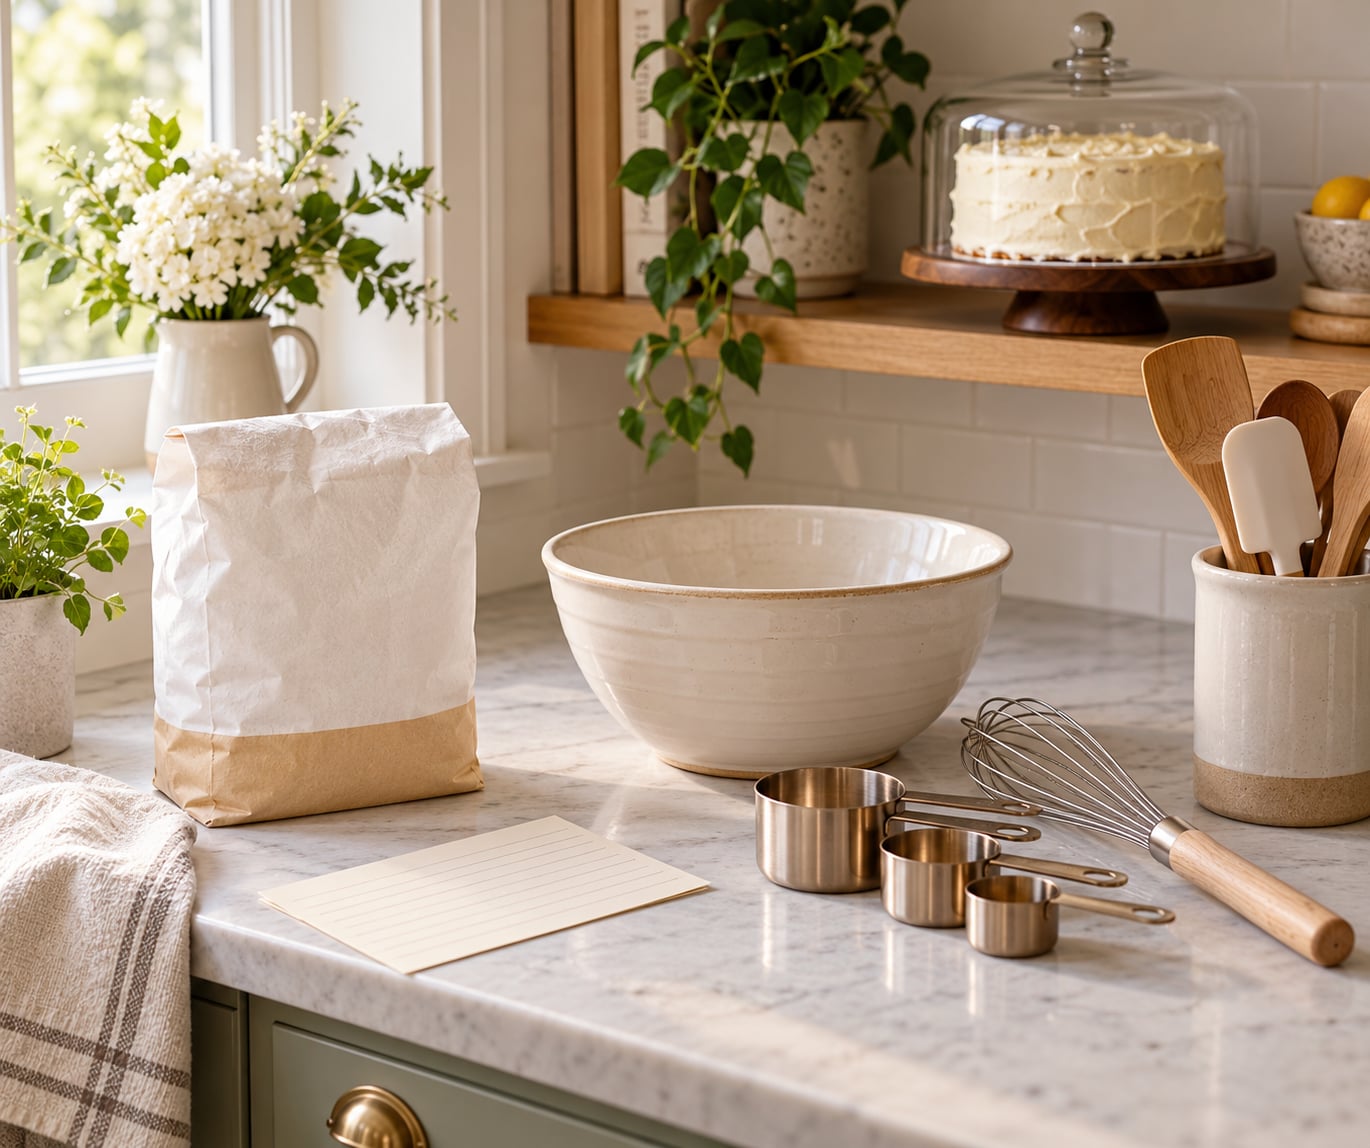
- Equipment. Mixing bowls, measuring cups and spoons, a whisk, a spatula, a baking tray and parchment paper. Color-coded boards help if your kitchen is shared with someone who bakes with peanuts.
- Cleaning supplies. Hot water, dish soap that is not scented or oil-based, a scrub brush or sponge, and a clean towel. Many allergy-aware households also keep unscented dish soap on hand because fragrance can linger on surfaces and utensils.
- Storage. An airtight container or a sealed box for transport, plus a label pen and a piece of card to write the ingredients and the date.
- Optional but worth it. A written allergy action plan from the child’s healthcare team, and an unopened backup portion of the recipe you can freeze.
One thing to be clear about before you start: baking at home does not make a treat guaranteed peanut-free. You are reducing risk through control, not eliminating it. Many families treat a treat baked in a home kitchen differently from a packaged item made in a facility that does not handle peanuts.
Worth saying out loud before you offer: plenty of parents say they would not serve a homemade bake to their own allergic child from an unknown kitchen. That is a fair standard to know before you offer, and it shapes how you label the treat.
Step-by-Step: How to bake for a child with a peanut allergy
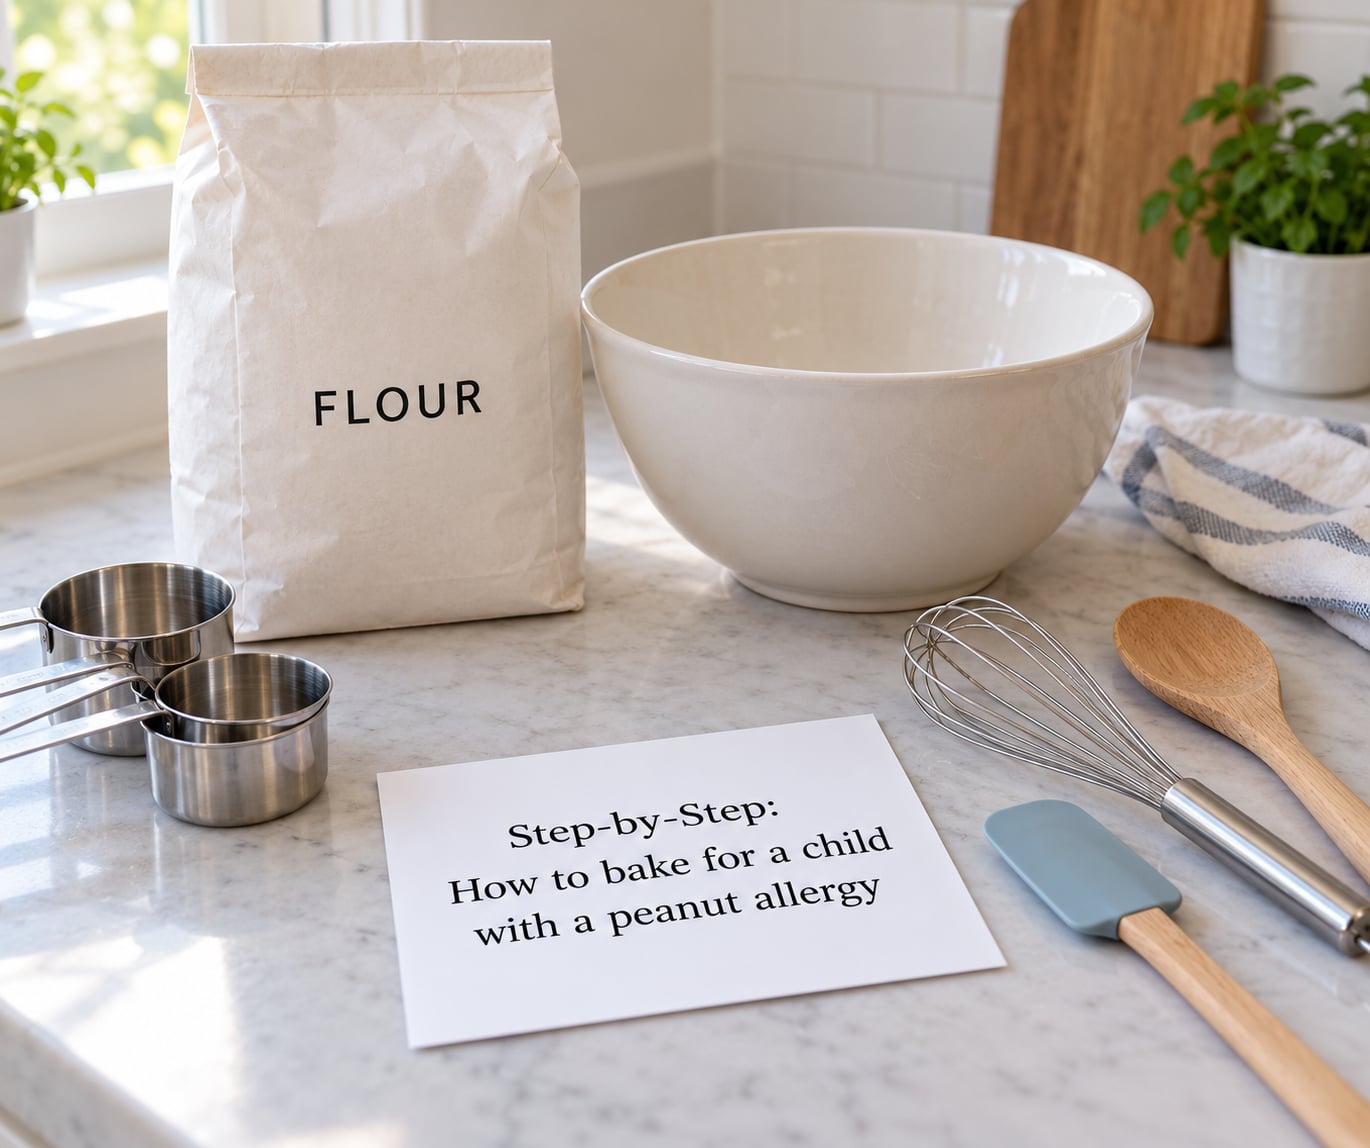
Work through these five steps in order. Each one has a quick check so you can tell whether it actually worked rather than just whether you got through it.
1. Check every label and recipe component before you start baking for a peanut allergy
Read the ingredient panel on every package, including the small ones. Peanuts appear in more places than most people expect, and the wording changes from one product to the next. Watch for peanuts and peanut-derived ingredients such as peanut oil, peanut flour, peanut butter, peanut flavoring and anything listed under the word peanut.
Check the second label too, not only the ingredients. A may contain peanuts or made in a facility that also processes peanuts statement is a warning that cross-contact is possible during manufacturing, and many families treat those products as off-limits for an allergic child.
Contact the manufacturer when the wording is unclear or when an ingredient list does not obviously answer the question. Manufacturers can confirm whether a product is made on dedicated equipment, and they can tell you whether the recipe has changed recently.
Success check: every package in front of you has a panel you have read on the day you are baking, and no ingredient is in the bowl on assumption. If a recipe comes from a site you do not know, read it line by line before you shop, not after.
Read the label at least twice. A habit that comes up repeatedly in allergy communities is to read it in the shop, again in the kitchen, and once more before you mix.
2. Plan substitutions before you mix the batter
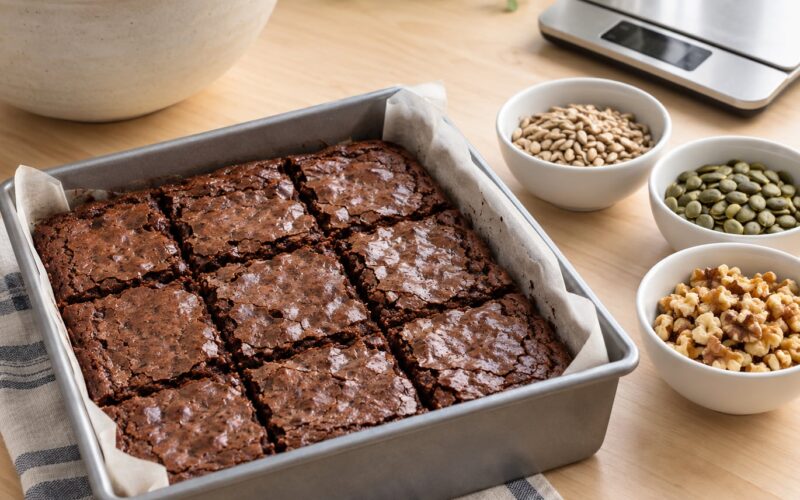
Decide every swap before the bowl comes out, because swapping mid-recipe is how a wrong jar ends up in the batter. The main swap for peanut butter is sunflower-seed butter, which behaves the same way and is the one most often recommended in parent allergy groups. Pumpkin-seed butter, tahini and coconut butter also work, but each changes the flavor and the texture in a different direction.
Sunflower-seed butter is only a good idea if seeds are safe for that particular child. Some children react to seeds, and seed butter is often made on shared equipment with other nuts. Check the jar’s label for a shared-facility statement every time you buy, because brands change their wording and their supply chain.
Texture is where peanut butter earns its place. It holds structure in cookies, bars and fudge, and those recipes collapse if the substitute is thinner. Sunflower and pumpkin seed butters behave most like peanut butter. Tahini is looser and more bitter. Coconut butter is soft and oily, and behaves closer to a solid oil.
Success check: for every substitute you plan to use, you have read its own label and confirmed it does not carry a peanut warning, and you have checked it against the child’s other allergies.
3. Prepare the workspace to reduce cross-contact
Clear the counter first. Remove anything peanut-containing from the immediate area, including jars of spread, snack bags and a peanut butter sandwich somebody left out. Food items and packaging sit on counters longer than people realize.
Wash your hands with soap and water, then wash and dry every surface you will use: counter, oven handle, burner rings if you use them, and the front of any cabinet doors in the room. Then wash, scrub and rinse your bowls, spatulas, whisk, measuring cups and cutting boards.
Scrubbing matters more than soaking. Peanut protein sits in the creases of a sponge and in the scratches of a board, and a quick rinse under the tap leaves more behind than most bakers expect.
Bring out only the equipment you need, and keep it on one side of the kitchen. If you have color-coded boards or dedicated allergy-aware tools, use them and store them separately.
Success check: your work area is clear of packaging and food, your tools are clean and dry, and nothing peanut-containing has been opened in that room during the session.
Be realistic about what cleaning achieves. Routine washing lowers the amount of peanut protein on a surface. It does not sterilize a kitchen, and it cannot make equipment that has been used with peanuts risk-free. If your household uses peanuts regularly, tell the child’s family that the treat was made in a shared kitchen so they can decide.
4. Bake and cool the treat without introducing peanuts
Once mixing starts, most of the risk is gone. Keep hands, cloths and equipment in the safe zone, and take breaks carefully: if you step away to answer the door, do not come back with someone else’s snack in your hand.
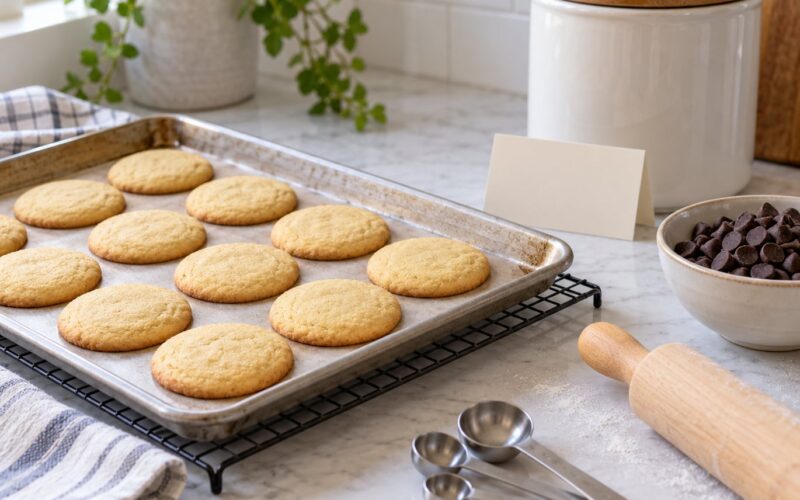
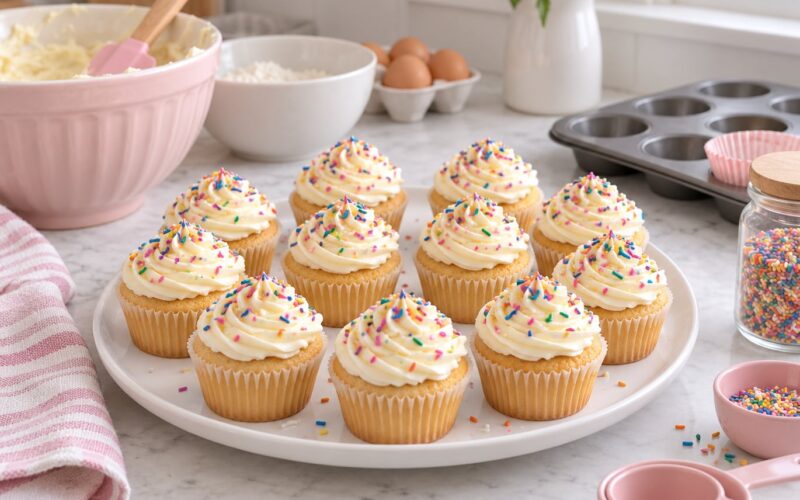
Watch the extras. Frostings, glazes, fillings, sprinkles, cookie decorations and cake toppers are all separate ingredients with their own labels. Fondant decorations and pre-made cupcake toppers are common hidden sources, as are chocolate chips and drizzle coatings.
Watch the oven too. Bake the safe item first if the kitchen is shared, before anything with peanuts goes in, so the fan, the tray rails and the oven cavity are clean. Do not bake the peanut-free cake above a peanut dish on the same rack.
Cool the treat on a clean rack in a clear area. Do not rest it on a counter where peanut butter has been used, and do not let a topping go on that has not been checked, including anything a guest might bring over to add.
Success check: every topping was verified against a label or a trusted source before it touched the cake, and the cooling area stayed clear of peanut products the whole time.
5. Label, store, serve, and communicate the ingredients
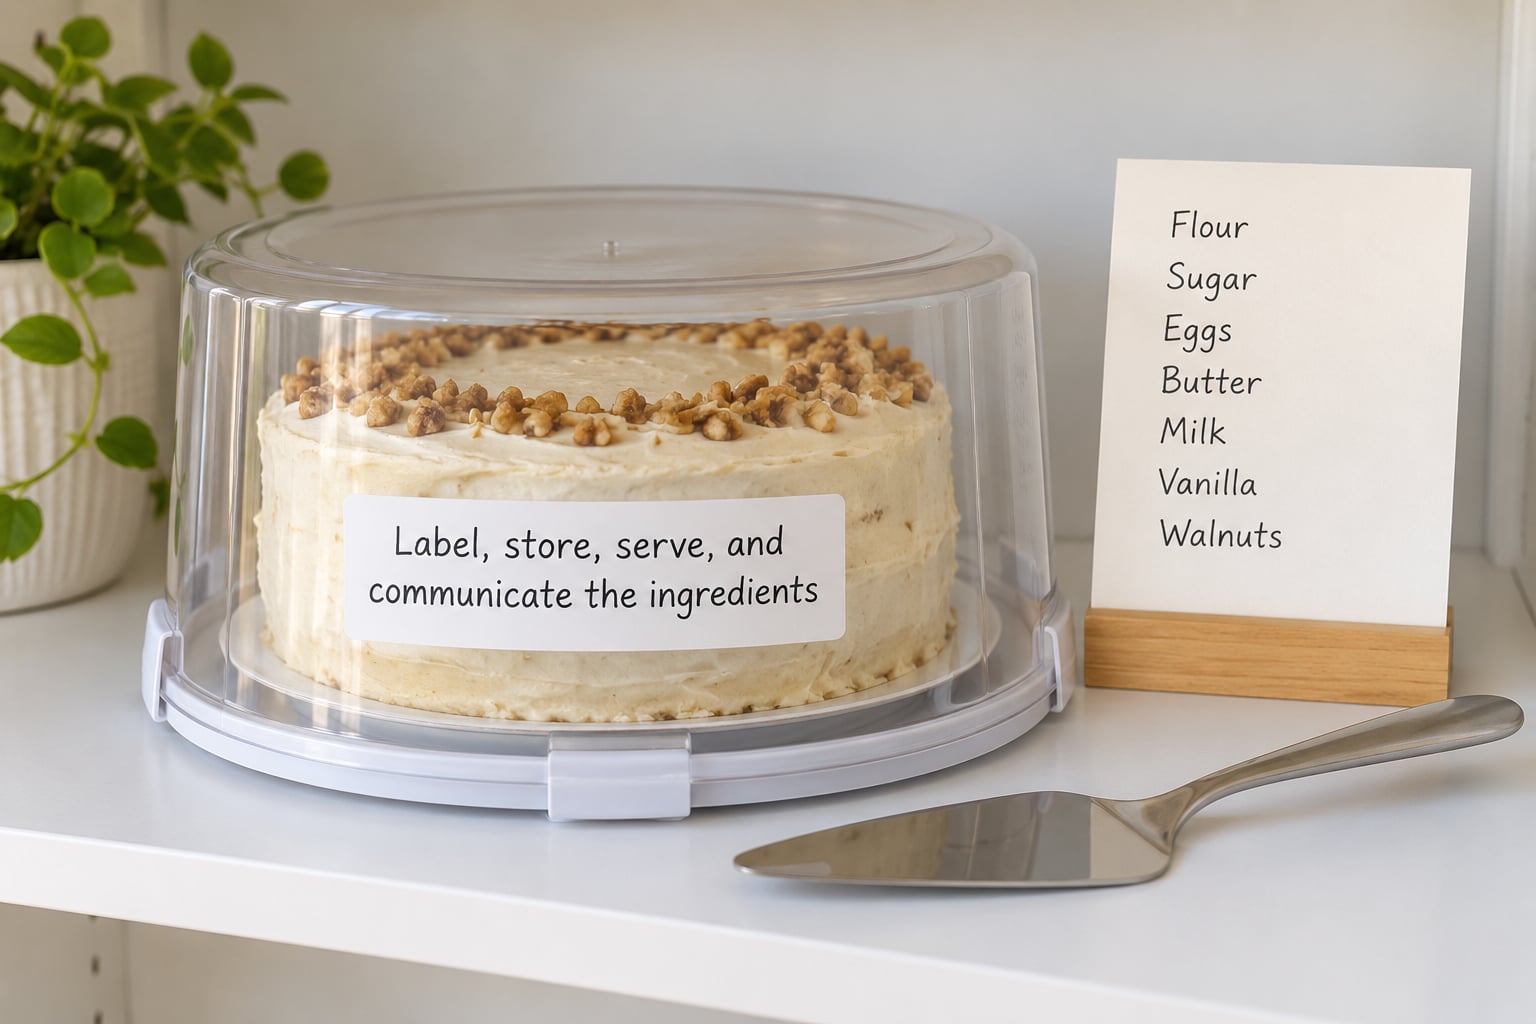
Write the label before the treat leaves your hands. List the ingredients and any packaging that could carry peanut risk, such as a branded spread or a shared-line chocolate. Add the date it was baked and how it should be stored. A handwritten card that says homemade and peanut-free on a home bake tells the reader almost nothing about cross-contact, so write the full ingredient list instead.
Store it following normal food-safety practice. A plain cake or cookie keeps at room temperature for about two days in a sealed container. Anything with cream cheese frosting, whipped cream, custard or a moist egg-based filling belongs in the fridge and should be used within two to three days. Freeze portions the family will not eat in that window.
At the party, use a separate knife, a separate plate and a separate serving utensil for the treat, and keep them away from shared platters. Skip the idea of a communal knife that goes back and forth.
Tell the parents what you made before the day, not at the door. If you are baking for a classroom celebration, ask the teacher how treats are handled and whether there is a nut-free policy for the room, because that changes whether a homemade item is welcome at all.
Success check: someone other than you could look at the container and know the ingredients, the bake date and the storage instructions without asking.
Common Mistakes
Assuming a swap is safe because it sounds safer. Sunflower-seed butter can be made on equipment that also handles nuts. Read the label on the substitute itself, every time, and skip it entirely if seeds are not safe for that child.
Overlooking the supporting ingredients. The chocolate chips, the frosting powder, the vanilla extract and the sprinkles are not automatically safe because the base batter is. Check each one.
Leaving peanut dust in the pantry. An open jar, a spoon left in it, or flour dust that has drifted from a shared shelf can reach a work surface long after the meal is finished. Move peanut products to a closed shelf before you start, and wipe the shelf edge.
Sharing utensils at the table. A serving spoon, a knife or a cake server that has touched a peanut-containing dish is a cross-contact route. Bring your own and use it only for that treat.
Labeling the treat in a way that overstates its safety. A sticker that says peanut-free on a homemade cake in a shared kitchen promises more than you can know. Write the ingredient list and the preparation context and let the parents decide.
Adding decorations that were never checked. Sprinkles, edible glitter, cupcake toppers, candles with foil wrappers and cake serves all need their own check. The party tradition of handing the birthday child a bite off a fresh plate, then kissing them around the room, is one to skip when the allergy is severe.
Tips for safer baking and shared celebrations
Choose a time when nobody else is cooking. Early in the morning or after the household meal is usually quieter than the hour right before dinner, and it gives you a couple of hours without interruptions.
Keep a one-page checklist on the counter: every ingredient, every substitute, every topping, each one ticked. A list is the difference between a considered bake and a confident guess.
Buy the same products each time you bake for that child, so you already know their labels. If you must switch brands, treat the new jar like you have never seen it.
Ask the host about shared equipment before the event: the oven, the mixing bowls, the cooling racks, the decorating table. Some families will happily tell you exactly how they manage risk, and others will have to decide whether to attend at all.
Have an alternative ready. If you cannot meet the standard you want, buy from a bakery that makes exclusively for allergy-aware customers, where they can tell you about their production setup. Saying no is better than guessing.
Know the emergency plan before the event starts. Have the epinephrine auto-injector location confirmed with the parent, call emergency services immediately if a reaction happens, and notify the parent at once. Follow current guidance from the child’s pediatrician or allergist on emergency response.
Frequently Asked Questions
Is homemade food labeled peanut-free safe for a child with a peanut allergy?
Not automatically. A homemade treat can be made without peanuts as an ingredient and still carry peanut protein from a work surface, a utensil, flour dust or shared equipment. Write the full ingredient list and the preparation context on the label, tell the family it was baked in your kitchen, and let them decide. Families who need a guaranteed option usually buy from a dedicated allergy-aware bakery.
What is the best peanut-free substitute for peanut butter in baking?
Sunflower-seed butter is the closest match and the one most often recommended in parent allergy groups, because it is made and behaves much like peanut butter. Pumpkin-seed butter is similar. Tahini is looser and more bitter, and coconut butter is softer and more oily. Always read the substitute’s own label for peanut warnings and check it against the child’s other allergies.
Is sunflower seed butter safe for a child with a peanut allergy?
It is free of peanuts, but that is not the whole question. Some children also react to seeds, and seed butters are often made on equipment shared with other nuts. If the label mentions a facility that also processes nuts, treat it the way you would any may-contain product. Whether seeds are safe for your child is a question for their allergist, not for a recipe website.
How can I bake a peanut-free cake for a school or birthday party?
Ask the teacher or host first about their nut-free policy and how treats are handled, because that decides whether a homemade item is welcome. Bake from scratch, or buy from a dedicated allergy-aware bakery. Package it sealed, write the ingredients and the date, avoid decorations and shared serving utensils, and tell the child’s parents what you made before the day.
What should I do if a child with a peanut allergy may have eaten peanuts?
Treat it as urgent. If the child has an epinephrine auto-injector, use it according to their written allergy action plan, call emergency services straight away, and tell the parents or guardians immediately. Do not wait to see whether symptoms develop, and do not rely on your own judgement about how much was eaten. Afterwards, discuss the incident with the child’s allergist.
Start With the Child’s Allergy Plan
If you only do one thing, read the plan the child’s healthcare team gave the family, then work backwards from it. Which ingredients are permitted, which kitchen the treat was made in, and what the family needs to know before they serve it.
Then verify every ingredient and every substitute on the day you bake, control cross-contact from the moment you clear the counter to the moment the treat is labeled, and communicate honestly about what you made. That sequence is what turns a well-meaning bake into a treat a family can actually trust.
For anything specific to your child, the allergist and pediatrician decide, not a recipe. If you cannot meet the standard you set yourself, a dedicated allergy-aware bakery is a good answer rather than a failure.