The cake looks finished everywhere except the top, and that is the part people notice first. The good news is that learning how to make a cake topper without fondant is mostly a print-and-cut job: pick a design, scale it to your cake, cut it from cardstock or print it on edible wafer paper, add a support if it is tall or thin, and glue it down with a dab of frosting. Most toppers take 30 to 60 minutes and need nothing more exotic than a craft knife and a pair of scissors.
You have two broad routes. Non-edible toppers are faster, tougher and can be made weeks ahead, which makes them the sane choice for a children’s party. Edible toppers — chocolate, royal icing, marzipan, modelling chocolate — taste better and disappear down the plate, but they need setting time before they touch the cake. I will walk through the paper and cardstock method in full, then flag where an edible version swaps in.
Table of Contents
- What You Need
- How to Make a Cake Topper Without Fondant: Step-by-Step
- Choose a Topper Style and Estimate Your Size
- How to Make a Cake Topper Without Fondant From a Template
- Add a Stable Support
- Decorate the Cardstock Topper
- Attach the Topper to the Cake
- Common Mistakes
- Frequently Asked Questions
- Can I make a cake topper out of regular paper?
- What material is best for a topper that does not need fondant?
- How do I keep a paper cake topper from bending?
- What glue or adhesive is safe to use on a cake?
- How long does a paper cake topper last after it is decorated?
- Can I make a cake topper ahead of time?
- Conclusion
What You Need
None of this is specialist equipment. If you have printed a card or cut a paper shape before, you already own everything required.
- Cardstock, 200 to 300 gsm. Ordinary printer paper folds and tears. Cardstock holds a cut edge and stands up to a fan at a party.
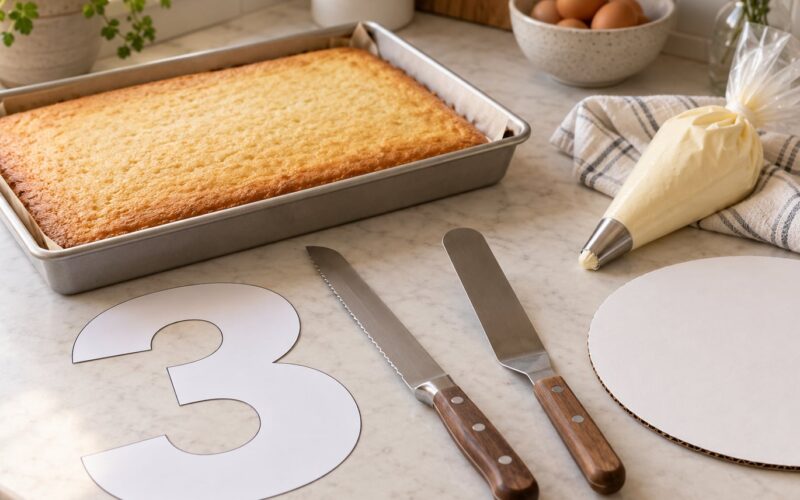
- A design. A name, an age number, an animal, a racing car, a letter, or a short message. Printable templates are widely available for birthdays, weddings and baby showers, and drawing your own at full size on the computer works just as well.
- Ruler, pencil and craft knife with a cutting mat. The knife is for interior details such as eyes, wheel arches or the gap between legs. A self-healing mat protects your table and your knife tip.
- Scissors and glue stick or white PVA glue. Scissors handle the outer shape; the glue assembles the pieces.
- Acrylic paint, markers or crayons. Colours must be food-safe and should stay on the face of the card, never on the edge that touches the cake.
- Toothpicks or bamboo skewers. These become the support legs and the hidden fixing inside the cake.
- Wooden craft sticks or coffee stirrers. For anything wider than about 8 cm that needs to stay rigid.
- Leftover buttercream or royal icing. A small dab of either acts as the cake-safe adhesive.
That is the full kit. A craft store sells almost all of it, but you can also assemble a simple topper entirely from paper, glue and a wooden craft stick.
How to Make a Cake Topper Without Fondant: Step-by-Step
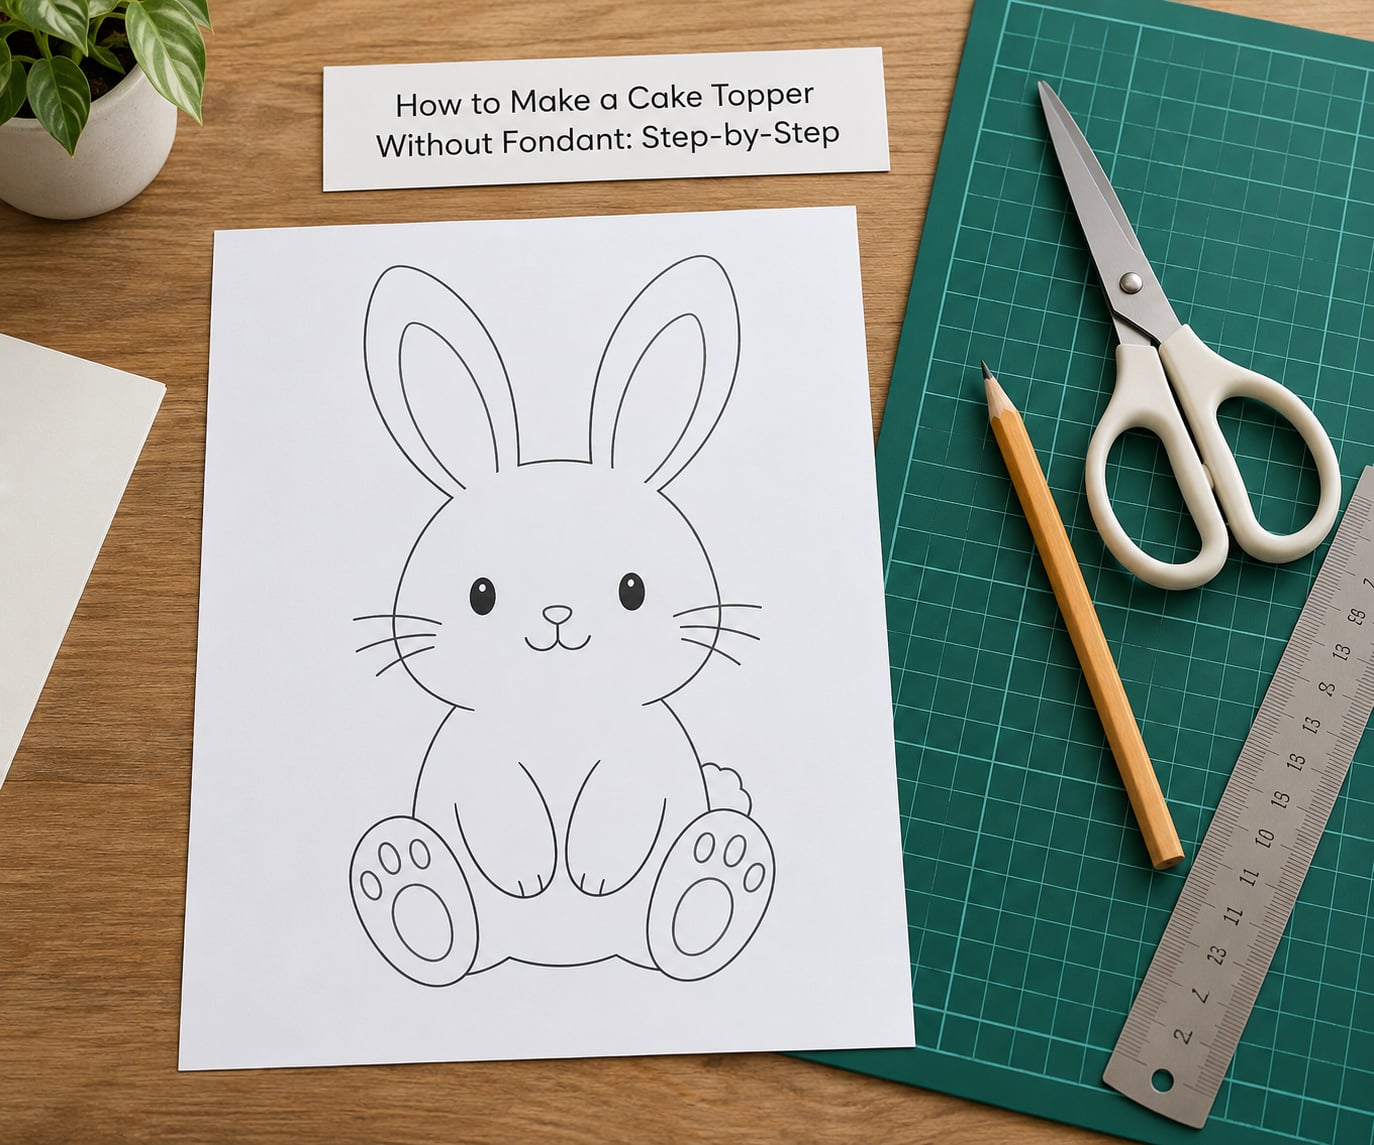
Choose a Topper Style and Estimate Your Size
Start with the message, not the shape. A name or a single number reads best because everyone can say it from across the room. Animal and character designs are more forgiving since the face carries the personality.
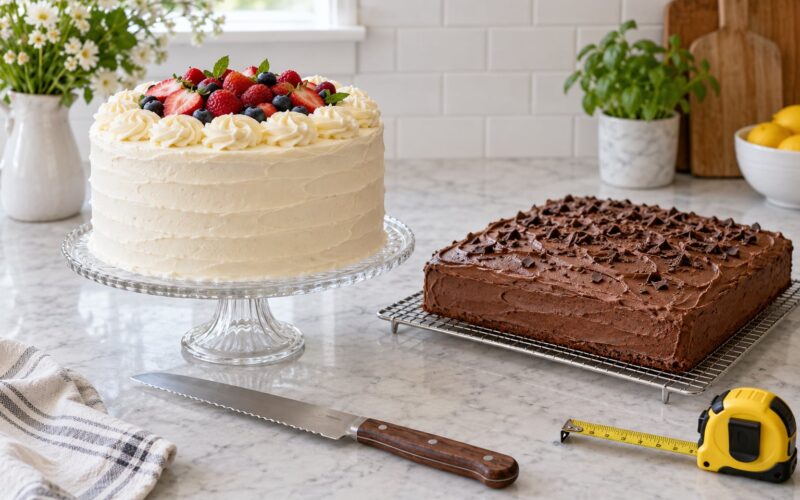
Then measure. The finished topper should be roughly two-thirds the width of the cake at its widest point, and the total height including its support should stay near the height of the cake itself. That proportion rule is what stops a topper looking like a road sign stuck on a birthday cake. Write your intended width on the template before printing.
How to Make a Cake Topper Without Fondant From a Template
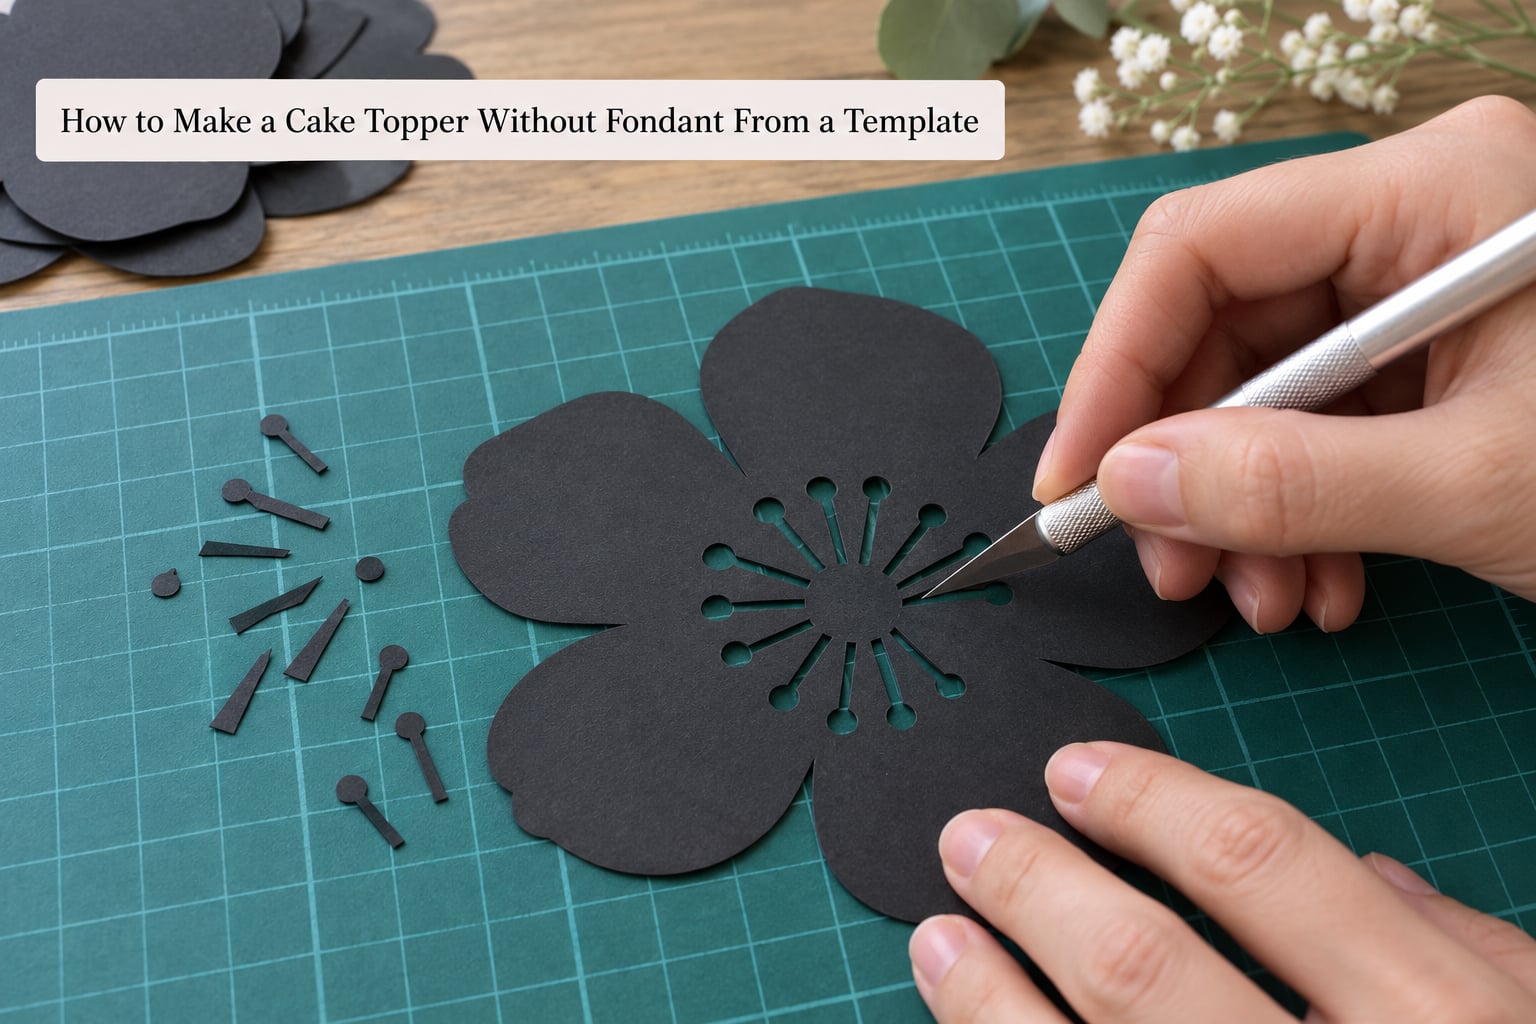
Find or draw your design, then print it at the right scale. The trick is the percentage box in the print dialogue: type the width you want in inches, and the height follows automatically instead of being squashed.
Print onto cardstock if you have a printer that takes it. If not, print on plain paper, glue it face down onto cardstock, and let it dry flat under something heavy for an hour. That double-thick version is tough enough to stand unsupported.
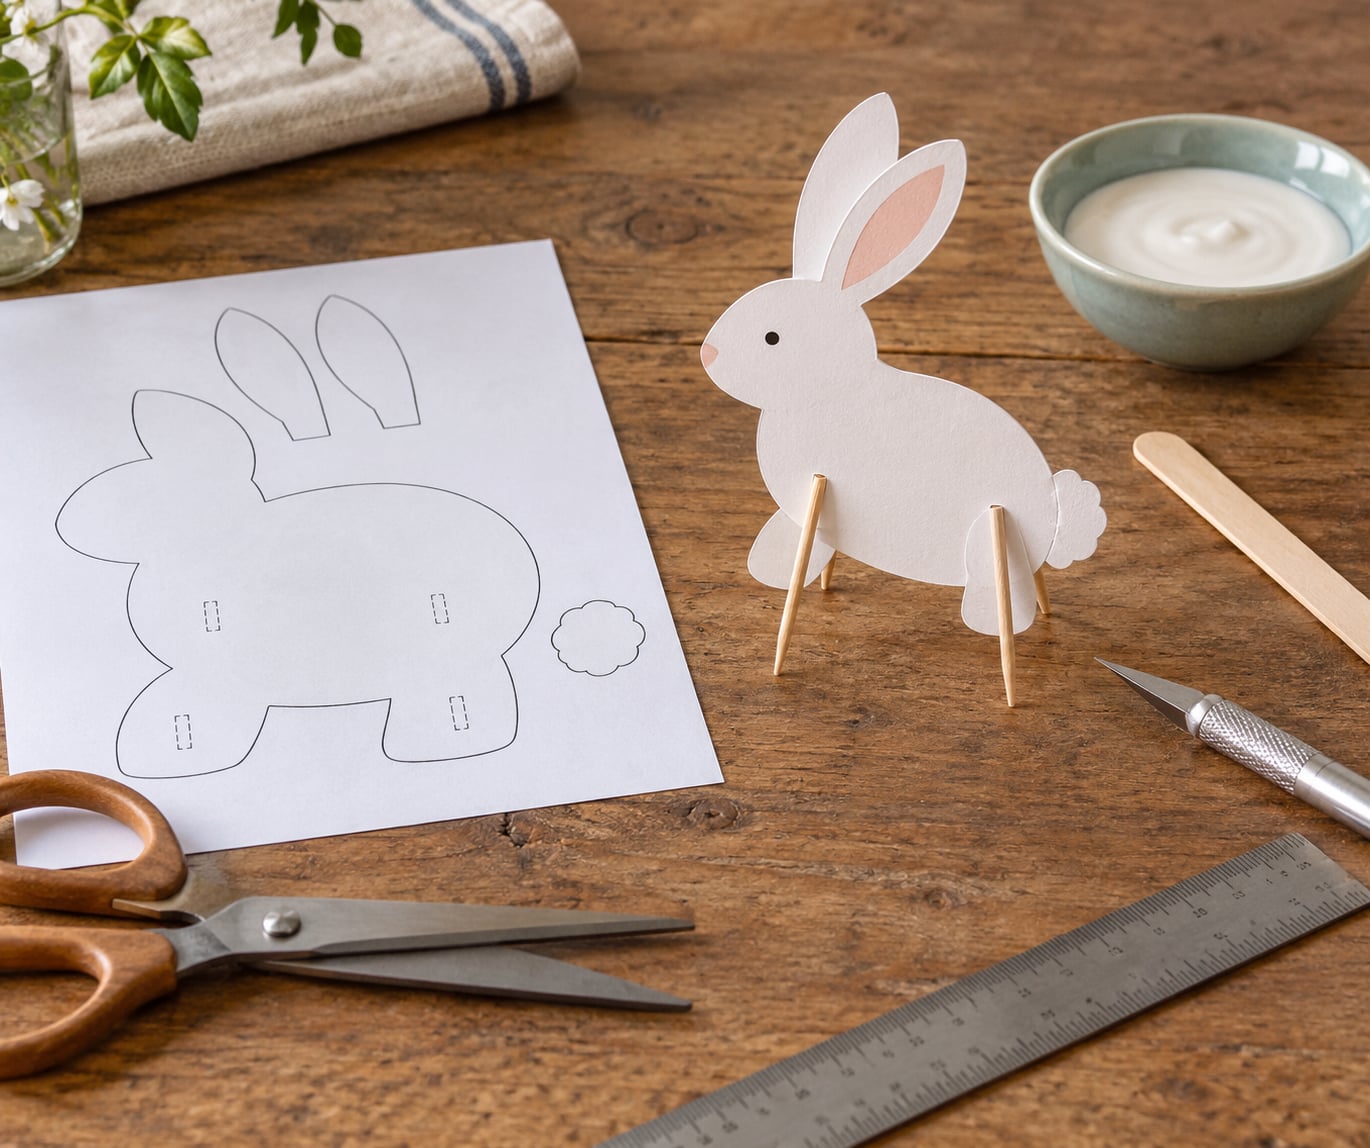
Cut the outer outline first with scissors, working in long smooth curves rather than short jabs. Then switch to the craft knife for the interior details — eyes, nostrils, the gap between legs — and cut inward from the edge toward the shape rather than trying to lift the scrap out from the middle. You know it worked when the hole falls away cleanly with no torn edges. Any light roughness gets sanded off with an emery board.
Lay the finished piece flat under a book for half an hour so any curl relaxes out.
Add a Stable Support
Paper toppers fail at the moment of mounting, not while you cut them. A flat topper wider than about 8 cm needs a stiffener: sandwich it between two layers of cardstock with glue between them, or glue a wooden craft stick along the back where it will be hidden.
For anything tall, narrow or three-dimensional, build legs. Glue two toothpicks or trimmed bamboo skewers to the back at roughly a third of the way in from each edge. They should sit at the same angle and the same length, and they need to be long enough to go well down into the cake for stability. For an animal topper with separate limbs, cut each limb from thicker card and glue a short toothpick inside it before attaching, which stops the legs snapping at the bend during transport.
Test the topper by standing it on the worktop. It should sit upright on its own without being held.
Decorate the Cardstock Topper
Markers and crayons suit a young child’s name. Watercolour paint gives a softer, hand-painted look and can bleed on the edges, so use it on a thicker card and keep water to a minimum. Food-safe acrylic paint gives the cleanest coverage and dries in a few minutes.
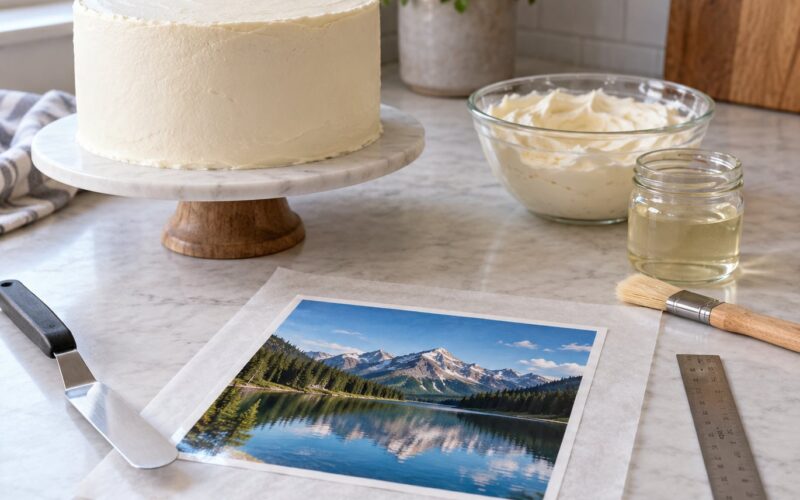
Two rules matter here. Paint the face and the front, and leave every edge that will touch the cake plain, because colour transferring onto buttercream is the fastest way to ruin a clean cake. And if you add glitter, sequins or anything with loose pieces, glue it down generously and check the whole topper again once it is dry. For a fully edible version, print the design instead: wafer paper and rice paper both take food-safe ink, and icing sheets on backing paper can be cut and coloured with edible gel colour, then peeled and mounted.
Check point: a finished topper is dry to the touch everywhere, with no tacky patches and no loose glitter.
Attach the Topper to the Cake
Frost and fill the cake first, then place the cake on its board or serving plate. Frost the very top with a smooth final layer so the topper has a flat seat.
Mark where the legs will go by laying the topper on the cake and nudging it until the design sits where you want. Push each toothpick straight down into the cake, leaving roughly a third of its length above the surface — that is the part the legs grip. Insert toothpicks as vertically as you can; a leaning topper is the single most common complaint, and a slanted hole is what causes it.
Now anchor it. Pipe a small ring of stiff royal icing or a dab of buttercream around the point where each leg enters the cake, and hold the topper still for a minute while it grabs. If the design is wide and heavy, pipe a low icing collar along the whole base, which also hides the puncture holes.
Step back and check from table height. The topper should read clearly, sit square, and not lean toward the guest who gets the first slice. Put the cake in the fridge for 20 minutes if the buttercream feels soft, then carry it flat with two hands and no stacking.
Common Mistakes
- Crooked or torn cuts. Cutting small shapes with scissors in short snips pulls the card. Use long strokes, and turn the paper rather than your wrist.
- Details snapping off. Tiny cut-outs like whiskers or antennae are too fragile on their own. Double the card, or print them on wafer paper and lay them on top in a fixed position.
- The topper bowing in the middle. Cardstock alone curls. Sandwich a craft stick along the back, and store the finished topper flat between sheets of baking paper.
- Paint transferring onto the cake. Only the face is decorated; the contact edge stays plain, and everything is fully dry before mounting.
- An unstable toothpick. Insert them upright and deep, keep the spacing even on both sides, and finish with an icing collar so the topper cannot pivot.
- A topper that is too big. Scale it down before you cut rather than trimming afterwards, since a name loses its clean edges fast.
- Broken toppers in the car. Carry the topper separately on a flat tray, slide it onto the cake at the venue, and never box a cake with the topper already attached.
For storage, finished cardstock toppers keep for weeks in a labelled envelope or a shoebox between sheets of baking paper, away from any heat. Royal icing and royal-icing-based toppers dry overnight and last a month in an airtight box. Chocolate and modelling chocolate toppers set in about 20 minutes at cool room temperature, then last roughly a week in a cool place, though they will dull if left near a window.
One more note worth saying plainly. Anything non-edible comes off the cake before serving, and the skewers come with it. On a cake for under-fives, take the toothpicks out before the candles go in rather than after the singing, and skip hard hand-pulled sugar decorations entirely — molten sugar is genuinely dangerous for a child to handle.
Frequently Asked Questions
Can I make a cake topper out of regular paper?
Yes, if you double it up. Print onto plain paper, then glue it face down onto cardstock and let it dry flat under something heavy for an hour. Single-layer printer paper works for a small name that will sit flat against the cake, but it folds, tears at the edges and will not stand unsupported. Anything you plan to stand up needs cardstock or a craft stick stiffener along the back.
What material is best for a topper that does not need fondant?
Cardstock for a hard, reusable, make-ahead topper; melted or modelling chocolate for something edible that sets firm and snaps cleanly; royal icing if you want the same icing to act as both the decoration and the mounting glue. Print on wafer paper when you want a photographic or illustrated design in minutes. Pick based on when the cake is served rather than on looks alone.
How do I keep a paper cake topper from bending?
Glue a wooden craft stick, coffee stirrer or trimmed bamboo skewer along the back of the piece, centred so it runs the full height. For wider designs, sandwich two sheets of cardstock with glue between them and hide the stiffener between the layers. Store the topper flat between sheets of baking paper and carry it on a rigid tray rather than by the edge.
What glue or adhesive is safe to use on a cake?
Use a dab of buttercream or stiff royal icing where the support meets the cake surface, and white PVA or a glue stick for assembling the cardstock itself away from the cake. Never use a craft hot glue gun near food, and keep every glue line off the part of the topper that touches the cake. Royal icing is the strongest option because it dries hard and holds a toothpick upright on its own.
How long does a paper cake topper last after it is decorated?
A completed cardstock topper keeps for weeks in a labelled envelope or shoebox between sheets of baking paper, provided the paint is fully dry and the card is stored flat. Avoid damp kitchens and warm cars. Most people decorate a few days ahead for freshness of colour, but the topper itself does not need to be made the same day.
Can I make a cake topper ahead of time?
Yes, and a paper topper is better for it than an edible one. Card, glue and paint have no setting time, so you can finish it a week or more ahead and store it flat. Royal icing needs overnight to dry hard. Chocolate and modelling chocolate set in about 20 minutes at cool room temperature but should be finished the same day or the day before, and stored somewhere cool and out of direct light.
Conclusion
Measure the cake first, pick a design that fits within two-thirds of its width, cut it from cardstock and stiffen anything tall or wide. Finish and dry the topper well ahead, carry it flat, and mount it with a dab of buttercream or royal icing shortly before you serve. That sequence is the whole job, and it works every time without a single sheet of fondant.