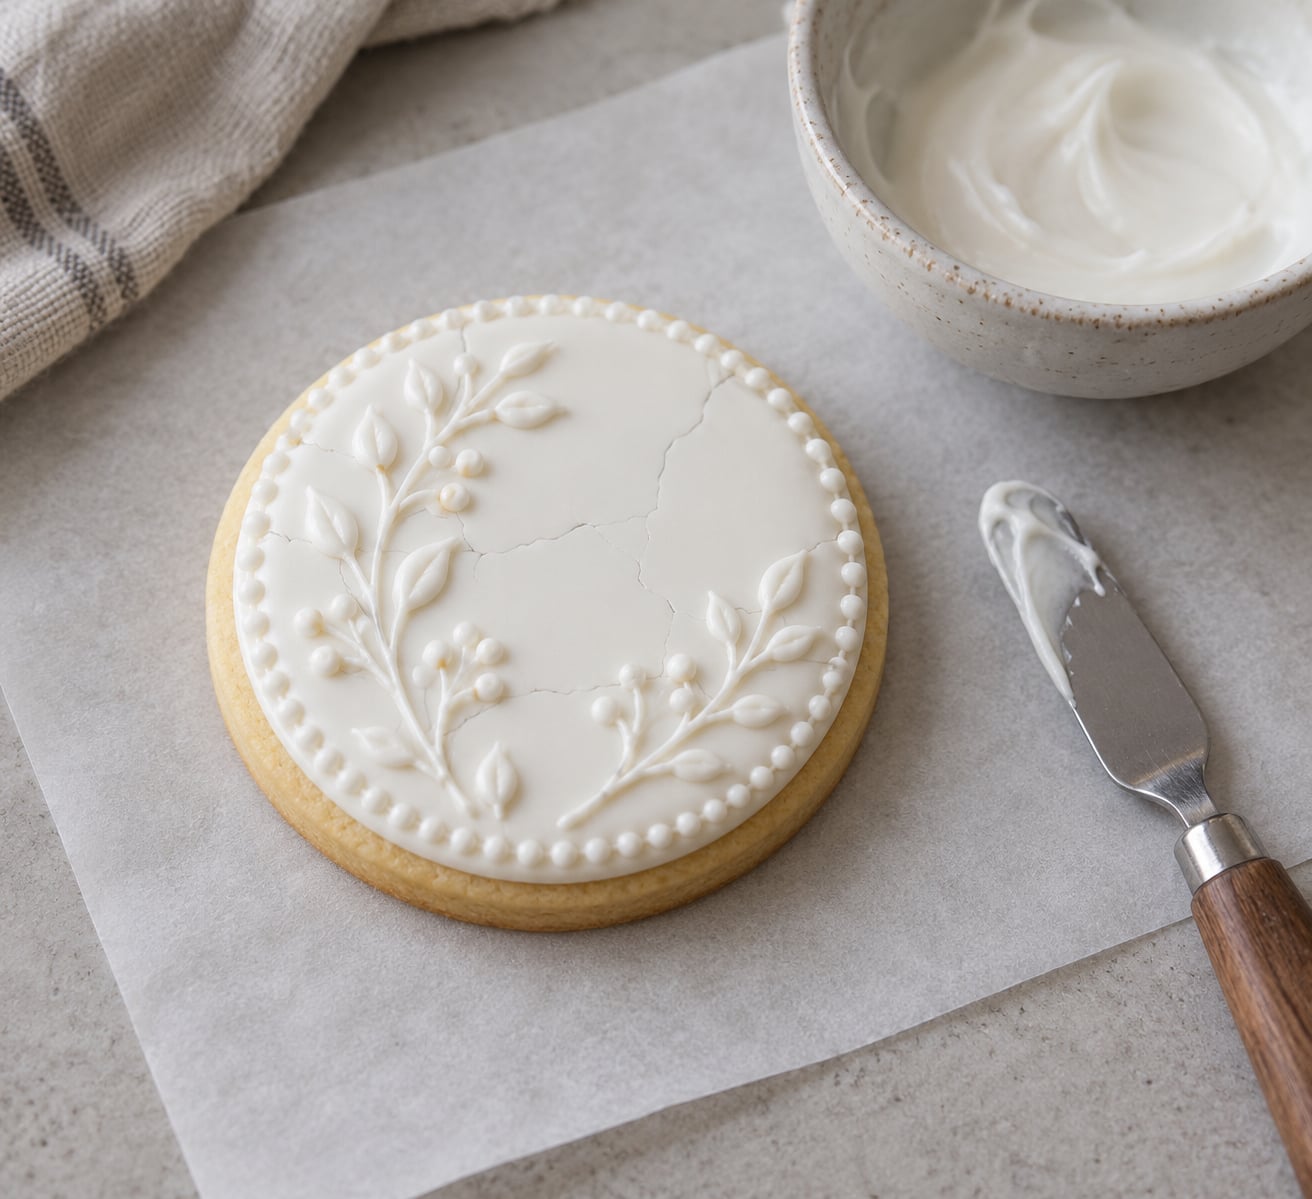
Cracked royal icing happens when the thin skin on top of the icing dries and hardens while the icing underneath is still damp, and that skin then splits. How to fix cracked royal icing on cookies depends almost entirely on how dry the icing already is. If it is still soft, you smooth it flat. If it is hard all the way through, you patch the gap with stiff icing and cover the seam.
Most hairline cracks take about five minutes to hide. The whole job, start to finish, is maybe ten. Updated for 2026.
Start by matching what you see to the fix. These are the four patterns that come up again and again.
- Hairline cracks across a flat flood. The surface set faster than the core underneath. Smooth while soft. Once dry, patch with stiff icing and pipe a deliberate line over it.
- Ripples and waves. The cookie was moved or tilted before it set, or a fan or AC vent hit it. Feather the damp icing flat with a fingertip and dry the next batch in still air.
- Craters and sinkholes. Icing went too thin and sagged into the cookie, or the base was uneven. Scrape back, reflood at a thicker consistency, or pipe a shell over the flaw.
- Cracks only on the big cookies. The edge dries before the centre and the soft base moves underneath. Patch the crack, and check the base is fully baked and completely cool.
Table of Contents
- What You Need
- Step-by-Step: How to Fix Cracked Royal Icing on Cookies
- 1. Check Whether the Icing Is Still Damp Before Fixing Cracked Royal Icing
- 2. Smooth a Crack While the Icing Is Soft
- 3. Fill a Small Gap With Fresh Icing
- 4. Repair a Crack That Reopened or Peeling Area
- 5. Smooth, Dry, and Store the Repaired Cookie
- Common Mistakes
- Frequently Asked Questions
- Why did my royal icing crack?
- How long to leave royal icing cookies to dry?
- Does the fridge help royal icing dry faster?
- What is the 10-15 second rule for royal icing?
- What can I add to royal icing to make it thicker?
- How do I cover cracks I cannot repair?
What You Need
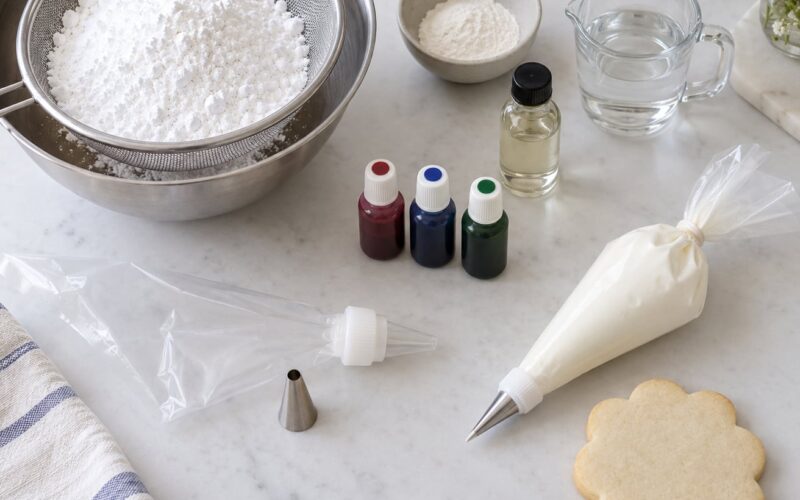
Most repairs need very little. If you have fresh or leftover royal icing, a small palette knife and a bowl of water, you can handle hairline cracks, ripples and most small gaps.
Essential:
- Royal icing, either fresh or the batch you decorated with
- Water, or vodka or lemon juice for re-wetting a dry crack
- A small palette knife, offset spatula or the back of a teaspoon
- Toothpicks for lifting loose edges and working icing into narrow gaps
- Clean, dry hands and a clean cloth, because skin oil shows on a glossy surface
- A small bowl and a second spoon for mixing a stiff patch batch
- Parchment paper or a wire drying rack so repaired cookies sit flat and level
Helpful, not essential:
- A fine artist’s brush for touching water into a dry hairline crack
- A small fan or a dehumidifier for the next batch
- Cornflour or cornstarch for thickening icing that has been over-thinned
- A dehydrator, or an oven with the door left slightly ajar
Step-by-Step: How to Fix Cracked Royal Icing on Cookies
Work in this order and stop as soon as the crack stops showing. The least invasive repair is the one that leaves everything around it crisp, so resist the urge to redo the whole cookie.
1. Check Whether the Icing Is Still Damp Before Fixing Cracked Royal Icing
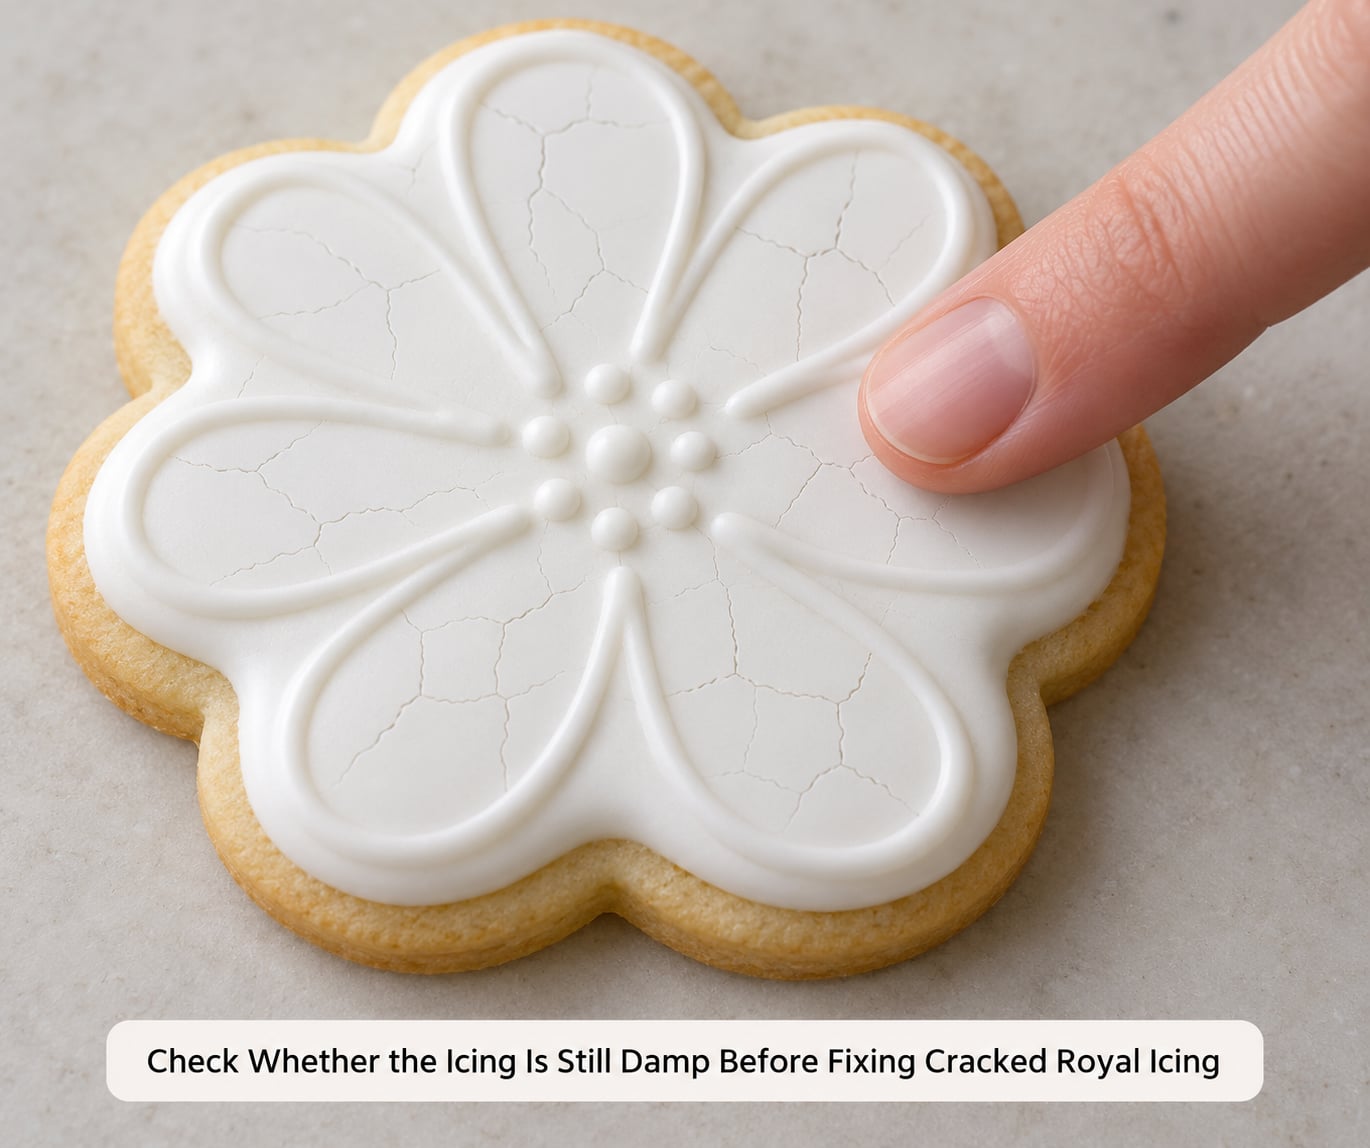
Press a clean fingertip very lightly on an untouched spot, the plain edge of the cookie or a spare cookie you flooded the same way. If the icing dents a fraction and the fingerprint slowly fills back in, it is still damp and you can work it. If it is hard, cool and completely unmarked, it has dried through.
That single test decides everything after it. Damp icing can be reshaped, and dry icing cannot. Trying to smooth dry icing just chips it.
Also look at the crack itself. A line that is still pale and slightly soft at the edges is damp. A line with a crisp, chalky, brittle edge is dry.
2. Smooth a Crack While the Icing Is Soft
With a clean, dry fingertip, dab along the outside of the crack and feather inward in light strokes. Small circles work better than long sweeps, because a sweep drags icing from the edge and leaves a ridge.
A palette knife held at a shallow angle does the same job on a bigger crack. Hold it almost flat, lift a little icing from the edge toward the centre, and smooth it across the gap. Keep the blade nearly parallel to the cookie so you do not press icing down into the biscuit.
You will know it worked when the icing looks continuous and the light no longer breaks along the line. Give it ten minutes to settle, then look again in a different light. Cracks show up badly under a side window.
3. Fill a Small Gap With Fresh Icing

Mix a small amount of fresh icing to a stiff consistency, thick enough to hold a peak and not slump off the spoon. That is your filler and your glue. If your leftover icing has gone slack, sift in cornstarch a teaspoon at a time and stir until it comes back to a peak.
Press the stiff icing into the gap with the palette knife, slightly overfilling it, then feather the edges outward into the surrounding icing. A toothpick is better than a knife for a narrow line because it pushes the icing deep into the crack instead of sitting on top of it.
For a hairline crack in icing that is already fully dry, skip the filler and re-wet the line instead. Touch a damp fine brush to the crack only, or run a toothpick dipped in water, vodka or lemon juice along it. Wait 30 to 60 seconds, then smooth the line closed with a dry fingertip.
Be sparing. A brushed line that goes shiny and dull around the crack is worse than the crack was.
4. Repair a Crack That Reopened or Peeling Area
For a wide crack, a lifted edge or a piece that has come away, lift off only the icing that is loose. Take a clean dry tool and work from the outside in. Do not scrape back to bare biscuit unless the icing underneath is smeared or stained, because that bare biscuit is where the new icing will peel again.
Lay a thin supporting layer of stiff icing over the damaged area, like glue. Press the original piece back into it and hold it steady for a few seconds, or shape a replacement piece of fresh icing to match the surrounding surface and set it on the patch.
Feather the join, then leave the cookie alone until the patch has firmed. If a 3D element has detached, hold it in position with a thick ribbon of royal icing, let that set first, and only then pipe over the join. Rushing that order is how a repair turns into a bigger repair.
5. Smooth, Dry, and Store the Repaired Cookie
Put the cookie back on a flat rack, level, with nothing leaning on the repair. Drying is the same process as before, just gentler: a light fan is fine, a blast of hot air from a vent is not.
A thin flood on a flat cookie needs about 6 hours before you can move it without denting. Three-dimensional or layered work needs 12 to 24 hours. Touch-dry means a light touch leaves no mark and the icing is firm to the touch. Fully dry means it is hard, cool, and gives at nothing, which is when it is safe to stack or pack.
Store fully dry cookies in an airtight container at room temperature, with parchment between layers. If a cookie has a perishable filling, refrigerate it, but let it come back to room temperature before you seal the box, otherwise condensation lands on the icing and dulls the finish.
Common Mistakes
- Adding water to a crack. Watery icing cannot support a line, a shell or a 3D piece, and it is the single most common reason repair attempts make things worse. Re-wet only the crack, with a brush or a damp toothpick, and keep the rest of the icing out of it.
- Repairing before the icing has set at all. Working a fresh flood pushes water around and you will lift the whole top layer. Give the icing time to reach touch-dry before you touch it with anything.
- Overworking a repair that has already firmed. Smoothing keeps going until the icing tears. Once the patch is firm, stop and let it finish drying on its own.
- Moving cookies too early. A cookie lifted before it is firm picks up a print of your fingers, and a tilted cookie sags and ripples. Six hours is the floor for a flat flood.
- Drying with too much airflow, or too little. A fan or an air conditioning vent pointed straight at the tray crusts the surface in minutes. A sealed oven or dehydrator traps the moisture, and the icing stays wet under a skin that has already hardened. Leave the door slightly ajar so water vapour can escape.
- Stacking or packing before the icing is fully dry. Half-dry icing is brittle and dents under the weight above it. Leave three-dimensional and layered cookies 12 to 24 hours, and test one cookie from the batch before you stack the rest.
- Ignoring the cookie base. A soft, underbaked or overbaked biscuit moves and settles under a perfectly sound icing, and the crack appears in the icing. Bake until the edges show a light brown colour, then cool the tray completely before you flood.
Frequently Asked Questions
Why did my royal icing crack?
Royal icing dries from the outside in, so the top forms a hard shell while the core is still wet. As the core gives up water and shrinks, or as the half-set cookie is moved, the shell splits. Air conditioning, a fan pointed at the tray, a flood that is too thin, and a soft or underbaked base all make that split happen sooner.
How long to leave royal icing cookies to dry?
A thin flood on a flat cookie needs about 6 hours before you can move it without denting. Three-dimensional or layered work needs 12 to 24 hours. Touch-dry means a light touch leaves no mark. Fully dry means the icing is hard and cool and gives at nothing, and that is the point at which it is safe to stack, box or transport.
Does the fridge help royal icing dry faster?
Not really. A fridge cools the icing, which slows the water leaving it, and the trapped humidity in a closed fridge keeps the surface damp. If you have no dry, airy spot, set the cookies uncovered on a rack inside the fridge with the door slightly ajar, then move them out as soon as they firm up.
What is the 10-15 second rule for royal icing?
Scoop icing onto a spoon, hold it over the bowl and count the seconds before it slides off. Ten to fifteen seconds is right for most work: thin enough to spread into a smooth flood, thick enough to hold a line without slumping. Past about 20 seconds it drags and tears, and under 5 seconds it is too thin and will crack as it dries.
What can I add to royal icing to make it thicker?
Sifted cornstarch is the gentlest option, added a teaspoon at a time and stirred right through. A little extra powdered sugar also works, though it lightens a tinted batch. Never add more liquid. If the icing has already been over-thinned, dust the cookie with a little cornstarch before you flood so the biscuit does not drink the water back.
How do I cover cracks I cannot repair?
Pipe a deliberate detail straight over the flaw. A shell border, a contrasting outline, or a small piped flower in the same spot turns a defect into part of the design. For a hairline crack in a smooth flood, run an outline along the crack and it reads as intended decoration. For a crater, pipe a raised rim around it.
Most cracked royal icing is a timing problem, not a recipe problem. Press a fingertip on it first: damp means smooth it flat with a clean finger, fully dry means patch it with stiff icing and re-wet the hairline. Set the next batch on a rack in still, dry air, leave it six hours before you touch it, and give the big cookies the full twelve to twenty-four.