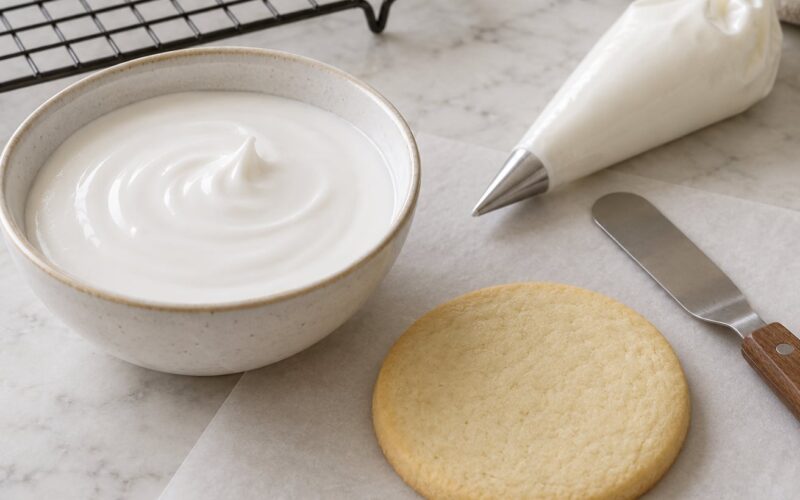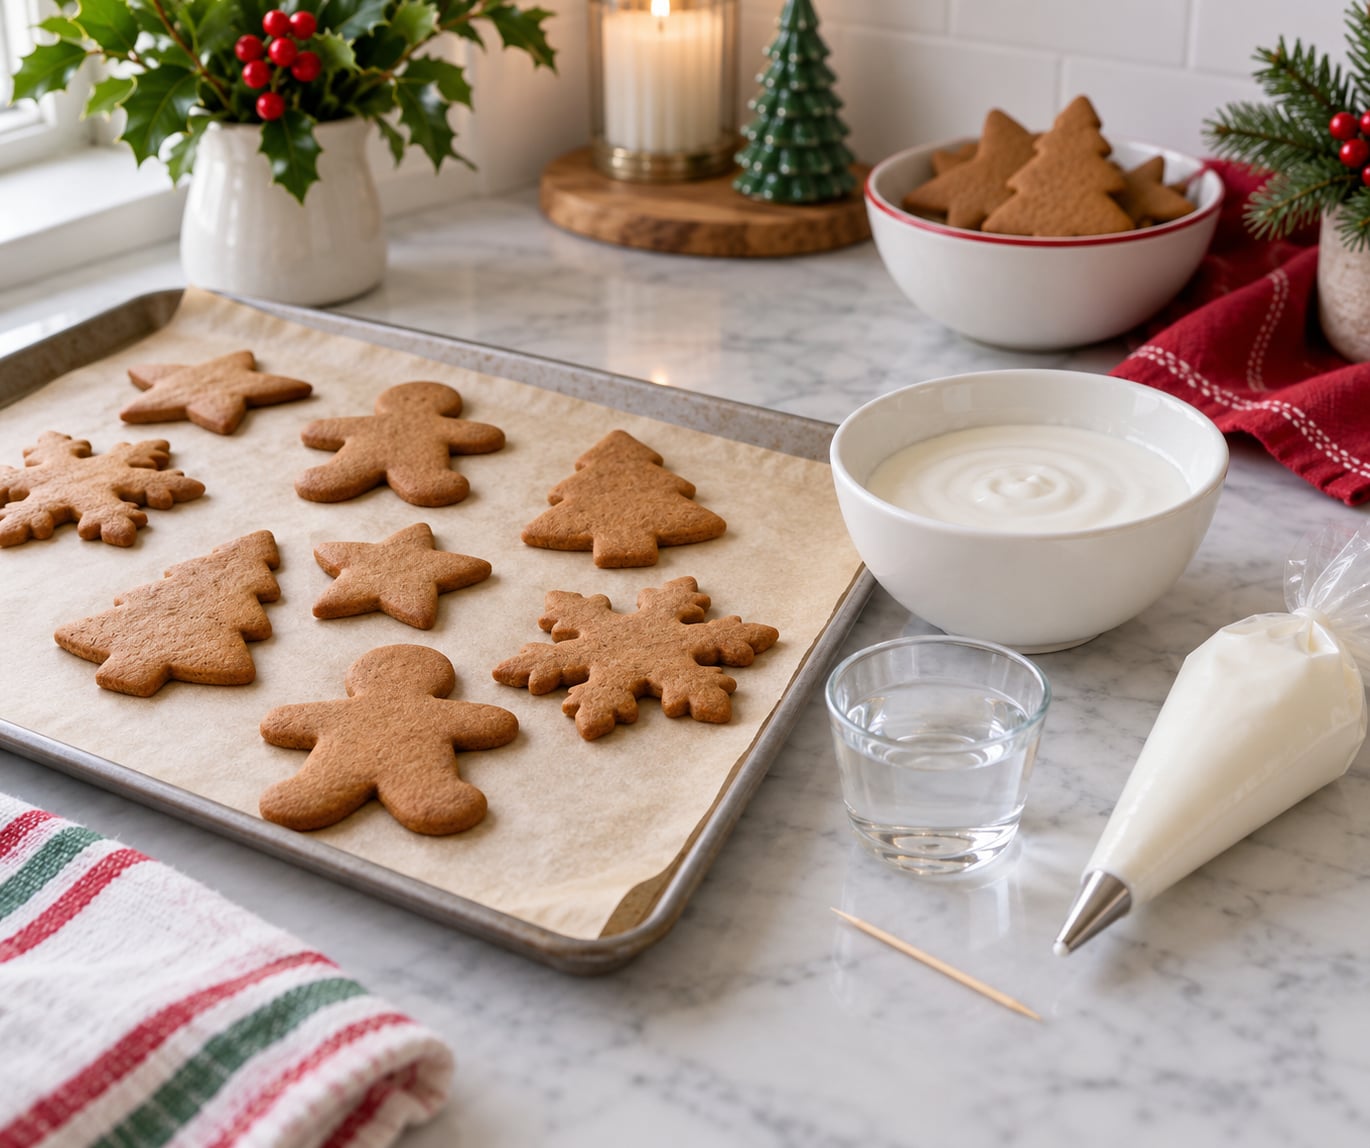
Royal icing is the icing that turns baked gingerbread cookies into crisp, professional-looking decorations, and the method is simpler than it looks: pipe an outline, flood the middle, then add details once the first layer is dry. This guide walks through how to decorate gingerbread cookies with royal icing from a chilled cookie to a finished design, and a dozen cookies take roughly 40 to 50 minutes of piping plus a few hours of drying before they can be moved or stacked.
Beginners usually lose time to one thing: icing that is the wrong thickness. Get the consistency right and the rest is practice, not talent.
Table of Contents
- What You Need
- Step-by-Step: How to Decorate Gingerbread Cookies with Royal Icing
- Bake or Chill the Cookies First
- Make Royal Icing in the Right Consistency
- Outline the Cookie Before You Fill It
- Fill and Smooth the Centers
- Add Details and Let the Icing Dry
- Common Mistakes
- Frequently Asked Questions
- Can I decorate gingerbread cookies with royal icing the day before serving?
- Should I add food coloring to royal icing before or after dividing it?
- Why is my royal icing sticking to the gingerbread cookies?
- How thick should royal icing be for decorating gingerbread cookies?
- Conclusion
What You Need

Everything splits into two piles: what goes into the icing, and what you hold while you pipe. The ingredient list is short, and almost all the tools are cheap and reusable.
For the icing, aimed at about 12 medium cookies:
- Confectioners’ sugar — roughly 4 cups, sifted through a sieve or whisked. Lumps are the number one reason piping lines break apart.
- Egg whites — 3 large whites from the oven, or 2 tablespoons plus a teaspoon of meringue powder if you would rather not handle raw egg.
- Lemon juice — 1 teaspoon, plus a small glass of cold water for adjusting the thickness.
- Vanilla or almond extract — half a teaspoon.
- Gel food coloring — gel rather than liquid drops, because every drop of liquid color thins the icing as it goes in.
For the decorating itself:
- A piping bag, or a sturdy zip-top bag with the corner snipped off if a coupler feels fussy
- Round tips: a small one for writing and fine outlines, a larger one for borders and dots
- Several small bowls, one per icing color, plus a small spatula or butter knife for mixing
- A toothpick for dotting and dragging lines through icing
- The back of a teaspoon or a small offset spatula for spreading fills
- Parchment paper or a silicone mat under the cookies, and a wire cooling rack
- A small paring knife for lifting mistakes off dried icing
As a rough guide, allow about 2 tablespoons of mixed icing per medium cookie for an outline plus a fill. Mix in smaller amounts than you think you need, and keep any spare icing covered with a damp cloth or plastic wrap, because it starts setting the moment it sits uncovered.
Step-by-Step: How to Decorate Gingerbread Cookies with Royal Icing
Chill the cookies fully, mix the icing to a soft-to-stiff peak, pipe the outline, flood the center, then dry and add the next layer. Work in that order and every layer stays raised and sharp instead of melting into the one beneath it.
Bake or Chill the Cookies First
Royal icing bonds to a dry crumb, so the cookie surface matters more than anything you do afterward. Warm cookies melt the icing on contact and it slides off before it can set, which is why a straight-from-the-oven tray never works no matter how careful you are.
Let the cookies cool completely on a wire rack, then chill them on a tray for 15 to 30 minutes. Chilling firms the surface so the icing sets fast and stays glossy, and it gives you a much firmer cookie to handle while piping.
Two quick fixes before you start. Brush off loose flour with a soft pastry brush, since floury patches are where icing lifts later. And if a cookie edge chipped during baking, trim it straight with a serrated knife or set that one aside for the snack pile.
Keep most of the cookies in the fridge while you work and bring out a few at a time. Room temperature for the whole tray is where the first icing goes soft and sticky.
Make Royal Icing in the Right Consistency
Beat the egg whites until frothy, then add the sifted sugar a spoonful at a time, scraping down the bowl once or twice. Add the lemon juice and extract and keep beating for 5 to 7 minutes, until the mixture pulls away from the sides of the bowl and the tip holds a firm peak when you lift it.
Here is the test worth memorizing, and it is called the 15-second rule. Scoop a little icing onto the back of a spoon, turn the spoon over, and count how long it takes to slide off. About 15 seconds is the right thickness for outlines, dots and lettering. Under 10 seconds is too runny and will bleed. 25 seconds or more is too stiff and tends to crack as it dries.
Three consistencies cover almost everything:
- Outlines, borders, lettering — the 15-second test, roughly the texture of soft toothpaste
- Dots, stars, shells, texture work — stiffen it further by beating another 30 seconds, or add another spoonful of sifted sugar
- Flooding a large center — add cold water one drop at a time until the icing runs off the spoon in 20 to 25 seconds
Divide the icing into separate bowls before you add any color, then tint each portion. One shade at a time, mixed at full strength, gives you far more control than trying to lighten a color you already committed to.
For outlines, flood and detail work, think of these as three separate moves. Outline creates the boundary. Flood fills it. And wet-on-wet means piping a second color onto a flood that is still damp so the two colors merge without a hard line between them. The same word, wet, is doing a lot of work in decorating instructions, so it is worth knowing which one you are being asked to do.
If you use meringue powder instead of raw egg white, the icing sets harder and more reliably, which makes it the better choice for cookies you plan to hang, mail or stack. Skip the egg version entirely if young children or anyone pregnant will eat them, since raw egg white is the one safety consideration in this recipe.
Outline the Cookie Before You Fill It
Pipe the border first. It gives the fill something to stop against, keeps colors separated, and makes the whole design look deliberate even when the colors themselves are simple.
Fill the bag only a third full, squeeze out the air, and twist the top closed. Hold the bag at about a 45 degree angle with the tip roughly half an inch above the cookie, and let the icing fall rather than pushing it out. Squeeze steadily and release the pressure before you lift, then smooth the little tail with your fingertip or a toothpick.
Do not try to turn the bag in place at a corner. That is where beginners get their worst corner. Instead, finish one side, lift the tip, and set it down at the corner to start the next side. Piping a slightly wider border on gingerbread also hides any cracks in the cookie edge.
Squeeze one practice line onto parchment before you touch a real cookie. Almost everyone over-squeezes on the first try, and finding that out on scrap paper costs nothing.
Fill and Smooth the Centers
Thin a small portion of the icing to flood consistency, then drop a small spoonful inside the outline. Push it toward the border with the back of the teaspoon, and use the tip of the piping bag to nudge icing into the corners, where a spoon will not reach.
Leave a small gap between the fill and your outline. If the flood touches the border, both colors bleed into each other and the line disappears. Once the surface is level, lift the piping tip and let the excess icing flow back into the bag rather than trying to spread it perfectly with the spoon.
Tilt the cookie slightly to check your work. A good flood looks glossy and slightly domed with no bare patches showing through. If you spot a gap, add a dot of icing and smooth it out while the surface is still wet.
For a flat, spreadable look with no piping bag at all, a teaspoon and a steady hand work fine, and that is the method most people use when decorating with kids. A squeeze bottle with a nozzle cut into the cap gives kids a narrow enough stream to be safe with and easy to control.
Add Details and Let the Icing Dry
Wait for the flood to dry before piping the next color on top. A thin flood is dry to the touch in about 1 to 2 hours, a piped border takes 3 to 4, and a cookie with several stacked layers needs 6 hours or overnight. The test is simple: touch the icing lightly with a fingertip. If it feels at all tacky, wait.
Add dots, stripes, zigzags and writing once that surface is dry, and press on any sprinkles or small candies while the icing underneath is still slightly damp so they hold. Drag a toothpick through wet colors to make feathering and marbling work, and use the same toothpick to dot a hundred tiny spots quickly once you get the hang of it.
Decorated cookies do not need refrigeration. Store them in an airtight container at room temperature, in a single layer or with parchment between the layers, and they will stay firm and shiny for one to two weeks. Refrigeration traps moisture and dulls the finish.
If the cookies need to travel, box them only after the icing is completely hard, cushion each layer with tissue or parchment, and keep the box somewhere cool and dry. In a humid kitchen, set the cookies in front of a fan for half an hour before boxing them up.
Common Mistakes

Nearly every royal icing failure traces back to one of three things: icing that is the wrong thickness, a cookie that is not dry, or a color that bleeds. Here is the fix for each one.
| What went wrong | Why it happened | How to fix it |
|---|---|---|
| Icing runs and spreads | Too thin, or too much water in the bowl | Add sifted sugar a spoonful at a time and beat for 30 seconds |
| Outlines crack as they dry | Icing was stiffer than the 15-second test, or the cookie is bone dry | Thin with drops of water, and outline a little inside the cookie edge |
| Colors bleed together | A new color was piped onto a wet flood and left too long | Let each layer dry before piping the next color on top |
| Icing will not set | Too much liquid, or a very humid room | Add sugar, and run a fan over the cookies while they dry |
| Icing pops off in patches | Piped onto a warm, greasy or crumbly surface | Cool fully, chill, and pipe a complete border around the edge |
| Piped line breaks or frays | Bag filled too full, or squeezed too hard | Fill the bag a third full and squeeze with the heel of your hand |
| Corners look rounded and messy | Turning the bag in place at each corner | Lift the tip and set it down at each corner instead |
| You ran out of icing | Batch mixed larger than the cookies need | Plan about 2 tablespoons per medium cookie and keep spare icing covered |
Getting a mistake off is easier than most people expect. While the icing is still damp, dab it with a clean fingertip and smooth the surface back flat. Once it is fully dry, slide a small paring knife or the edge of a teaspoon under it and lift it away, then touch the bare crumb with a tiny dot of icing to hide the mark. Either way, correct it while it is still slightly soft.
Frequently Asked Questions
Can I decorate gingerbread cookies with royal icing the day before serving?
Yes. Royal icing suits advance work because it dries firm and keeps decorated cookies stable for days. Store finished cookies in a single layer, or in layers with parchment between, in an airtight container at room temperature for one to two weeks. Add ribbons, gift tags or boxed decorations on the day you need them, not before, so nothing dents the icing.
Should I add food coloring to royal icing before or after dividing it?
Divide first, then color each portion in its own bowl. That way you can build several shades without dragging one color back through the others, and a shade that comes out too dark has not spoiled the whole batch. Use gel coloring rather than liquid drops, since liquid color thins the icing as you add it and pushes you back toward flood consistency.
Why is my royal icing sticking to the gingerbread cookies?
Sticking usually means a warm, oily or freshly baked surface. Let the cookies cool completely on a rack, then chill them for 15 to 30 minutes before piping. If the dough contained butter or shortening, the crumbs are fatty, so paint the whole cookie face with a thin layer of thinned icing, let it dry, and pipe your design on top of that glue coat.
How thick should royal icing be for decorating gingerbread cookies?
Use a fairly stiff icing for borders, dots, lettering and fine details. It should hold its shape when piped but still flow smoothly from the tip. For larger filled areas, soften it slightly with cold water, a drop at a time. Check with the 15-second rule: about 15 seconds for outlines, closer to 25 seconds for flooding.
Conclusion
Start with two things today: chill your baked cookies for 15 to 30 minutes, and run the 15-second test on your icing before it goes anywhere near a piping bag. Once both of those behave, outline the cookie, flood the center, and let it dry before adding anything else.
Build up to detail work from there. A simple outline and a solid flood in two colors already looks finished, and every extra layer you add from that point is practice, not risk.