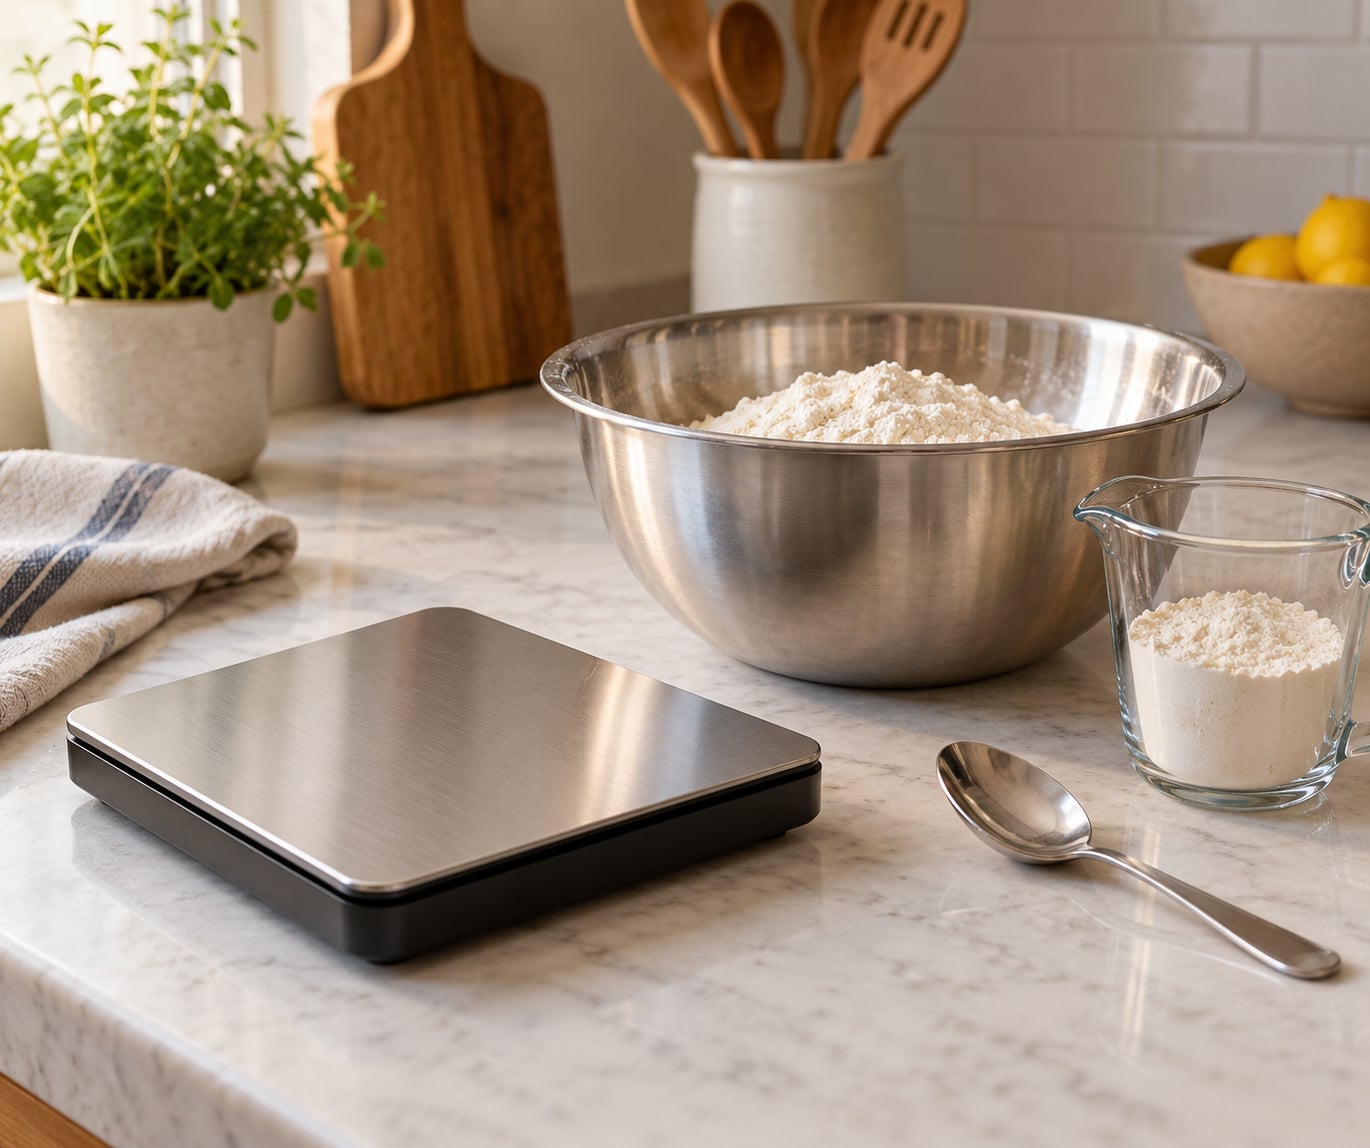
To measure baking ingredients by weight, set your mixing bowl on a digital kitchen scale, press tare to bring the display back to zero, then add the ingredient until it reads the target weight in grams. Tare again before the next ingredient. Weight does not care how you scooped or packed anything, so batch two comes out the same as batch one.
That last point is the whole argument. Volume measurements move around depending on how full the measuring cup is and how hard you pressed the flour down, and in baking those small shifts change texture, rise and spread. Weighing removes the guesswork from the part of the process that is supposed to be the easy part.
It is also faster, which I did not expect. Ingredients go straight from the bag or jar into the bowl, so there is no row of dirty measuring cups to wash afterward, and no more scanning the counter to work out whether you already added the second cup of flour or the third.
One honest note before we start, because the baking community is split on this. Plenty of experienced bakers argue that ratios matter more than tools, and that if you measure with cups consistently and carefully, your results will be consistent. That is not wrong. What weight measurement adds is the ability to follow a recipe written by someone else, scale it up or down without doing arithmetic, and reproduce it later.
Updated for 2026, and written around the mistakes I see most often rather than the theory behind density.
Table of Contents
- What You Need to Measure Baking Ingredients by Weight
- Step-by-Step: How to Measure Baking Ingredients by Weight
- Step 1: Set Up and Zero the Scale
- Step 2: Convert Cup Measurements to Grams and Ounces
- Step 3: Weigh the Ingredient Carefully
- Step 4: Measure Flour, Powders, and Other Dry Ingredients by Weight
- Step 5: Measure Butter, Chocolate, and Other Solid Ingredients
- Step 6: Measure Liquids and Do a Final Check
- Common Mistakes and How to Fix Them
- Frequently Asked Questions
- Do all recipes work when ingredients are measured by weight?
- How do I convert a recipe from cups to grams accurately?
- Should flour be packed or loosely packed when weighing it?
- Can I use a bathroom scale instead of a kitchen scale?
- How do I weigh butter and other sticky ingredients?
- Why is my weighed ingredient amount different from the recipe?
What You Need to Measure Baking Ingredients by Weight
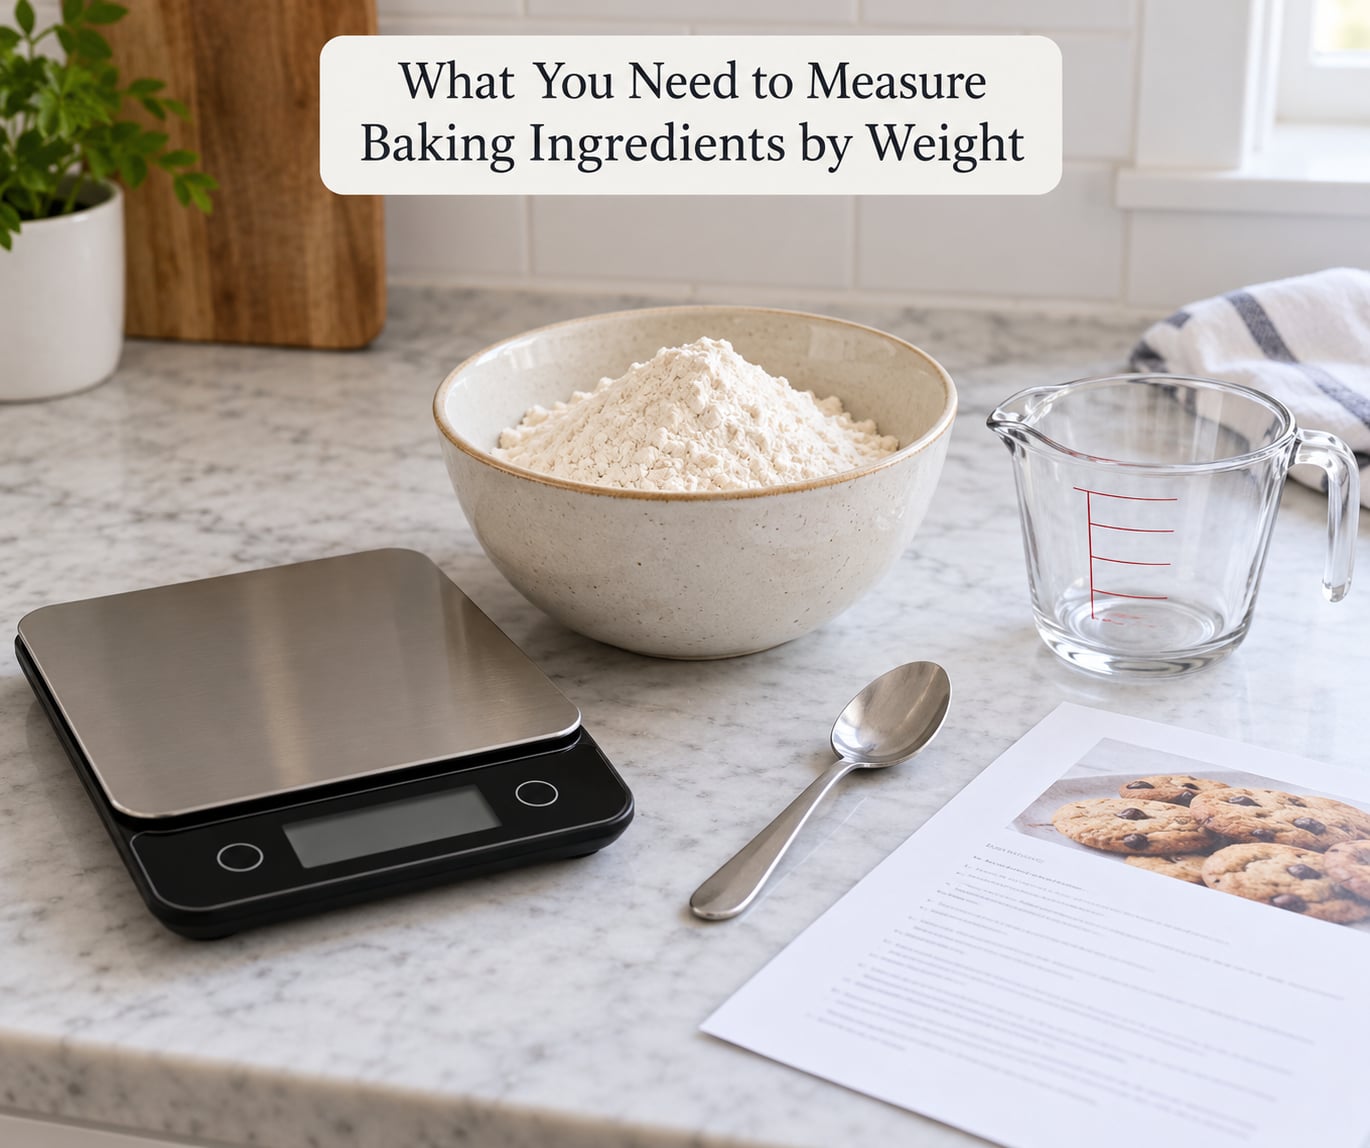
You need five things, and four of them are already in your kitchen. The only real purchase is a scale that reads in grams, but not just any scale will do.
A digital kitchen scale with 0.1 g resolution. One decimal place is the useful target for home baking, because baking soda and salt are measured in single-digit grams and a scale that only shows whole grams rounds them into uselessness. Anything finer is welcome but rarely necessary outside of bread and pastry work.
Enough capacity for a full batch. Read the maximum weight on the base, not the bowl size. A large cake batter or a double cookie batch can pass two kilograms in a single weighing, and a scale that cuts out at 1 kg just means you have to split the job and keep a running total. Bread bakers should look for five kilos or more.
A bowl or container that sits flat on the platform. Some scales come with a removable bowl, which is nice for sticky doughs, but any bowl works as long as it rests flat. A glass mixing bowl is the easiest to see through while you pour.
A spoon and something to scrape with. A spoon lets you add an ingredient gradually instead of dumping it all in and hoping. A rubber spatula handles sticky things like peanut butter and yogurt.
A recipe with gram targets, or the chart further down. A weight you already know works in your kitchen is worth more than any conversion, so if you have a favourite recipe, weigh each ingredient once with cups and write down the grams. That becomes your personal chart, and it will always be more accurate than a stranger’s table.
A known reference weight to test the scale with. This is the step almost nobody tells you about. Put a sealed package of table sugar or a bag of rice with a printed weight on the platform and see whether the display matches. If it is off by more than a gram or two, replace the batteries or the scale. Bakers complain on r/Baking and r/Cooking that cheap scales drift or stop working within a year, and a fifteen second check tells you which category yours is in.
On what to look for: in r/Baking and r/Cooking threads the OXO 11 lb stainless steel scale comes up most often as a recommended pick, with American Weigh Scales and Etekcity also recurring. What the recommendations share is a working tare button, a readable display in grams, and a platform that is easy to wipe. A hold button is a bonus rather than a necessity.
Step-by-Step: How to Measure Baking Ingredients by Weight
The same six steps work for every ingredient once you have them. Most of the work is in step two, which is turning a cup-based recipe into gram targets before you touch the scale.
Step 1: Set Up and Zero the Scale
Put the scale on a flat, hard counter away from the edge, and away from the stove. A gram of accuracy is not worth anything on a wobbly surface, and a scale sitting next to an oven will drift as the temperature changes.
Turn it on and check what it reads before you add anything. A flat, waterproof platform should show 0 g on its own. If it shows a number you do not recognise, press the tare or zero button once and confirm the display returns to 0.0 g. Choose grams rather than ounces for the whole bake, because grams are what recipes and conversion charts use, and switching settings mid-recipe is how you end up adding two tablespoons too much of something.
You know it worked when the display sits at 0.0 g and stays there for a few seconds without drifting.
Step 2: Convert Cup Measurements to Grams and Ounces
Multiply the number of cups in the recipe by that ingredient’s grams per cup, using the table below. One cup of all-purpose flour at 120 g becomes a quarter cup at 30 g, half a cup at 60 g, and a full cup at 120 g. Work in the ingredient’s own row, never in the flour row, because density differs so much between ingredients.
If the recipe is already in grams, there is nothing to convert. If it is in ounces by weight, convert those to grams by multiplying by 28.35, and round to a whole gram or a half gram for ordinary home baking.
Here is the chart. Grams are the column to use; ounces are there for the recipes that give both.
| Ingredient | 1 cup in grams | 1 cup in ounces |
|---|---|---|
| All-purpose flour | 120 g | 4.25 oz |
| Bread flour | 120 g | 4.25 oz |
| Whole wheat flour | 113 g | 4 oz |
| Cake flour | 113 g | 4 oz |
| Almond flour | 96 g | 3.4 oz |
| Coconut flour | 112 g | 4 oz |
| Granulated sugar | 200 g | 7 oz |
| Brown sugar, packed | 220 g | 7.75 oz |
| Confectioners sugar, unsifted | 113 g | 4 oz |
| Cocoa powder | 85 g | 3 oz |
| Cornstarch | 113 g | 4 oz |
| Rolled oats | 90 g | 3.2 oz |
| Shredded coconut | 85 g | 3 oz |
| Chocolate chips | 170 g | 6 oz |
| Peanut butter | 274 g | 9.7 oz |
| Honey | 336 g | 12 oz |
| Vegetable oil | 218 g | 7.7 oz |
| Butter | 227 g | 8 oz |
| Whole milk | 240 g | 8.5 oz |
| Water | 240 g | 8.5 oz |
| Heavy cream | 238 g | 8.4 oz |
| Sour cream | 230 g | 8 oz |
Those are rounded working values, and you will see slightly different numbers elsewhere, which is not a sign that anyone is wrong. King Arthur’s chart lists one cup of all-purpose flour at 120 g, other bakers use 125 g, and a cup of flour scooped straight from the bag with a metal scoop and shaken can land near 150 g. Pick the source you trust, use it for every bake, and write your own numbers next to it once you have weighed something you know turned out well.
Small amounts do not need the chart. One teaspoon of baking powder is about 4 g, one teaspoon of baking soda about 6 g, and one teaspoon of instant yeast about 3 g. A tablespoon of granulated sugar is roughly 12 g, and a tablespoon of butter is about 14 g.
For the reverse direction, divide grams by the grams-per-cup figure. A pound of all-purpose flour is 454 g, which at 120 g a cup is just under four cups. A pound of butter is exactly two cups, and a pound of granulated sugar is a little over two and a quarter cups.
Step 3: Weigh the Ingredient Carefully
Set the bowl on the platform and press tare. The display should go to 0.0 g again even though the bowl is sitting on it. This is the single most repeated mistake in forum threads and comments: people add the bowl’s weight to every ingredient reading without meaning to, so a 400 g bowl turns a 120 g cup of flour into a recipe that calls for 520 g of it.
Now add the ingredient a spoonful at a time, watching the display. Slow down in the last ten grams, because that is where overshooting happens. You know it worked when the number holds steady at your target and you have not spilled any on the platform.
If you overshoot, remove a little and add it back in small increments rather than trying to correct with a negative spoon measurement. A tenth of a gram of extra flour is nothing, and a heavy-handed scrape trying to fix a five gram overshoot is.
Eggs are the one thing most home bakers still measure by count, and they do not need to be. If you want to weigh them, these bands cover most of what you will find in a carton:
| Egg size | Approximate weight |
|---|---|
| Small | under 53 g |
| Medium | 53 g to 63 g |
| Large | 64 g to 72 g |
| Extra large | 73 g and up |
Recipes usually assume large eggs. If yours are smaller, weighing four of them and using what you get is the simple fix.
Step 4: Measure Flour, Powders, and Other Dry Ingredients by Weight
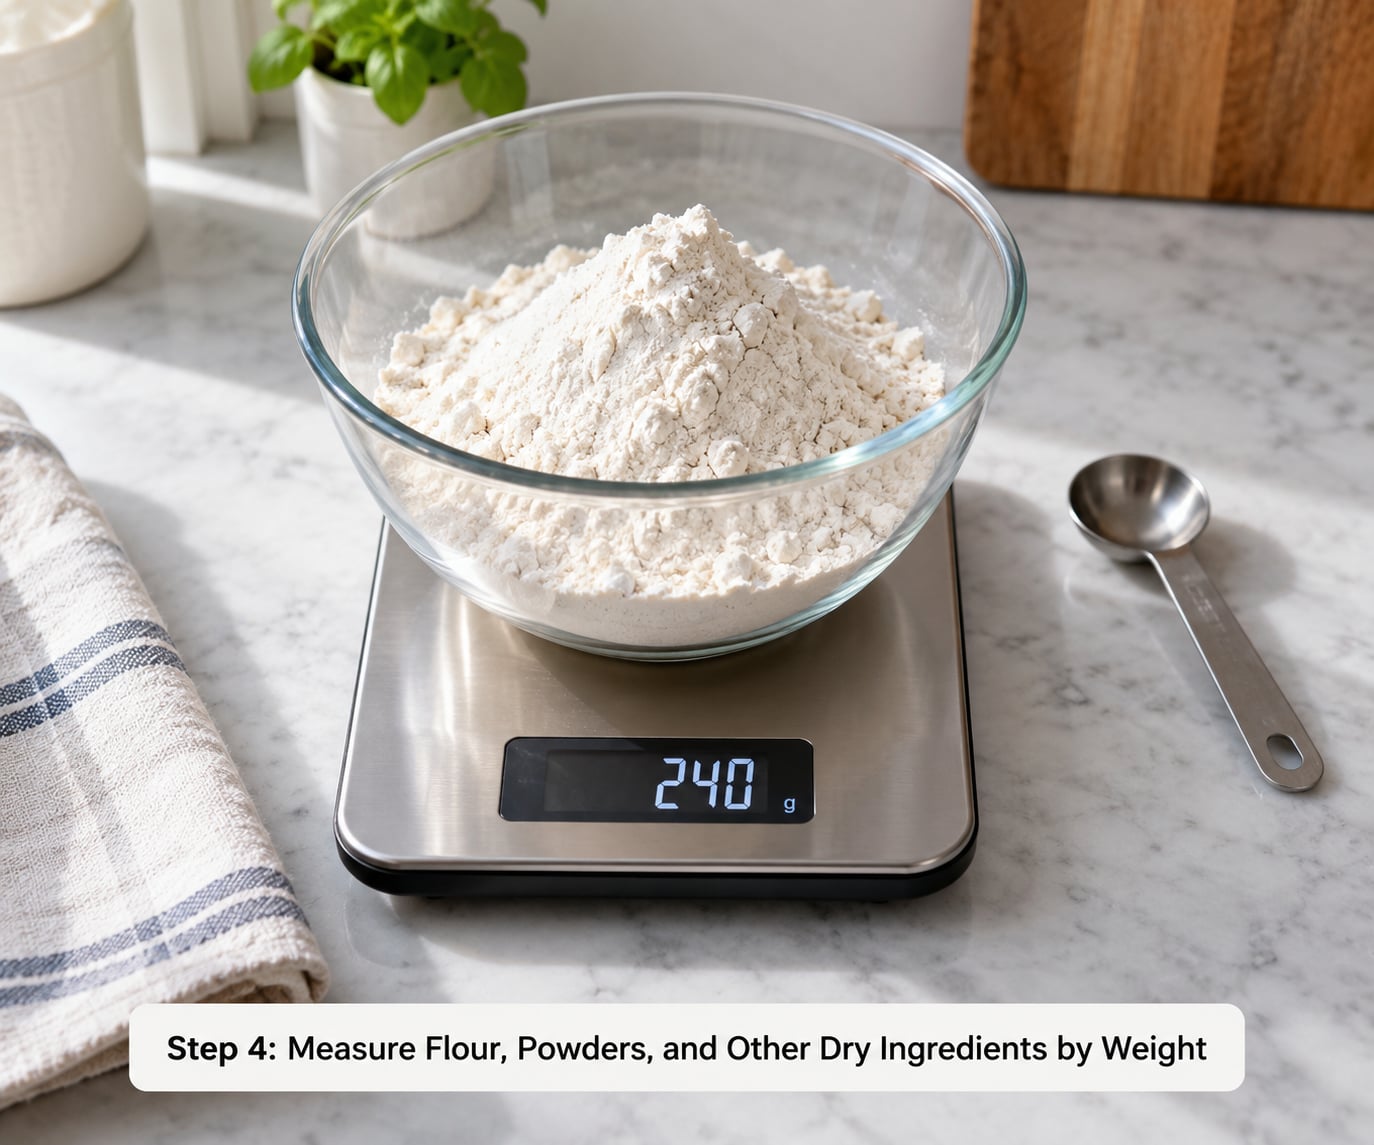
Put the bowl on the scale, tare it, and add flour with a spoon until the display hits the target. Do not press the flour down into the bowl, do not compact it with the measuring spoon, and do not level it by shaking the bowl. A packed cup of flour can be 30 g heavier than a loose one, and every one of those grams is a change in the finished bake.
The same goes for cocoa powder, cornstarch, and confectioners sugar, which are the easiest to over-pack because they clump. If a recipe specifically calls for packed brown sugar, press that one down firmly, because packed is the intended measurement there.
Leavening agents are the exception to everything above. Baking powder, baking soda, salt and yeast belong on the spoon, weighed to the gram and tipped straight into the bowl, because a level teaspoon is a precise measure in a way a cup never is.
You know it worked when the flour is loose and aerated in the bowl and the scale stopped exactly on your number.
Step 5: Measure Butter, Chocolate, and Other Solid Ingredients
For butter, you usually have a better reference than a scale: the wrapper says how much is in the stick, and one stick is 113 g, so a full cup is two sticks at 227 g. Weigh the wrapper before and after if you want to know how much is left without guessing at the marks.
Solid chocolate is easiest weighed directly on the platform. Zero the scale, set the block on and read the number, then add or shave with a sharp knife until it matches. Chocolate chips go in a bowl like any dry ingredient, since they scatter.
If the butter is soft, weigh it in a bowl rather than straight on the platform, because a smear of fat on a flat weighing surface throws the reading off. Wipe the platform with a damp cloth and dry it thoroughly between uses, and never weigh an ingredient with water still on your hands above the scale.
You know it worked when the scale reads the target with the bowl included, and the platform underneath is clean.
Step 6: Measure Liquids and Do a Final Check
Liquids get weighed like everything else, into a bowl on the scale, because that is the same bowl the batter goes into. A cup of milk is about 240 g and a cup of water is also about 240 g, which is one of the few places where volume and weight line up neatly.
Pour slowly near the target and read the display, since a jug marked in cups cannot show you half a gram. Honey and corn syrup go in last, and because they are sticky, set a small bowl on the scale, tare it, and scrape the honey in with a spatula rather than pouring straight onto the platform.
Before you move on, read the display one more time and compare it with the recipe line. Then tare the bowl and repeat. When the last ingredient is in, take two seconds to glance down the ingredient list and confirm nothing was skipped, which is much easier to do when every amount is a single number rather than a stack of cups.
You know it worked when the final reading matches the recipe and the bowl is the only thing left on the scale.
Common Mistakes and How to Fix Them
Scooping flour into the cup, or packing it into the bowl. A scoop-and-shake fills a cup with more flour, and sometimes much more, than a spoon-and-level. With a scale, this mistake disappears, so resist the urge to press the flour down to make the number go up faster. The target grams already assume a level, unpacked measure.
Not taring the bowl. Hit the tare button with the bowl in place, every single time, before the first ingredient and between ingredients. If your scale has no working tare, weigh the empty bowl first, note the number, and subtract it mentally for each ingredient.
Working on an uneven surface. If the reading creeps while nothing is being added, the counter is the problem. Move the scale to a flat board near the wall rather than near the edge or the stove.
Switching between grams and ounces. Decide at the start of the recipe and stay there. If you must use ounces, read the ounce figure as weight, not volume: 4 oz of flour is a little under 113 g, while 4 fluid ounces of milk is about 113 g of milk. Same-looking number, two different meanings, and the confusion trips up experienced bakers more than anyone.
Blaming the scale when the chart is the problem. If your 120 g of flour reliably bakes flatter than the recipe promised, that is not scale drift, it is a conversion difference. Two honest sources disagree about what a cup of flour weighs, and neither is wrong. Commit to one chart and stay with it.
Weighing sticky ingredients on the platform. Honey, peanut butter, corn syrup and tahini will gum up a flat surface and throw off every reading afterwards. Use a bowl, tare it, and scrape the ingredient in.
Overfilling the platform in one go. Scooping fast is how a bowl ends up at 145 g when the recipe asked for 120 g, and scraping out five grams is a fussy job. Add in two or three spoonfuls, then fine-tune.
Ignoring a drifting or dying scale. Check it against a package with a printed weight once every few months. If the reading is off, try new batteries first, because a low battery shows up as a small consistent error. If it is still off, replace it. Nobody needs a laboratory scale for cookies, but a scale that quietly lies is worse than no scale at all.
A few habits that pay off after the first few bakes. Weighing makes scaling a recipe up or down almost free, since doubling a recipe is just doubling every number. The same scale can portion batter between cake tins so two layers come out the same weight, which is a quiet way to fix a cake that bakes unevenly. And if you record the gram figure next to any recipe that worked, you have built a chart of your own that no website can argue with.
Frequently Asked Questions
Do all recipes work when ingredients are measured by weight?
Yes, and weight is usually the more reliable version of a recipe. Cups and spoons are estimates of volume, so two people following the same line can add noticeably different amounts. Weight measures the amount directly, so the batter comes out the same every time. The only recipes to watch are ones that depend on volume for texture on purpose, like whipped cream or a cake deliberately described as rustic.
How do I convert a recipe from cups to grams accurately?
Find that ingredient’s grams-per-cup figure and multiply it by the number of cups in the recipe. A recipe calling for two cups of all-purpose flour becomes 240 g. If you do not recognise the ingredient in a chart, weigh the cup yourself once, scoop and level, note the number, and use it from then on. That personal figure will beat any published table.
Should flour be packed or loosely packed when weighing it?
Loosely packed is the right answer when weighing by weight, because the gram figure already assumes a level, unpacked measure. Scoop and shake fills a cup with considerably more flour, and pressing it down in the bowl adds even more. The exception is brown sugar, which recipes ask you to pack firmly on purpose, and which weighs around 220 g per packed cup.
Can I use a bathroom scale instead of a kitchen scale?
Technically yes, practically rarely. Bathroom scales are built for loads measured in pounds, so their resolution is usually too coarse for baking soda, salt and yeast, and many of them round to the nearest quarter ounce. A digital kitchen scale that reads to 0.1 g costs very little and gives you the resolution to handle small quantities, which is the whole reason to weigh in the first place.
How do I weigh butter and other sticky ingredients?
Butter is easiest from the wrapper, since one stick is 113 g and one cup is two sticks at 227 g. For peanut butter, honey and syrups, set a small bowl on the scale, tare it, and scrape the ingredient in with a rubber spatula. Weighing sticky things straight on the platform leaves residue that throws off the next weighing, so keeping them in a bowl also saves you cleaning the scale.
Why is my weighed ingredient amount different from the recipe?
Usually because the chart and your scale disagree about density, not because either is faulty. One cup of flour appears as 120 g on one chart, 125 g on another, and up to 150 g when scooped from the bag. Small differences in the flour brand or a different grind also shift the number. Pick one source of values, use it consistently, and stop adjusting recipe after recipe.
Start with the first bake rather than the whole pantry. Put a scale on a flat counter, set grams, weigh one cup of flour with a spoon and level it, and write the number down next to the recipe. From then on, every gram you weigh is a gram you do not have to guess about, and the next batch of anything is one button press closer to being the same as the last.