If you want to know how to make cake pops that do not fall off the stick, the fix is threefold: a cake ball firm enough to grip, a stick sealed into it with melted coating, and enough chilling that the ball is cold and solid when it meets the chocolate. Get those right and the pop stays put through dipping, drying, and serving.
Cake pops slide off for structural reasons, not bad luck. A ball that is too soft, too greasy, or too warm has nothing for the stick to hold onto, so the stick simply backs out during the bath or once the coating sets. The good news is that every one of those causes is fixable before you even melt the chocolate.
Below is the process I use, from crumbling the cake through to the storage box, with the checkpoints that tell you a step actually worked.
Table of Contents
- What You Need
- Step-by-Step: How to Keep Cake Pops on the Stick
- Step 1: Make the cake-pop mixture firm enough
- Step 2: Shape uniform cake-pop balls
- Step 3: Insert sticks and chill the balls
- Step 4: Coat the chilled cake pops evenly
- Step 5: Let the coating set before serving
- Common Mistakes: Why Cake Pops Fall Off the Stick
- Why are my cake pops greasy or oily?
- Why are my cake pops cracking?
- Cakesicles need a slightly different approach
- What to do with pops that already fell off
- Frequently Asked Questions
- Why do my cake pops fall apart when I put them on a stick?
- How firm should the cake-pop mixture be before I insert the sticks?
- How long should I chill cake pops before coating them?
- Should I use melted chocolate or candy melts for coating cake pops?
- How do I keep the cake pop from sliding down the stick while coating?
- How should finished cake pops be stored so they stay on the stick?
- Conclusion
What You Need
The ingredient list is short, but two pieces of equipment do most of the work of keeping pops on their sticks.
- One baked cake, cooled completely (9 by 13 inch pan is a good size for about 30 pops)
- 1 to 1.5 cups frosting, buttercream or store-bought, mixed in stages so you can stop at the right texture
- 1 to 1.5 pounds candy coating or chocolate, melted
- Lollipop or cake pop sticks
- A baking sheet lined with parchment paper
- A small bowl for mixing and a second bowl for excess coating to drip into
- A cookie scoop, roughly 1.5 inch, or your hands with damp gloves
- A tall narrow dipping cup, a 2-cup glass measuring cup works well
- A foam block or heavy glass jar to stand the pops in while they set
- A wire cooling rack or parchment paper for finished pops
A note on sticks: thicker sticks give a ball more to grip, which helps with cakesicles. Thin decorative sticks bend under the weight of a wet coating, and a bent stick lets the ball drop.
Step-by-Step: How to Keep Cake Pops on the Stick
Step 1: Make the cake-pop mixture firm enough
Crumble the cooled cake into fine crumbs in the food processor or by hand. Fine is the operative word. Big chunks mean weak spots in the ball, and weak spots are where the ball cracks and where the stick gets loose.
Add frosting a quarter cup at a time and mix between additions. Stop when the mixture holds its shape when you press it against the side of the bowl but still breaks apart easily with a thumb. That texture is what you are aiming for, not a number, because cake dryness varies widely.
If the mixture sticks to everything the second you touch it, you have gone past firm into greasy. Add a few more cake crumbs and mix again. If it crumbles and will not hold, add another tablespoon of frosting. Most home bakers land somewhere between a quarter and a half cup of frosting per 8 to 9 cups of cake crumbs, so start low.
Step 2: Shape uniform cake-pop balls
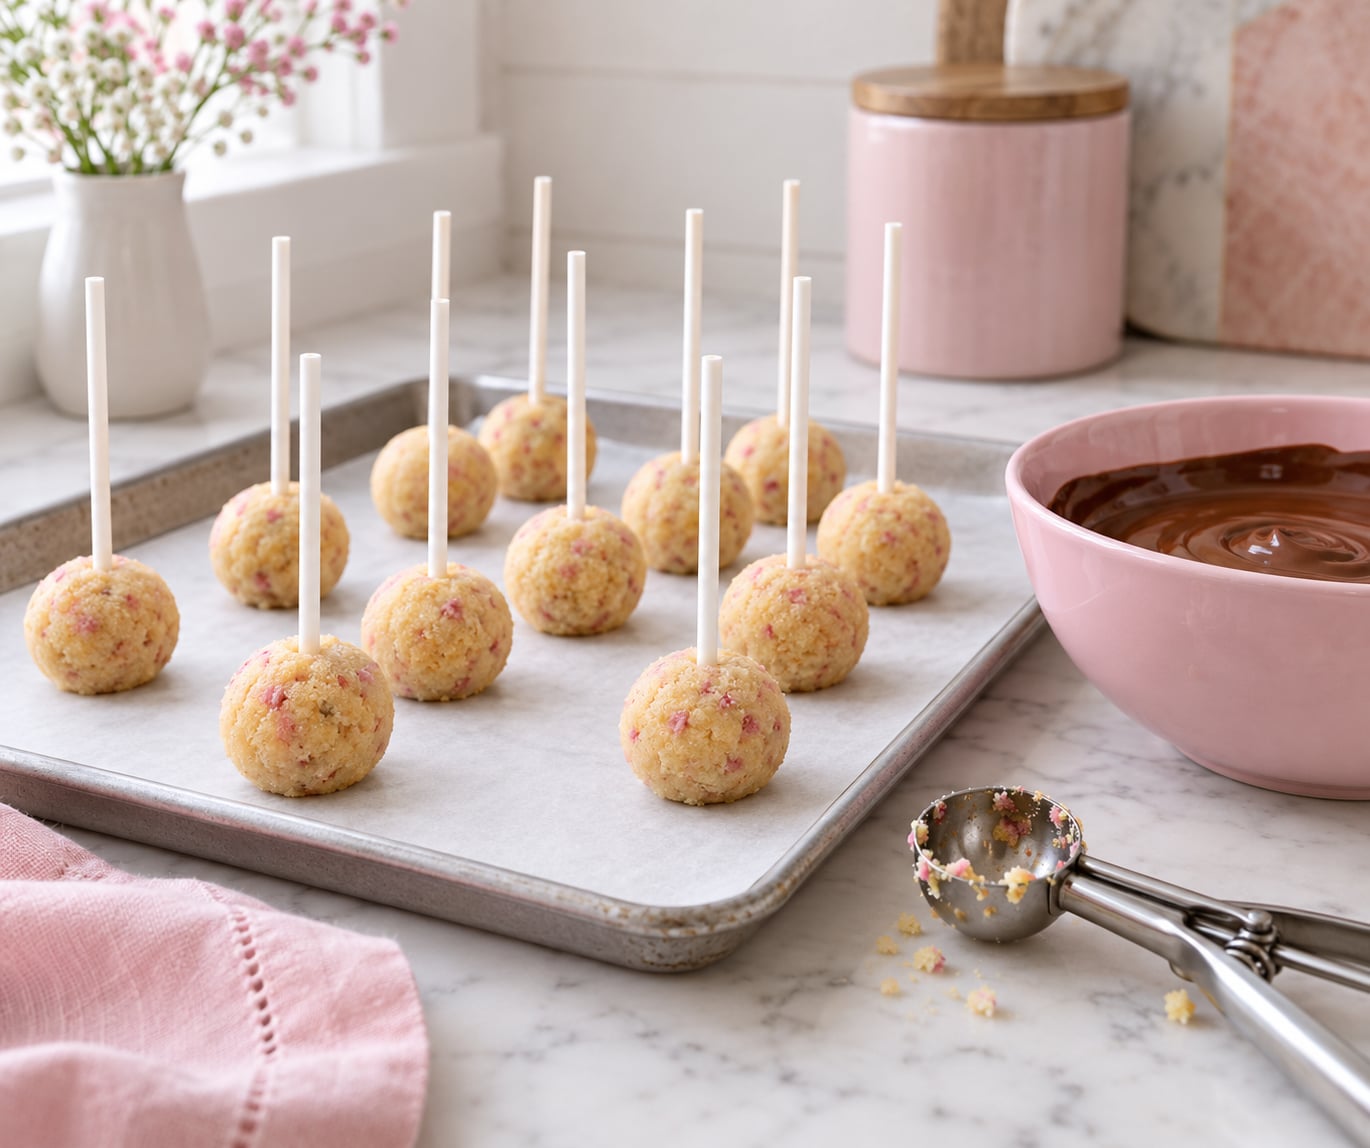
Roll the mixture into balls about 1.5 inches wide. Uniform size matters more than perfect roundness, because even balls sit on the same surface while they chill and set at the same rate.
Three textures mean three different problems. Mixture that cracks at the edges as you roll is too dry, so work in a little more frosting. Mixture that smears and spreads on your palms has too much frosting. Mixture that is smooth but collapses into a flat disc is too soft, and it needs more chilling before it will hold a shape.
A cookie scoop makes this step fast for a batch of 30 or more. Roll each scoopful between your palms to knock off the seams before you set it down.
Step 3: Insert sticks and chill the balls
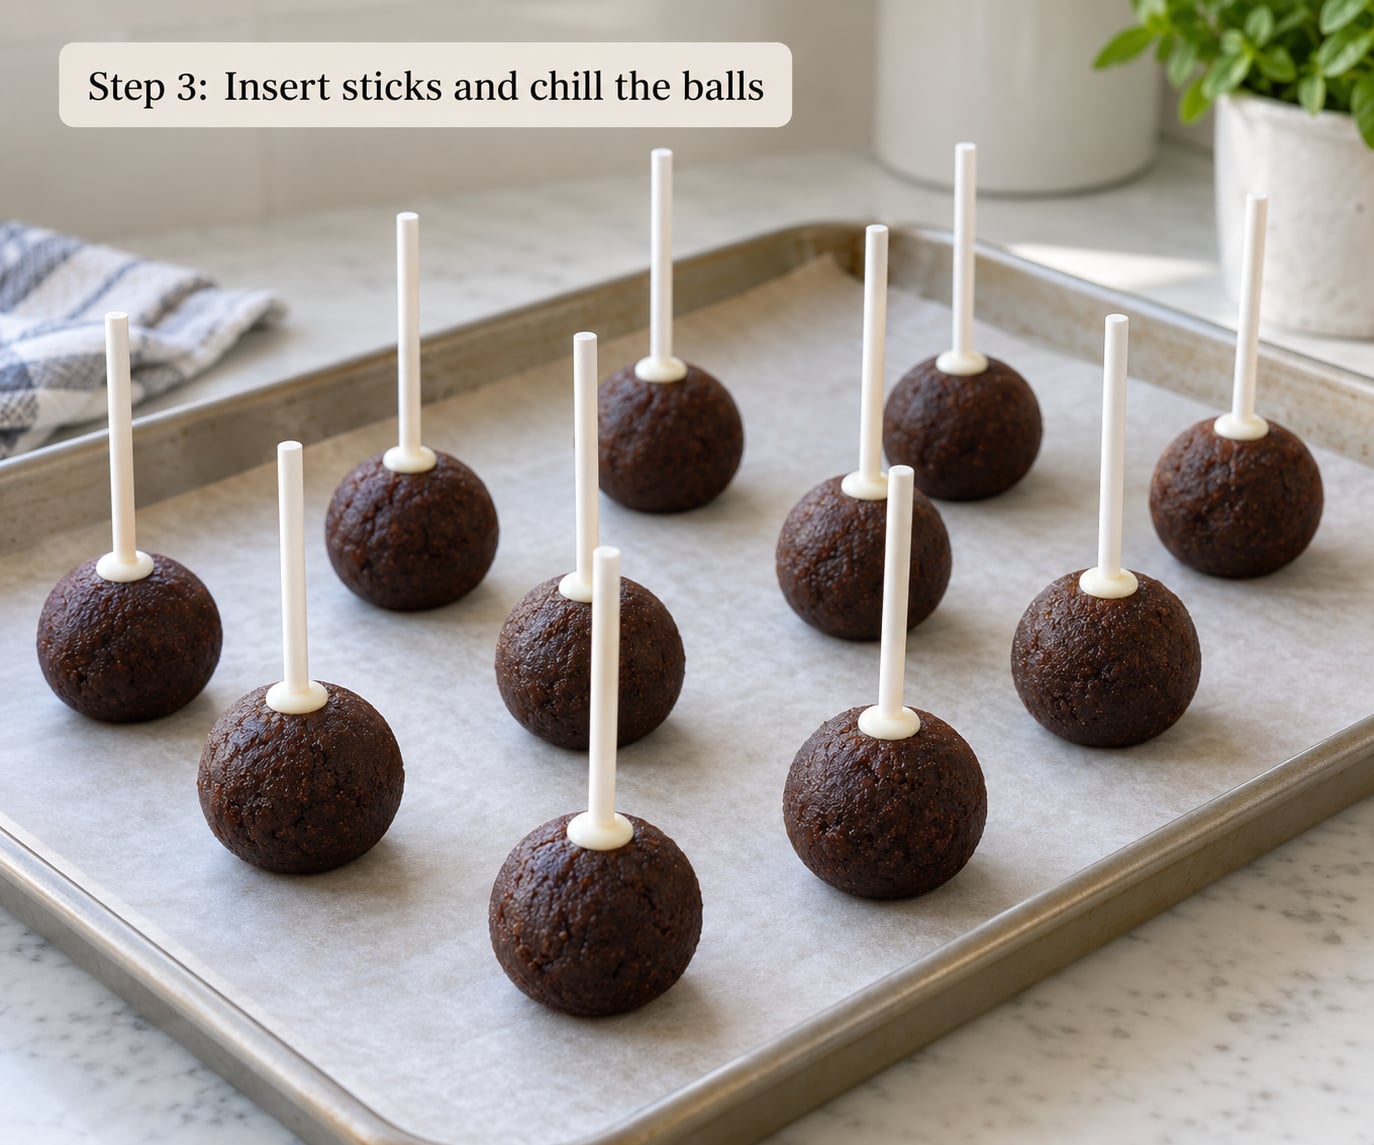
Chill the balls first, then add the sticks. Two hours in the refrigerator or one hour in the freezer is the usual window, and the balls should feel like firm frosting with no give at the center.
Then melt the coating in short 20 to 30 second bursts, stirring between each one. Melted, dip only the last half inch of the stick and insert it into the ball while the coating is still soft. Push the stick halfway in at most, not through to the other side.
Stand the pops in a foam block and let the coating seal set for 15 to 20 minutes before any popping happens. A five minute chill in the refrigerator firms that seal up quickly. This coating seal is the single step that stops a pop from sliding off during dipping.
Press the mixture firmly around the base of the stick as you go. Air pockets inside a loose ball create pressure that pushes the stick back out later.
Step 4: Coat the chilled cake pops evenly
A thick coat is heavy and it creeps down the stick. Thin the melted coating with a teaspoon or two of coconut oil, vegetable oil, or a commercial dipping aid, stirring a little at a time until it pours off the spoon in a ribbon.
Tilt the dipping cup about 45 degrees instead of dunking straight down. Set the ball into the coating and rotate the stick slowly between your fingers, lifting as you turn so you cover the sides without stirring the ball around inside the cup.
Let the excess drip into the bowl. Tap the stick lightly on the rim once or twice, not hard, since a hard tap swings the ball. Work fast, because every extra second in the coating thins the shell you are trying to build.
Step 5: Let the coating set before serving
Stand the pops upright in the foam block, or lay them on parchment in a single layer. They need about an hour at room temperature before the shell is firm enough to handle, and moving them sooner is how a set pop still slides off later.
For make-ahead batches, chill the dipped pops for 20 minutes, then move them to an airtight container. Keep them in the refrigerator for up to a week and let them sit out about 20 minutes before serving. Condensation is the enemy here, so do not seal warm pops.
Common Mistakes: Why Cake Pops Fall Off the Stick
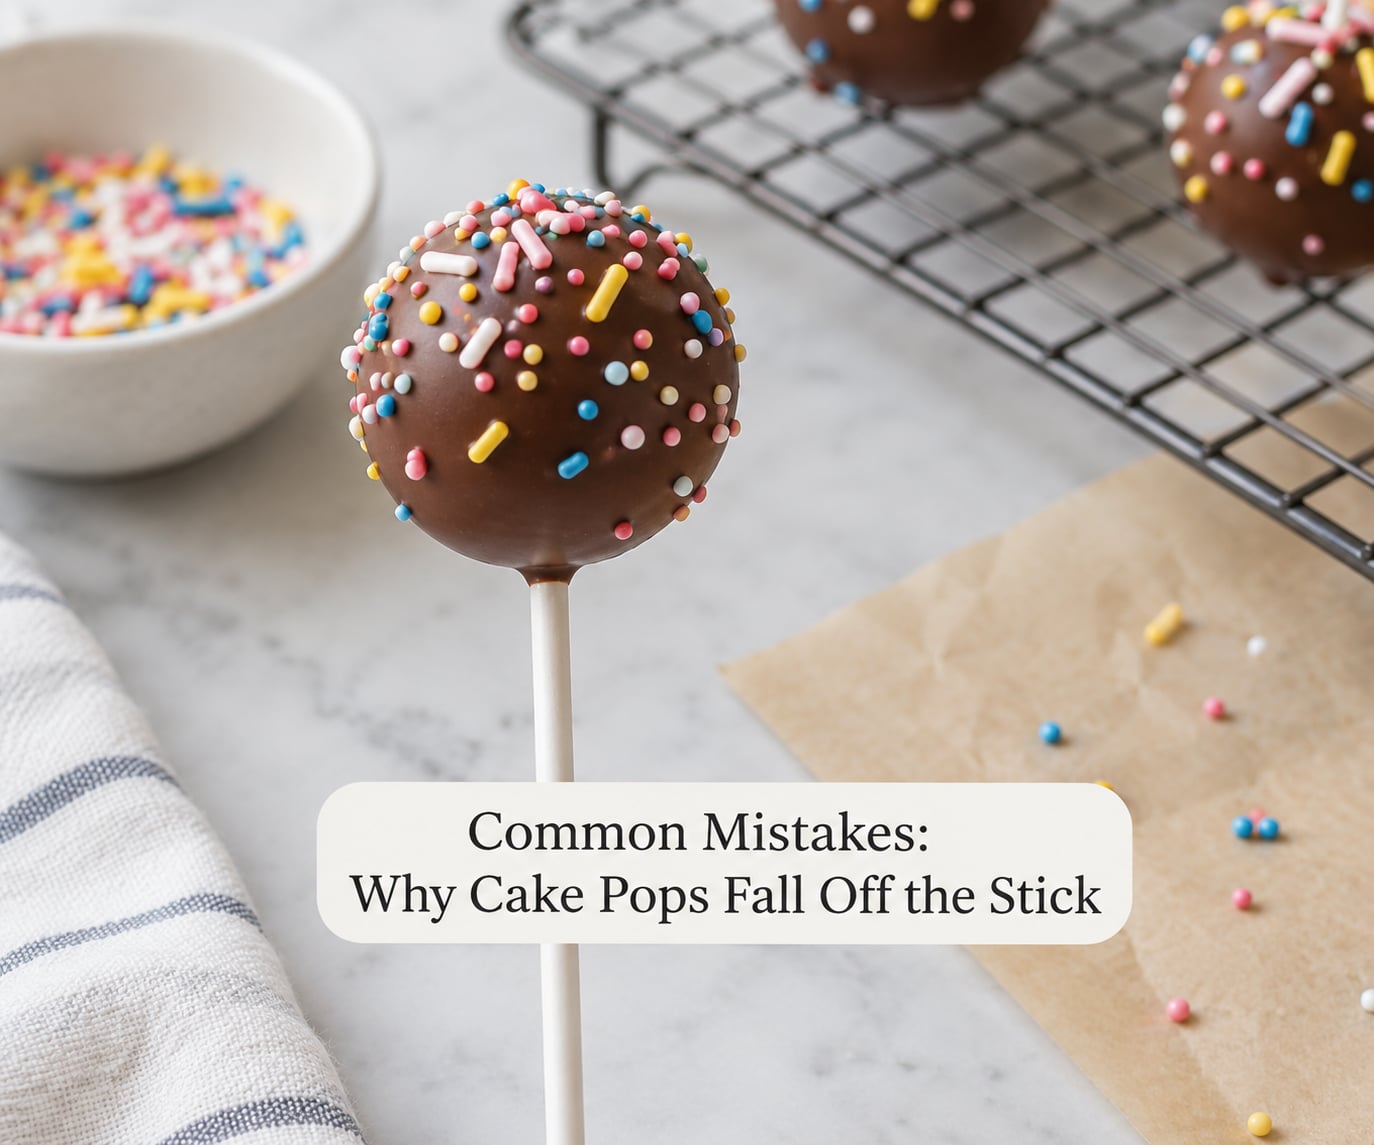
Almost every falling-off problem shows up in one of four forms: the pop slides off during the bath, the ball breaks in half when you lift it, the pop looks fine and then drops once the coating sets, or the coating cracks right where the stick enters.
- It slides off during dipping. The ball is too soft or too greasy, or the stick was never sealed. Add cake crumbs to firm the mix, chill two hours, and dip the stick tip in coating before inserting it.
- It breaks in half when you lift it. Either the crumbs were too coarse or the ball went through the coating and got lifted twice. Crumble finer and lift straight up in one motion.
- It falls off after the coating sets. The base was not sealed, or an air pocket sits around the stick. Press the mix tight around the stick and let the seal set for 20 minutes.
- It cracks at the stick entry. A cold ball going into hot coating causes temperature shock. Let the melted coating sit five minutes, and warm the ball slightly by working it a minute in your hands.
- The balls come out greasy or oily. Warm butter or oil straight from a boxed mix will not bind into the crumbs. Cut the oil in a boxed mix down to 3 or 4 tablespoons, or bake from scratch.
- The coating is too heavy and the pop droops. Undiluted coating adds weight at the top of the stick. Thin it with coconut oil or a dipping aid until it pours in a ribbon.
Why are my cake pops greasy or oily?
Grease comes from fat that was never bound into the crumbs, and it is the most common hidden cause of sliding. Buttercream made with soft butter straight from the fridge behaves differently than butter softened to room temperature and beaten pale. Oil straight from a boxed cake mix does too. Readers on baking forums report that cutting the oil in a boxed mix down to 3 or 4 tablespoons fixed pops that had been sliding every time.
Oily balls also leak grease into a foam block, which lets the base of the pop slide just as it sits there. If your pops are coming out of the block shiny at the bottom, that is your answer.
Why are my cake pops cracking?
Cracking is a temperature problem. A ball straight from the freezer hitting coating at full heat makes the chocolate contract fast and split. Let the melted coating sit about five minutes after you take it off the heat so it cools to a working temperature, and take the pops out of the freezer 10 minutes before dipping.
Cakesicles need a slightly different approach
Cakesicles are the larger pops made on a popsicle-style stick, and they slide off more often than round ones because the stick runs the full height of the block. Firm the mixture with extra crumbs, chill for two hours, and let the coating seal on the stick set fully, since the longer stick carries more leverage.
What to do with pops that already fell off
They are not wasted. Roll the loose ball back into a sphere, chill it 20 minutes, dip the bare spot in melted coating, press the stick back in, and set it upright before the shell hardens. For a batch that keeps failing, roll the mixture into cake balls instead and serve them without sticks.
Frequently Asked Questions
Why do my cake pops fall apart when I put them on a stick?
Usually the mixture is too soft to grip. That happens when you add too much frosting, use a cake with a lot of oil, or roll the balls while they are still warm. Fix it by adding cake crumbs until the mixture holds its shape without smearing, then chill the finished balls for two hours before any stick goes in.
How firm should the cake-pop mixture be before I insert the sticks?
Firm enough to press against the side of the bowl and keep the shape, but still crumbly enough to break apart when you pinch it. Think firm frosting rather than modeling clay. If it cracks at the edges as you roll, add a tablespoon more frosting; if it smears on your palms, stir in a few more cake crumbs.
How long should I chill cake pops before coating them?
Two hours in the refrigerator, or one hour in the freezer. The balls should feel solid to the touch with no give in the center. Take them out of the freezer ten minutes before dipping so the cold does not shock the coating, then allow about an hour for the finished coating to set before handling them.
Should I use melted chocolate or candy melts for coating cake pops?
Candy coating is easier. It melts smoothly, sets with a firm snap, and does not need tempering. Real chocolate needs careful heating to avoid seizing, and it is thinner when melted, so thin it further before dipping. Whichever you use, let it sit about five minutes after melting so it is not hot enough to crack the cold cake.
How do I keep the cake pop from sliding down the stick while coating?
Seal the stick before you dip the pop. Melt the coating first, dip only the last half inch of the stick, push it halfway into a chilled ball while the coating is still soft, and let it set for 15 to 20 minutes. Then tilt the dipping cup to about 45 degrees and rotate the stick slowly, letting excess drip off rather than tapping hard.
How should finished cake pops be stored so they stay on the stick?
Stand them in a foam block or lay them in a single layer until the coating sets, about one hour. Then refrigerate them in an airtight container for up to a week, and take them out about 20 minutes before serving. Never seal warm pops, since trapped condensation softens the shell and loosens the base of the stick.
Conclusion
Start with the mixture. A ball firm enough to hold its shape, made from fine crumbs and only as much frosting as it takes, is what gives the stick something to grip. Chill it two hours, seal the stick in melted coating and let that set for 20 minutes, then dip with a thin coat and give the finished pop an hour to harden. That sequence solves nearly every sliding pop I have had to rescue.