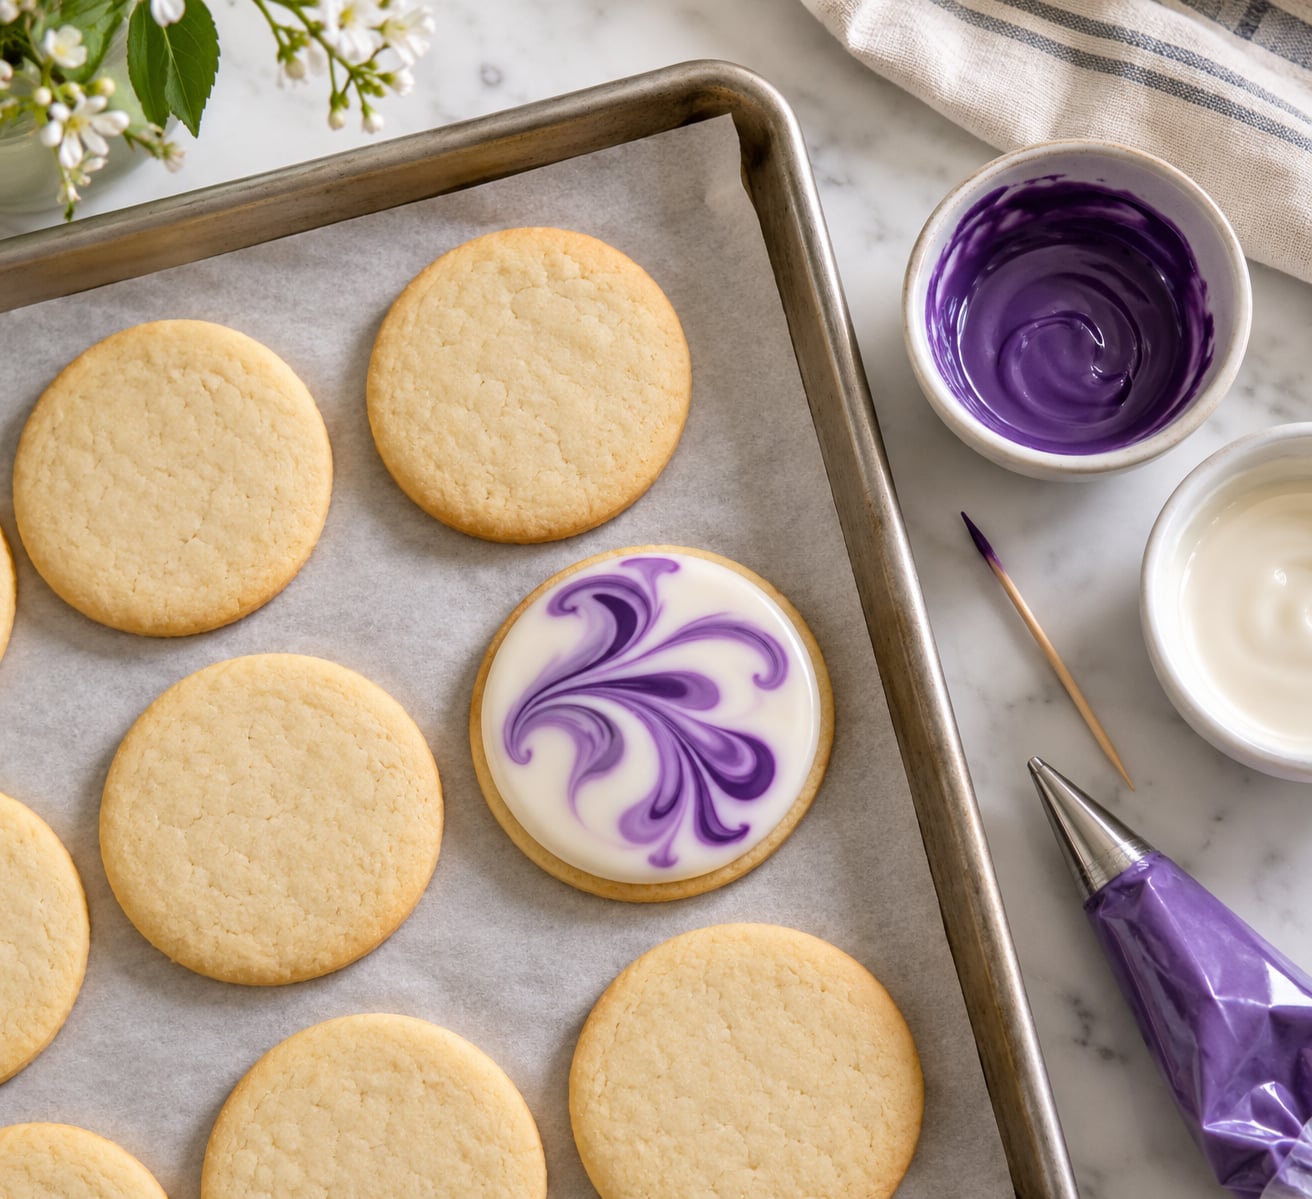
Marbling royal icing is really just two thin shades of icing kept apart on purpose, then dragged into each other with a light tool before they set. To learn how to marble royal icing on cookies, you thin your icing to a soft, flowing consistency, tint one batch pale and another deep, pipe or dip, and swipe a toothpick or scribe through the wet icing once. Each cookie comes out slightly different, which is the whole charm of it.
Allow about 30 minutes of hands-on work plus drying time, and treat it as a beginner-friendly technique. The only part that catches people out is consistency: too stiff and the colors tear, too thin and they run together into one flat wash.
Table of Contents
- What You Need
- How to Marble Royal Icing on Cookies Step by Step
- Prepare the Cookies and Icing
- Add the First Color
- Pipe the Contrasting Color
- How to Marble Royal Icing Without Muddy Colors
- Let the Icing Set
- Common Mistakes
- Frequently Asked Questions
- What consistency should royal icing be for marbling cookies?
- Can I marble royal icing with gel food coloring or liquid food coloring?
- What tool works best for making swirls in royal icing?
- How long should marbled royal icing dry before touching the cookies?
- How do I keep the colors from blending together while marbling?
- Can I add sprinkles or piped borders after marbling royal icing?
- Conclusion
What You Need
You need far less than a full cake-decorating kit. A shallow dish, a toothpick and two gel colors will carry you through a whole batch.
- Base royal icing: powdered sugar with egg white or meringue powder, plus vanilla or almond extract. A thin layer of meringue powder icing sets hard and works well for allergy-conscious households.
- Gel food coloring: two contrasting shades, ideally one pale base color and one or two accent colors. Liquid drops are too watery and will thin your icing beyond recovery.
- Cooling water: a teaspoon and a small spoon, for thinning.
- Toothpick or scribe tool: a wooden toothpick works fine, and a needle-pin tool gives you a finer point for delicate feathering.
- Shallow dish and small bowl: a wide shallow dish for dipping cookies, a small bowl for mixing each tinted batch.
- Offset spatula or small knife: for spreading icing if you prefer the spread-and-swirl method over dipping.
- Parchment paper and a cooling rack: so cookies and iced surfaces stay dry underneath.
How to Marble Royal Icing on Cookies Step by Step
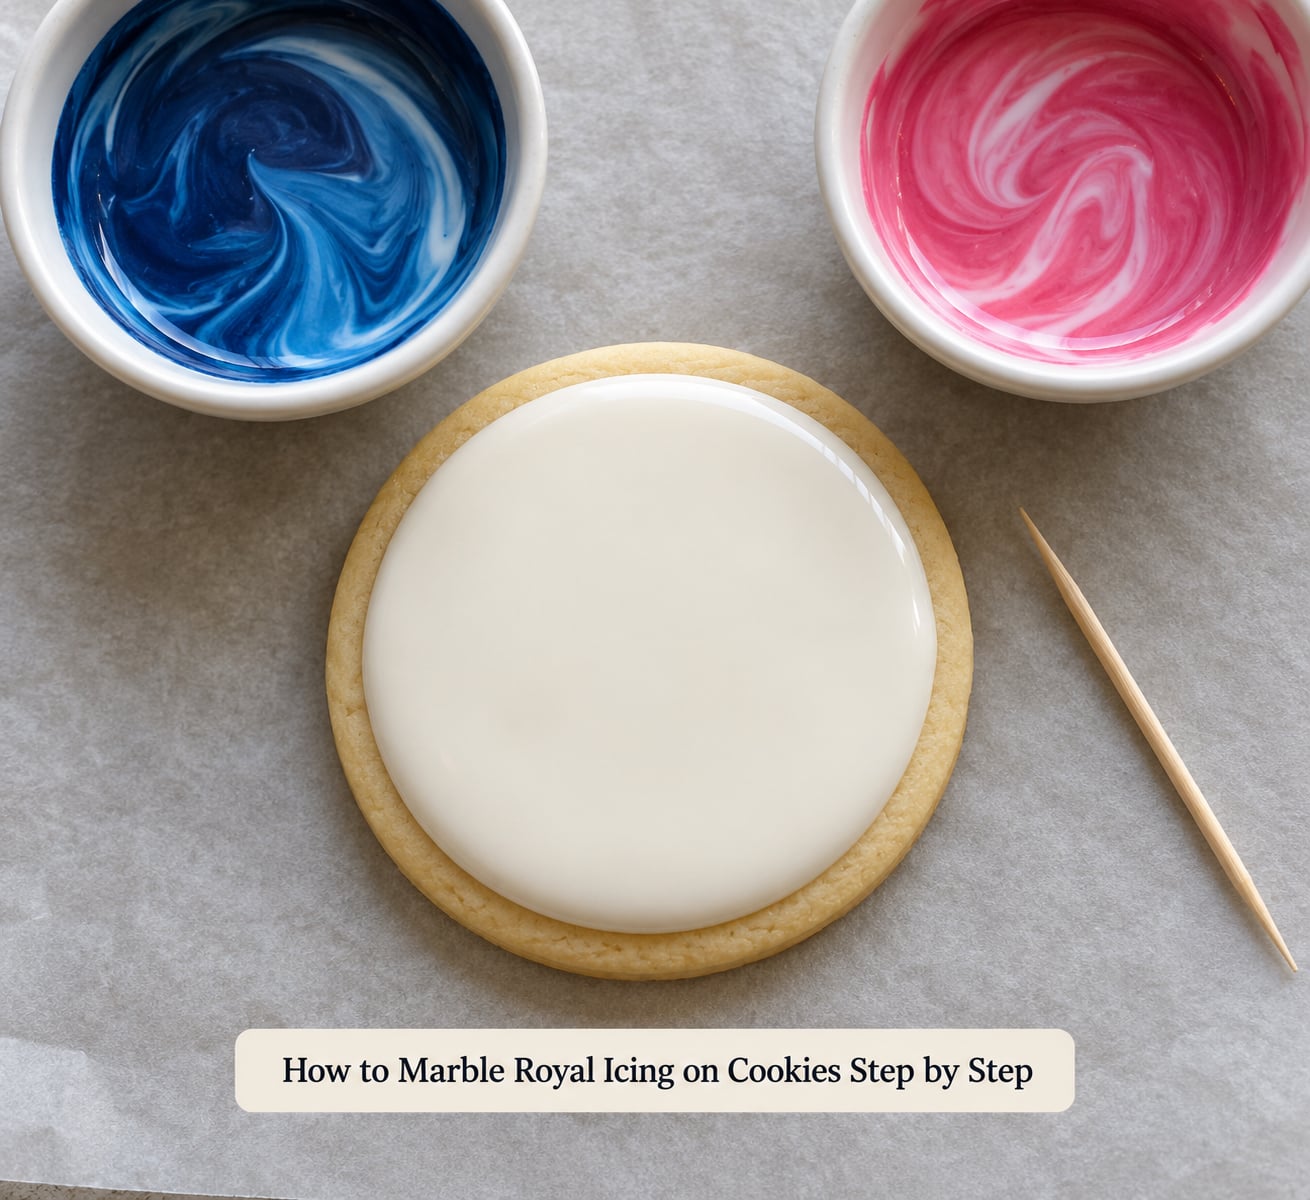
Everything below assumes the cookies are completely cool. Warm cookies melt the icing on contact and there is no fixing that, so set them on a rack the night before if you can.
Prepare the Cookies and Icing
Make your royal icing, then start stiff and thin from there. Beat in water a teaspoon at a time, mixing fully between additions, until a drizzle on a spatula relaxes flat after roughly 10 to 15 seconds. That soft, pourable stage is your marbling target.
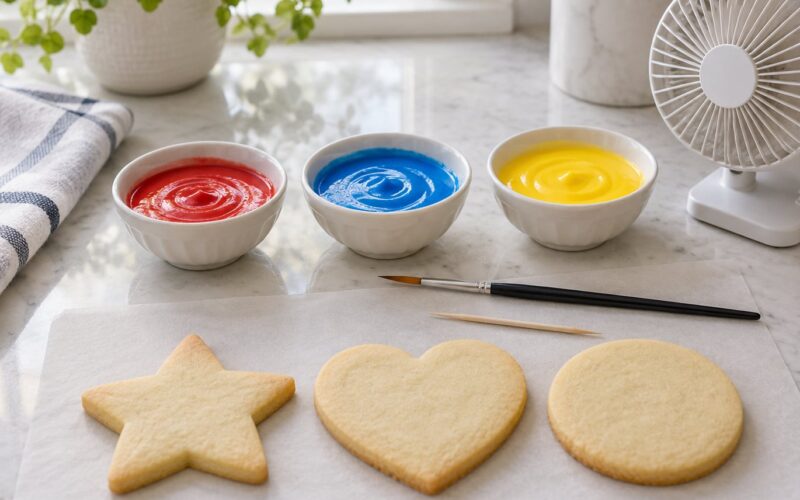
Divide the icing while it is still pale. Tint one portion your base color and the others with gel coloring a drop at a time, then thin each tinted portion back to the same 10-to-15-second relaxation so all your colors flow at the same rate.
Add the First Color
For dipping, pour the pale base color into your shallow dish and spread it into an even layer a third of an inch deep. For spreading, pipe or spoon the base color onto the cookie and push it to the edges with an offset spatula, leaving a bare inch of cookie showing all the way around.
Success check: the icing holds its shape but settles slowly, and the surface looks glossy rather than matte. If it stands in a stiff ridge, add half a teaspoon of water and mix again.
Pipe the Contrasting Color
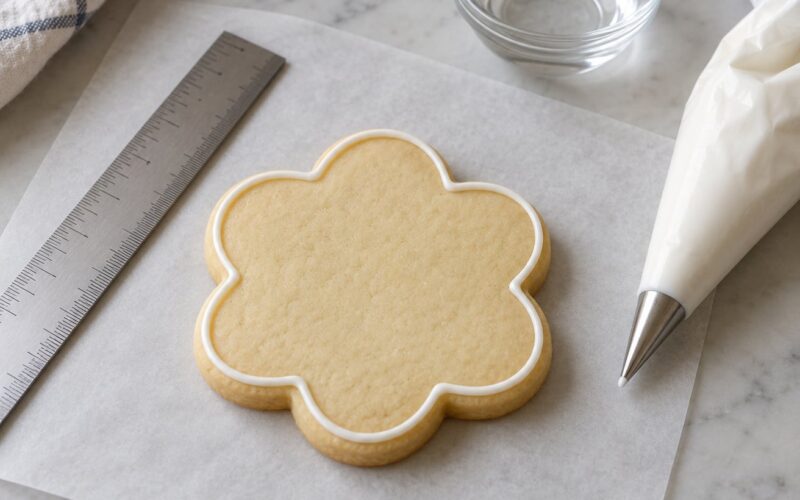
Drop small dots of your accent color across the wet base, spacing them roughly an inch apart and leaving a few bare patches so the pattern stays open. Short lines work too, piped with a small round tip.
Use a light hand. Squeeze the bag from above with barely any pressure, because a heavy stream punches through the base layer and drags color into muddy streaks.
How to Marble Royal Icing Without Muddy Colors
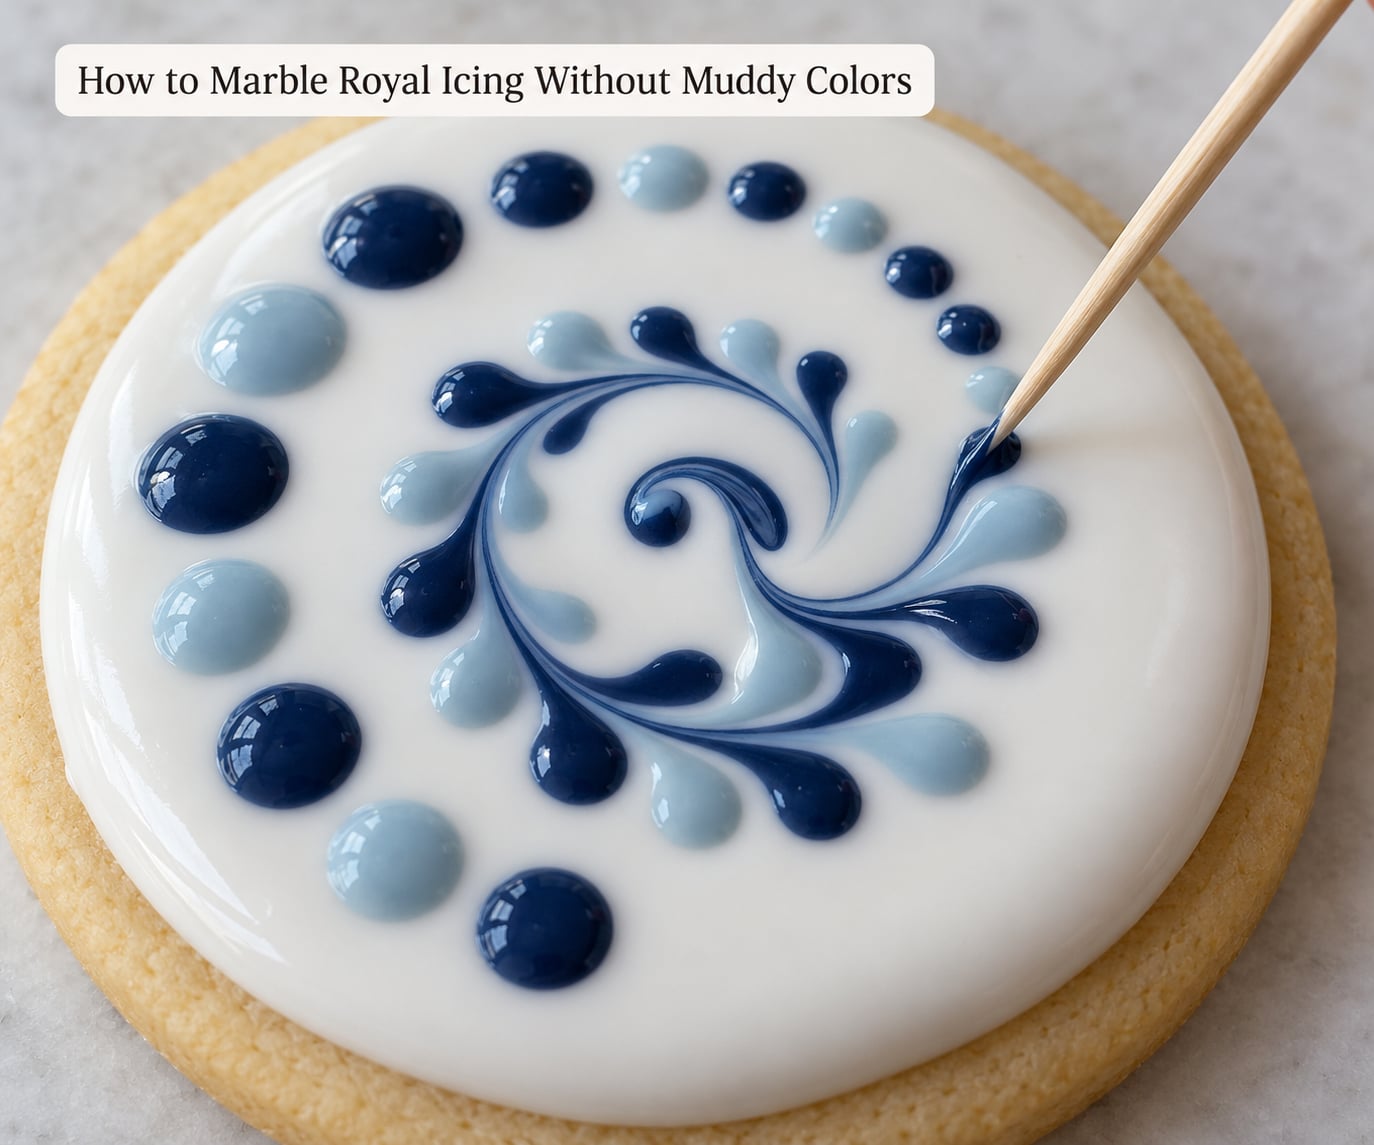
Touch the toothpick into the first dot, then drag it lightly in a straight line toward another dot. Lift the toothpick up and away at the end of each stroke instead of dragging through, which is what turns clean lines into grey smears.
Vary your strokes: some straight pulls, some shallow S-curves, a few short flicks near the middle. Change direction partway through the design so the eye has something to follow, then stop while the pattern still looks crisp. Wipe icing off the toothpick between drags and it will keep releasing cleanly.
Pick colors that sit opposite each other on the color wheel rather than beside each other. Red and green together turn brown, and red over blue turns purple-grey. A white or pale base with one strong accent is the safest pair there is.
Let the Icing Set
Dip method: press the cookie face down into the icing, lift it, and let excess drip back toward the center of the dish rather than off the far edge. That keeps the colors from over-mixing in the dish before they ever reach the cookie.
Leave every cookie undisturbed for 5 to 6 hours in a cool, dry room. The surface should feel firm and matte with no cool or tacky patches before you touch, stack, or package them. Humid weather pushes this closer to 8 hours, so check the underside of the first cookie before you commit to a batch.
Common Mistakes
Nearly every failed marble traces back to consistency, color choice, or moving the icing too early. These six come up most often, and each one has a fix you can apply to the next batch.
- Swirls blurred into one flat wash. Usually icing that is too thin, or too many passes with the toothpick. Add powdered sugar a spoonful at a time until a drizzle holds about 10 seconds, then make fewer, lighter strokes.
- Colors mixed to a dull brown. Overlapping hues or heavy dragging. Use a pale base with one accent color, and lift the toothpick at the end of every stroke.
- Icing slid off the cookie. The layer was too thick, or the cookie was still warm. Spread a thinner layer and decorate only fully cooled cookies.
- Icing cracked after drying. It was thinned past the 10-second mark and dried out. Stop thinning once the line relaxes flat; a slightly thicker layer flexes instead of cracking.
- Colors bled between stacked cookies. They were stacked before they set, or stored in humidity. Wait the full set time, then store in a single layer with parchment between trays.
- Icing stayed glossy and never hardened. Too much liquid coloring, or a very wet room. Use gel coloring only, and run a fan or the oven light for a few hours to drop the humidity.
One reassurance worth repeating: no two cookies come out the same, because the icing flows differently every time you dip. Variation is the technique working, not a mistake.
Frequently Asked Questions
What consistency should royal icing be for marbling cookies?
Aim for a soft, pourable icing that relaxes flat in 10 to 15 seconds after you drizzle a line with a spatula. Stiffer icing tears the surface when you drag across it, and thinner icing runs off the cookie and never sets. Start stiff and add water a teaspoon at a time until the line settles in that window.
Can I marble royal icing with gel food coloring or liquid food coloring?
Gel food coloring only. Gel adds color without thinning the icing, so your consistency stays where you set it. Liquid drops are mostly water, and the small amount you need for a strong color will push your icing past the point where marbling works, leaving you to rebuild the batch with powdered sugar.
What tool works best for making swirls in royal icing?
A wooden toothpick is the classic choice and costs almost nothing, but a needle scribe tool gives you a finer point and cleaner lines for tight feathering. Either works as long as the tip is clean and pointed. The pressure matters more than the tool: touch down lightly, drag, then lift away at the end of each stroke.
How long should marbled royal icing dry before touching the cookies?
Give every cookie 5 to 6 hours undisturbed at room temperature before you touch or stack it. The surface should feel firm and completely matte, with no tacky patches at the edges. In humid weather, allow closer to 8 hours and test the underside of the first cookie before deciding the batch is ready.
How do I keep the colors from blending together while marbling?
Use a light base color with one strong accent, add gel coloring a drop at a time, and limit yourself to a few confident strokes. Wipe icing off your toothpick between drags so it does not carry color across the design. Dripping excess icing back toward the center of the dish, rather than off the far edge, also keeps the colors separated in the dish itself.
Can I add sprinkles or piped borders after marbling royal icing?
Yes, but wait until the marbled layer has set firm to the touch, usually 5 to 6 hours. Piping onto wet icing drags the colors and ruins the pattern. Once it is set, outline the edge with a piping bag fitted with a fine round tip, or outline and flood for a cleaner panel effect, then add sprinkles while that new icing is still wet.
Conclusion
Start with two shades of royal icing thinned to the same soft, 10-to-15-second consistency, sitting beside a cookie that has been completely cool for hours. Tint one pale and one deep, drop the accent color across the base, and drag a toothpick lightly through it before you even think about stacking or packaging.
Then practice the drag-and-lift motion on two spare cookies before you decorate the batch that matters. Once you have done it a few times, the swirls start landing where you want them, and this 2026 technique stays in your decorating toolkit well past one holiday.