Sugar cookies hold their shape when the dough is flour-forward, the butter stays cold, and the leavening is minimal or absent. Get those three right and the outline you cut is the outline you get out of the oven. The whole process takes about an hour of active time plus chilling, and the dough is forgiving if you watch its temperature rather than the clock.
The reason this matters is decorating. Royal icing outlines follow the edge of the cookie, and a cookie that spread half an inch turns every line you piped into a wobble. Getting sugar cookies that hold their shape is really about protecting that edge, from the first roll to the last flick of icing.
A few details up front: this dough is denser and less sweet than a classic bakery sugar cookie. That tradeoff is the whole point. Forum bakers describe flour-heavy dough as tasting more floury, and that is exactly what you are trading for sharp corners and a cookie that does not slump on the sheet.
Table of Contents
- What You Need
- Step-by-Step
- Step 1: Choose a Dough for Sugar Cookies That Hold Their Shape
- Step 2: Chill the Dough Before Rolling
- Step 3: Roll Between Sheets of Parchment
- Step 4: Cut and Handle Cookies Gently
- Step 5: Bake Until the Edges Set but the Centers Soft
- Step 6: Cool Completely Before Decorating
- Common Mistakes
- Frequently Asked Questions
- Why did my sugar cookies lose their shape?
- Why are my sugar cookies spreading out in the oven?
- How long should I chill sugar cookie dough before rolling?
- Should I freeze cookie cut-outs before baking?
- Do cookies spread more at 350 or 375 F?
- How thick should I roll sugar cookies for decorating?
- Conclusion
What You Need
Flour does the structural work in these cookies, so weigh it if you own a kitchen scale. Volume measures pack flour loosely and a heavy scoop is the fastest way to get a soft, spreading dough.
- 300 g (2 1/2 cups) all-purpose flour, sifted and weighed
- 50 g (1/4 cup) granulated sugar
- 170 g (3/4 cup) unsalted butter, softened but still cool to the touch
- 1 teaspoon vanilla extract
- 1/2 teaspoon fine salt
No baking powder. No baking soda. That is the single change that turns a spread-prone recipe into one of those no-spread sugar cookies people hunt for, and it is also the fix bakers keep rediscovering on old recipe forums.
For the tools, you want a parchment-lined rolling setup, sharp cutters, and something to freeze the cut-outs on:
- Parchment paper, two large sheets
- Rolling pin
- Cookie cutters, metal rather than plastic if you have them
- A rimmed baking sheet that fits your freezer
- Wire cooling rack
- Thin royal icing or a simple glaze for decorating
If you are avoiding nuts for a holiday table, this dough is naturally nut-free as written. Just keep the workspace clean, because cross-contact matters more than the recipe card does.
Step-by-Step
Step 1: Choose a Dough for Sugar Cookies That Hold Their Shape
Shape retention comes down to a high flour-to-butter ratio. In this dough the flour is roughly 1.7 times the butter by weight, which gives the cookies enough structure to set before the fat melts and lets them stand up on their own.
Watch what you leave out, too. Baking powder and baking soda release gas in the oven, and that gas expands during the first minutes of baking. A puffed cookie spreads, and a spread cookie has lost its outline. Reducing the leavener by a third is a common fix among home bakers; leaving it out entirely is better if you are starting from scratch.
Eggs add tenderness but also moisture. One egg in a dough like this is fine. Two is the point where the dough starts creeping outward and the corners round off.
Step 2: Chill the Dough Before Rolling
Wrap the dough flat in plastic wrap and refrigerate it for at least an hour. Two hours is better in a warm kitchen, and if your house runs hot, the fridge is not enough on its own. Bakers who keep failing at this tell me the cut-outs have to be genuinely cold, not just cool.
Chilling firms the butter so the dough rolls instead of smearing, and it relaxes the gluten that built up while you creamed. That relaxation is the part people miss. Dough that has not rested fights the rolling pin, and you add flour to win that fight, which is how you end up with tough cookies you blame on the oven.
You want the dough firm but not frozen. Straight from a solid block it cracks along the roll marks. Let it sit on the counter for 15 to 20 minutes before you start, until it bends without breaking.
Step 3: Roll Between Sheets of Parchment
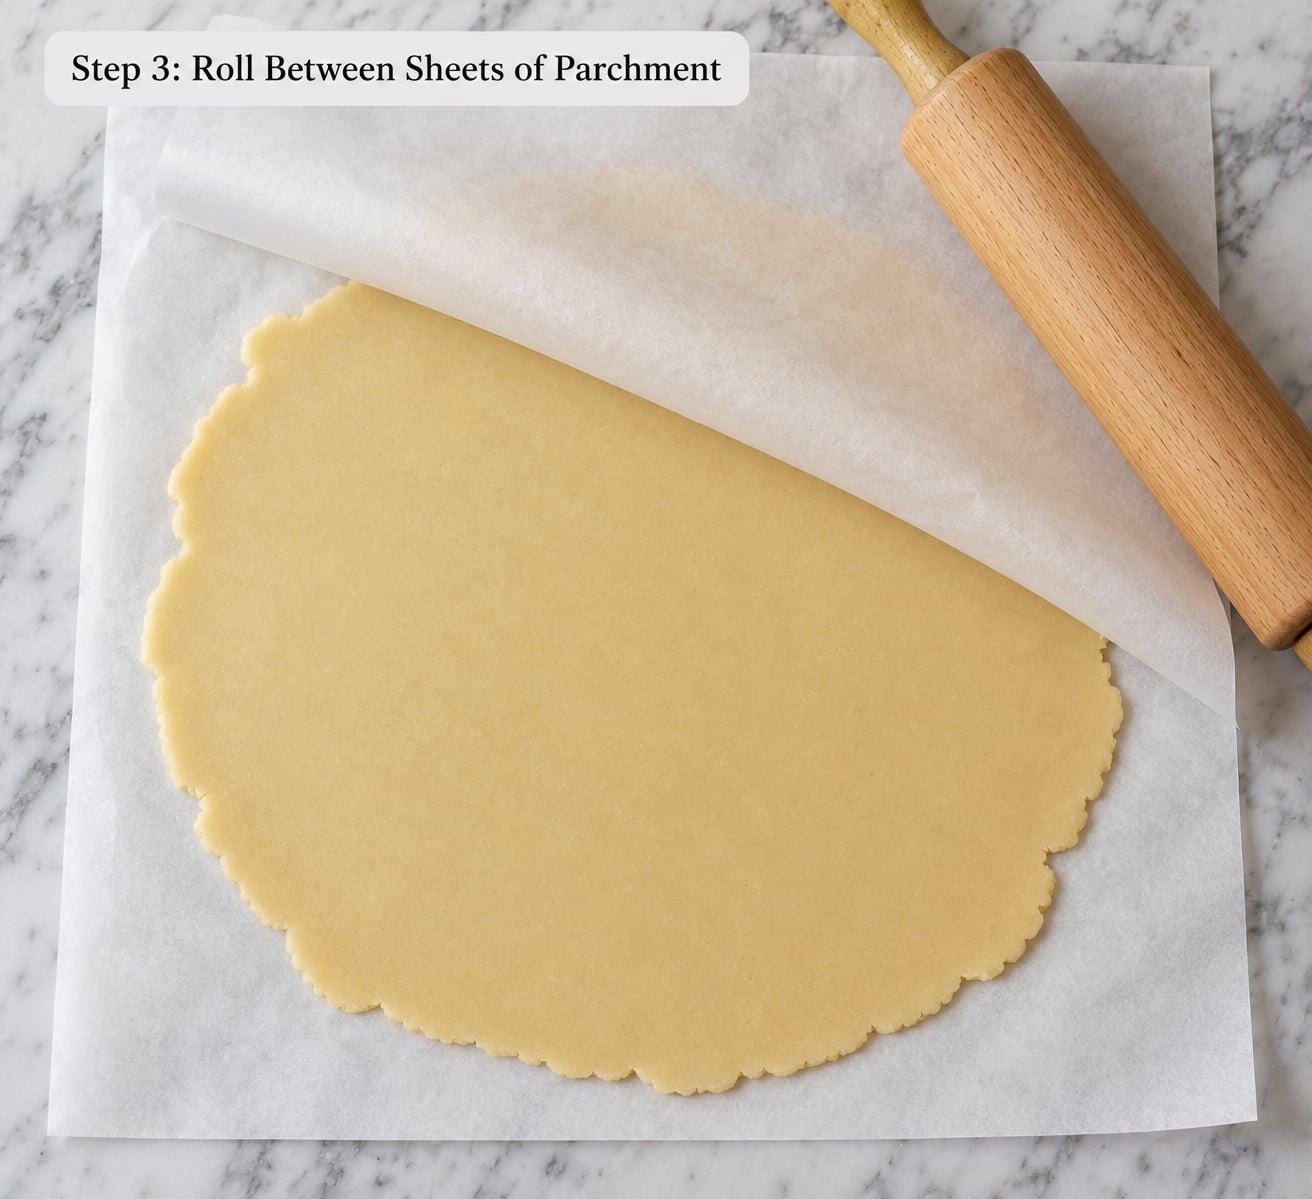
Roll to an even 1/4 inch. That is the community consensus thickness and it holds up well to piping without looking thick. A ruler or a silicone mat with markings beats eyeballing, because even dough bakes evenly and uneven dough spreads unevenly.
Lay one sheet of parchment on the counter, put the dough on it, and cover with the second sheet. Roll over the top, then peel the top sheet away and flip the dough. You can keep rolling from either side without adding flour to the surface, which keeps the cookies tender instead of hard.
Bench flour is the quiet reason a lot of cookies turn out tough. Use a tiny amount on the dough only if it refuses to release, and scrape off the excess. Flour you dump on to prevent sticking ends up in the cookie.
Step 4: Cut and Handle Cookies Gently
Press each cutter straight down and rock it once, rather than twisting. Twisting stretches the dough on the way up and drags the edge out of round. For intricate silhouette cutters, tap the cutter with the heel of your hand to release the piece rather than levering it out with your fingers.
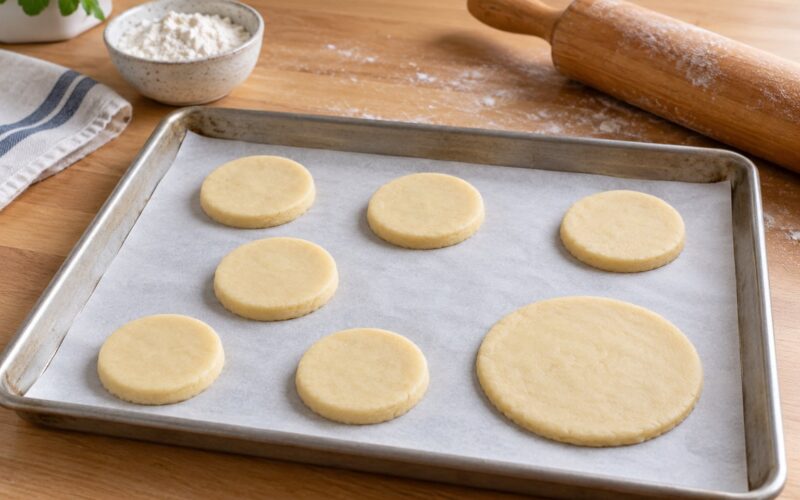
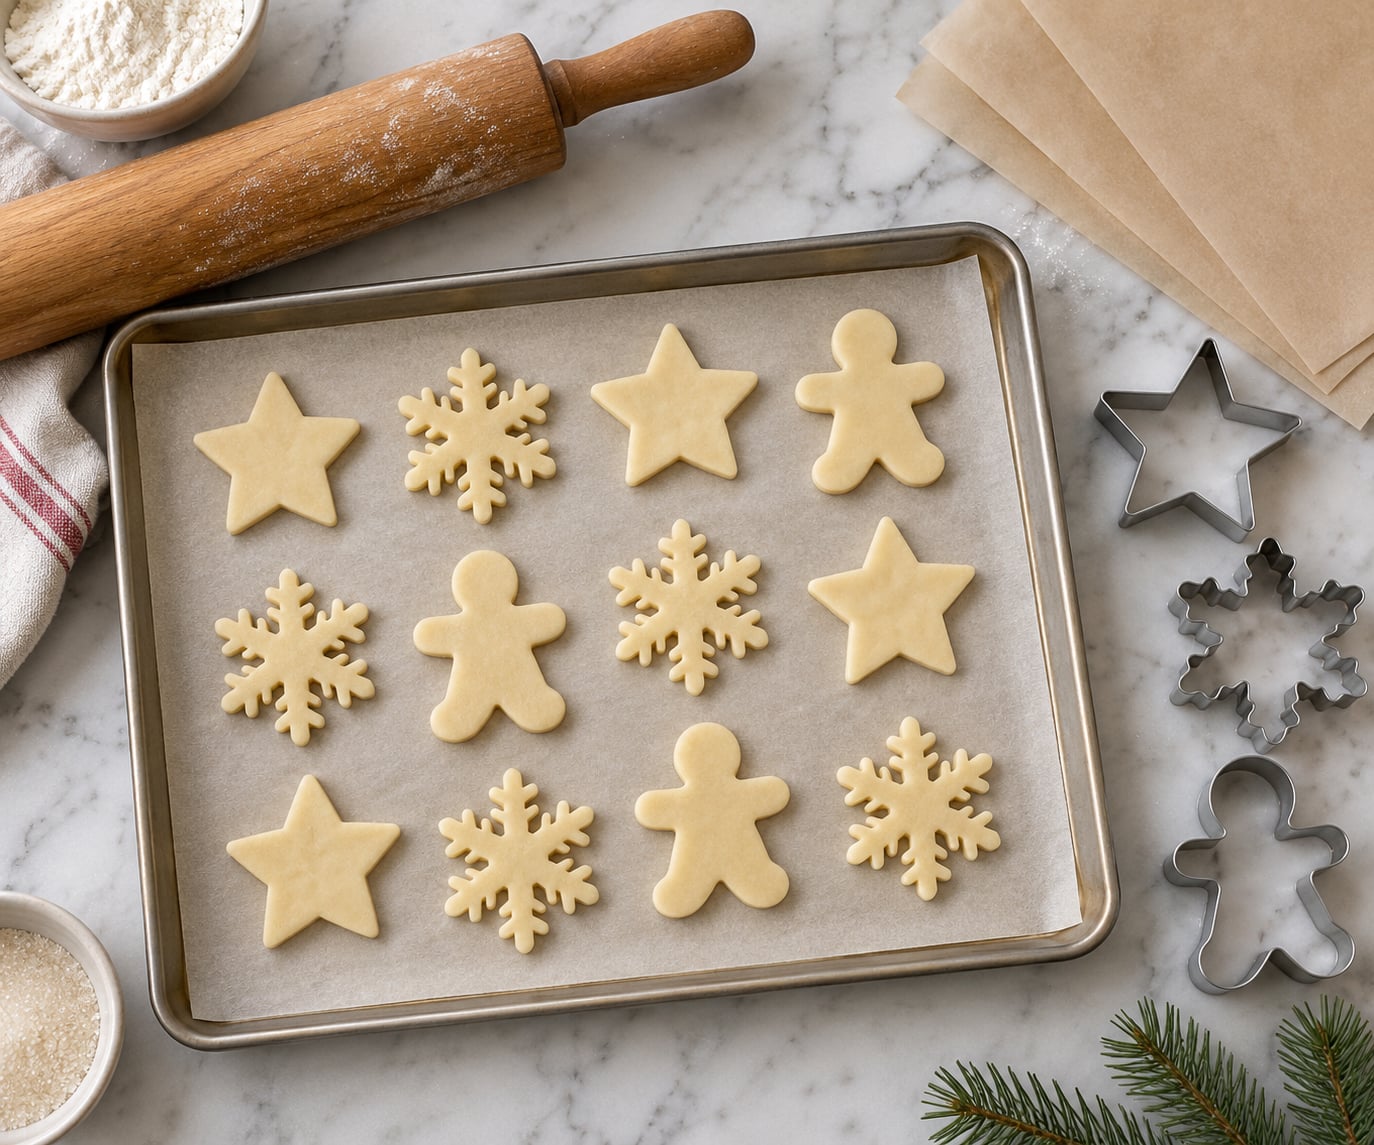
Move cut-outs to a parchment-lined tray with a thin spatula and leave about an inch between them. Anything closer will touch as it spreads and you will lose the gap, plus the corners where the cookies met.
Now chill the tray of cut-outs for 10 to 15 minutes, or freeze them for 20 to 30. Skipping this second chill is the most common reason an otherwise good dough still loses its points. Hold the freeze under about 45 minutes, past that the dough picks up freezer burn and can stick to the parchment.
Step 5: Bake Until the Edges Set but the Centers Soft
Bake at 350 F on the center rack for 8 to 11 minutes, depending on size. The cookies are done when the edges look set and faintly golden and the centers still look slightly underdone. They finish setting on the pan and on the rack, and pulling them while the middle is wet is how you get a cookie that cracks when you move it.
Use a light-colored sheet if you have one. Dark pans absorb more heat, brown the bottoms fast, and push the spread along the base before the butter has set.
One tray at a time. Two sheets on two racks means uneven browning and uneven spread, and the tray in the hot spot spreads more than the one in the middle. If your oven runs convection, turn the fan off and drop the temperature by 25 F, since moving air gives the butter a nudge it does not need.
At high altitude the same logic goes further. Above about 5,000 feet, add a couple of tablespoons of flour and expect to cut the leavener to zero. Humid kitchens work the other way: watch the dough after mixing, because flour drinks moisture from the air and a humid day can leave you rolling dough that crumbles at the edges.
Step 6: Cool Completely Before Decorating
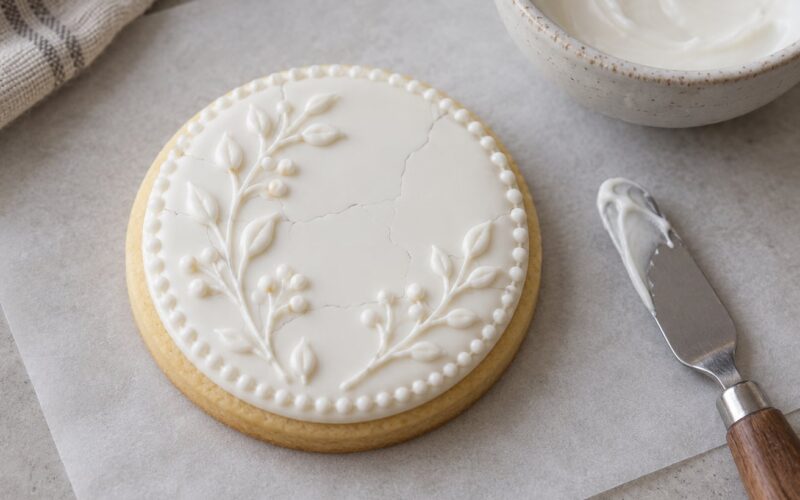
Slide the cookies onto a wire rack and let them cool fully, 30 to 45 minutes for a standard size. They must not feel even slightly warm on the bottom. Warm cookies melt the icing on contact, the icing slides toward the rim, and the outline you piped now sits half an inch inside the edge.
If you are decorating later, store the cooled cookies airtight and unwashed. A thin coat of royal icing or a thin syrup glaze on top of a baked cookie buys you about three days and keeps the edges crisp underneath.
Common Mistakes
Nearly every shape problem shows up as a symptom you can read off the finished cookie. Match what you see to the cause, then fix that one thing before rewriting the recipe.
| Symptom | Cause | Fix |
|---|---|---|
| Edges rounded, cookie spread outward | Dough too warm, or not chilled long enough | Chill the dough flat 1 to 2 hours and freeze cut-outs 20 to 30 minutes |
| Cookie puffed up like a muffin | Baking powder or baking soda in the dough | Cut the leavener by a third, or leave it out entirely |
| Fine details like fingers or points vanished | Thin roll, or cut-outs baked from room temperature | Roll an even 1/4 inch and bake straight from the freezer |
| Hairline cracks around the edge | Dough over-chilled and rolled without resting, or too little sugar | Let the dough sit 15 to 20 minutes before rolling |
| Pale bottoms, over-browned tops | Dark baking sheet or a hot oven | Use a light-colored sheet, bake on the center rack, one tray at a time |
| Cookies hard after baking | Too much bench flour, or over-baking | Roll between parchment instead of floured, bake 1 to 2 minutes less |
| Sugary cookies that taste flat and dense | Too much leavener, which expands then collapses | Remove the baking powder and reduce sugar by a tablespoon |
If you want to adapt a recipe you already love, you usually only need two adjustments. Add 2 to 3 tablespoons of flour per cup already in the dough, and cut any baking powder in half or take it out entirely. For chocolate, swap about 10 percent of the flour for cocoa rather than adding cocoa on top, since dry cocoa loosens the dough the same way extra flour tightens it.
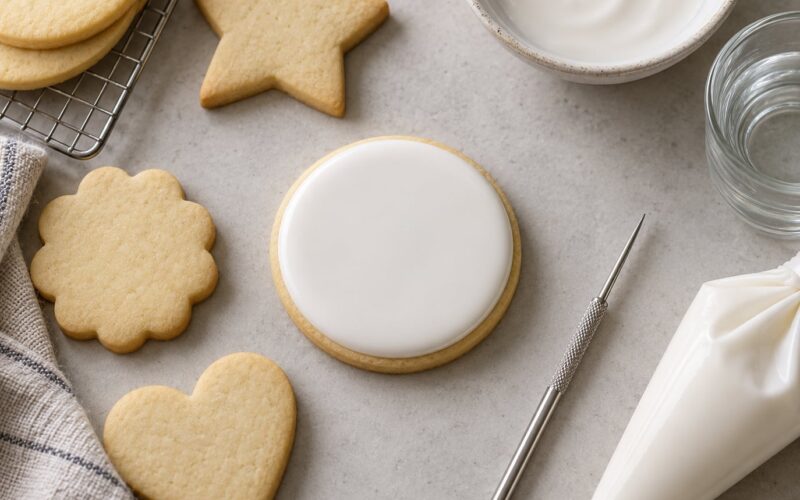
One last decorating tip: pipe royal icing thinner than feels right, and flood from the center outward in light passes. A thick first layer sets before it can level, which keeps the border crisp and makes the cookie look like the cutter instead of the oven.
Frequently Asked Questions
Why did my sugar cookies lose their shape?
The dough was probably too warm, not chilled long enough, or leavened. Shape depends on the butter staying solid long enough to set before the cookie can slump. Wrap the dough flat and chill 1 to 2 hours, freeze the cut-outs 20 to 30 minutes, and remove baking powder or cut it by a third. Baking power plus a warm kitchen is the usual pair.
Why are my sugar cookies spreading out in the oven?
Three things cause spread: leavening that expands in the heat, butter that melted before the dough set, and uneven thickness. Check the flour weight first, since an under-measured cup of flour makes a spread-prone dough. Then confirm the cut-outs went into the oven cold, straight from the freezer or a firm chill, rather than sitting on the counter.
How long should I chill sugar cookie dough before rolling?
At least one hour, and up to two in a warm kitchen. The dough should be firm enough to roll without smearing but not rock-hard. Straight from a solid block it cracks at the roll marks, so let it rest at room temperature 15 to 20 minutes first. Over-chilling without that rest is a common cause of cracked edges.
Should I freeze cookie cut-outs before baking?
Yes, if you want sharp edges. Freeze the cut-outs on a parchment-lined tray for 20 to 30 minutes, then bake from frozen without letting them sit. The butter enters the oven cold and sets faster, which keeps corners and small details like lettering intact. Hold the freeze under about 45 minutes to avoid freezer burn and sticking.
Do cookies spread more at 350 or 375 F?
Hotter ovens spread more, because the butter melts before the structure sets. Bake no-spread cut-out sugar cookies at 350 F for 8 to 11 minutes and pull them while the centers still look slightly pale. If you use convection, turn the fan off and drop the temperature by 25 F, since moving air adds its own spread.
How thick should I roll sugar cookies for decorating?
An even 1/4 inch is the sweet spot: enough body to pipe royal icing on without the cookie reading as thick, and thin enough to bake through in 8 to 11 minutes. Thinner dough browns first and loses its detail. Use a ruler or a marked silicone mat, and roll between parchment so you are not adding flour to hit an even thickness.
Conclusion
If you only remember five things from this guide, let it be these: use a dough with a high flour-to-butter ratio, leave the baking powder out, weigh your flour, roll an even 1/4 inch between parchment, and chill twice, once before rolling and once after cutting. Then bake at 350 F, cool the cookies completely, and pipe your icing on a surface that is no warmer than your hands.
Start with the flour weight. That single change fixes more bad batches of sugar cookies that hold their shape than any oven setting, and it costs you a kitchen scale rather than a new recipe.