Freeze cake layers unfrosted, then make your frosting fresh on the day you decorate. Cool each layer completely, wrap it tightly in two layers of plastic wrap plus a layer of aluminum foil, label it with the cake type and a use-by date, and freeze for up to 2 to 3 months. Thaw overnight in the refrigerator, still wrapped, before you fill and frost.
Freezing does more than buy you time. It locks in moisture, cuts the crumbs that drag into your buttercream, and gives you a cold, firm layer that is far easier to frost than a warm one. Professional decorators run their whole week this way, baking every blank on one day and freezing them the same afternoon.
Here is the short version, then the full method:
- Cool completely: Two to three hours on a wire rack, plus a short chill, so no warmth is trapped inside the wrap.
- Wrap tightly: Two layers of plastic wrap pressed right onto the crumb, with no gaps or loose corners.
- Add protection: A layer of aluminum foil over the plastic, plus a cake round and an airtight container or freezer bag.
- Label before wrapping: Cake type, layer number and use-by date, written on the foil so no ink touches the cake.
- Thaw wrapped: Refrigerator overnight, at least 8 hours, then 30 to 60 minutes at room temperature before you unwrap.
Table of Contents
- What You Need
- How to Freeze Cake Layers Before Decorating
- Step 1: Cool the Cake Layers Completely
- Step 2: Prepare the Layers for Freezing
- Step 3: Flash Freeze Until Firm
- Step 4: Wrap and Label Each Layer
- Step 5: Store and Thaw the Layers
- Common Mistakes
- Tips for Different Cake Types
- Frequently Asked Questions
- Can I freeze unfrosted cake?
- How long should I freeze cake layers before frosting?
- Should I freeze cake layers before or after icing?
- How do I defrost frozen cake layers?
- Why does my frozen cake turn out soggy?
- Conclusion
What You Need
The list is short, and most of it is already in your kitchen drawer. You do not need anything special to do this well.
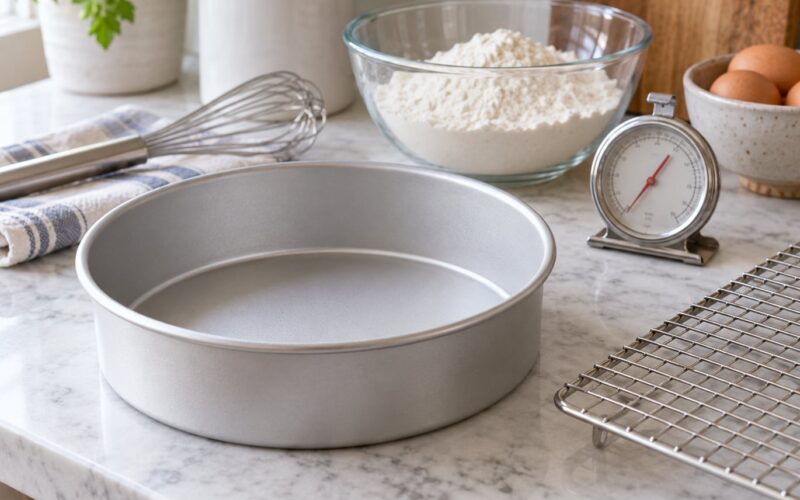
- Wire cooling rack so air circulates under the layer while it cools.
- Rimmed baking sheet for flash freezing. A flat sheet that fits your freezer is all you need.
- Parchment or wax paper to keep layers from sticking to the sheet and to each other.
- Plastic wrap or cling film, or a wrap-and-seal product if you prefer something stiffer and more airtight.
- Aluminum foil for the outer layer that protects against freezer burn and holds the shape.
- Cardboard cake rounds to stack layers on inside the container so they do not warp.
- Freezer-safe container, cake box or resealable freezer bag for the final airtight seal.
- Marker and masking tape for labeling cake type and use-by date.
How to Freeze Cake Layers Before Decorating
Work through these steps in order and the result is a layer that thaws tasting close to fresh. The order matters more than any single technique, because each step protects the one before it.
Step 1: Cool the Cake Layers Completely
This is the step that decides whether the rest works. Any residual heat turns to steam inside the plastic wrap, condenses on the surface and gives you a wet, sticky top that drags crumbs straight into your frosting. Every soggy layer I have seen traced it back to this moment.
Let the layers cool in their pans for 10 to 15 minutes, then turn them out onto a wire rack and leave them until they feel like room temperature, usually 2 to 3 hours. A layer that is cool to the touch in the center but still warm underneath is not cool enough.
Once they are close to room temperature, chill them in the refrigerator for 30 to 60 minutes. That short chill firms the outer crumb so it does not tear when you wrap it, and it makes the flash freeze in the next step much faster. A properly chilled layer feels slightly firm and leaves no warmth when you press your palm flat against the bottom.
Step 2: Prepare the Layers for Freezing
Turn the chilled layers out and decide whether to level them now. If your cake baked level or slightly domed, trim the dome off with a sharp serrated knife now, while the layer is cold and firm and the knife stays clean. If the cake is badly mounded or sank, leave it whole, freeze it, and level it after thawing, when a long gentle cut has more material to work with.
You will see both pieces of advice out there and they are not in conflict. They answer different cakes. Trim a mild dome before freezing, leave a collapsed or very uneven layer alone until after.
Place each layer on parchment or wax paper so nothing touches, and make sure nothing is stacked at this stage. If you must keep the layer in its pan while it chills, leave about an inch of headroom because the cake expands slightly as it freezes.
Step 3: Flash Freeze Until Firm
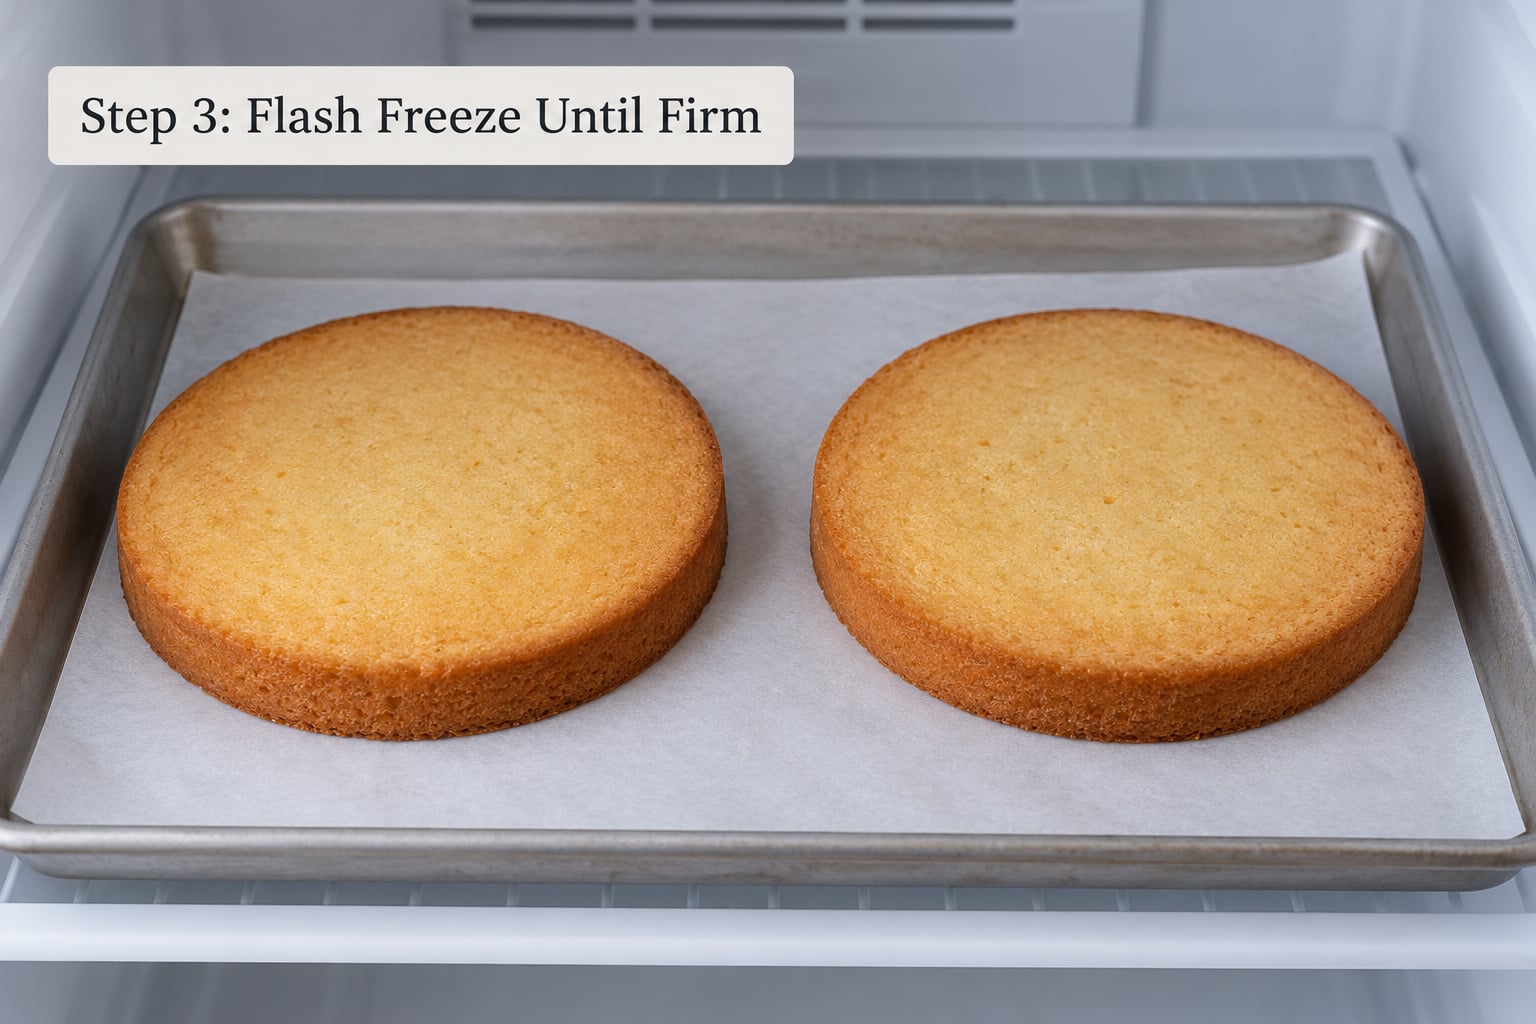
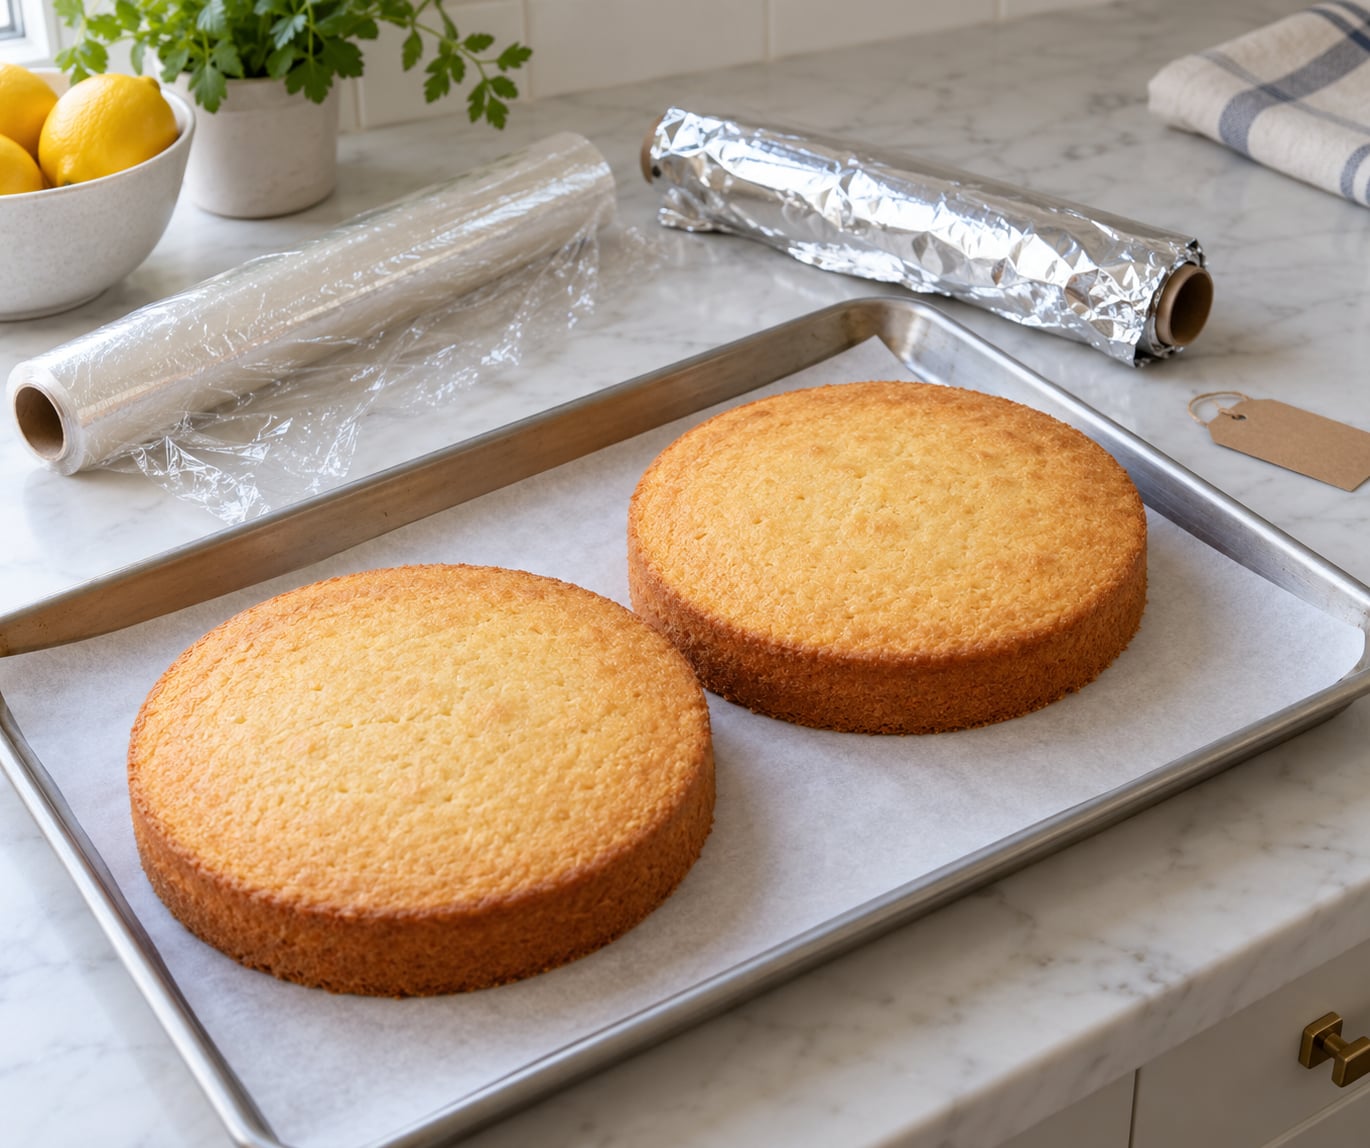
Put the layers on a rimmed baking sheet lined with parchment and slide the sheet into the freezer, uncovered, for 20 to 30 minutes. Flash freezing firms the outside so the cake holds its shape and takes a clean impression from the plastic wrap instead of denting under it.
You are looking for firm, slightly opaque edges and a surface that no longer gives when you touch the rim lightly. The center can still be soft at this stage, that is fine. If the whole layer feels hard like a biscuit you have frozen too long, you waited about twice as long as you needed to.
Step 4: Wrap and Label Each Layer
Wrap each layer individually while it is still slightly firm from the flash freeze. Press plastic wrap directly against the surface, working down the sides and under the base, then add a second layer. Seal the seam and every corner, because the corners are where the air that causes freezer burn gets in.
Wrap the plastic in aluminum foil next, pressing the foil snugly all the way around. Write the label on the foil before you wrap it, not after: marker ink has a habit of seeping through onto the cake. Include the cake type, which layer it is, and the date you want to use it by.
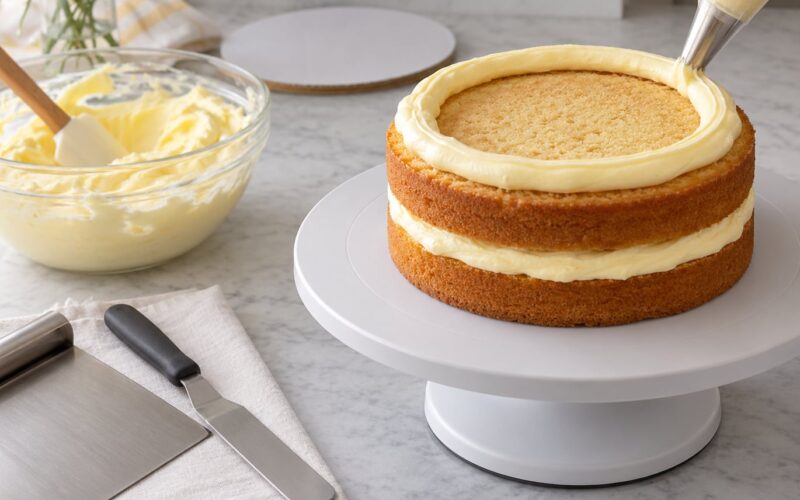
Leave the frosting and filling out of this stage. Buttercream and ganache survive a freeze, but cream cheese frosting, whipped cream and fresh fruit break down and weep in the freezer. Add those fresh after the layers thaw.
Step 5: Store and Thaw the Layers
Slide the wrapped layers onto a cake round and into a freezer-safe container, cake box or resealable freezer bag, or just stack them in a box with a round between each layer so they do not take on the shape of whatever they touch. Seal it and keep it in the coldest part of the freezer, away from the door and away from anything raw.
How long you can hold each type, and how long it stays usable past that:
- Unfrosted butter or oil cake layers: 2 to 3 months for best quality, usable up to 5 months.
- Unfrosted sponge layers: 1 to 2 months, usable up to 3 months.
- Buttercream-frosted cake: 2 to 3 months, usable up to 4 months.
- Fondant-covered cake: 1 to 2 months, usable up to 3 months.
- Cheesecake: about 1 month, usable up to 2 months.
- Cream cheese frosting, whipped cream and fresh fruit: do not freeze filled; add them fresh after thawing.
Past about three months, most frost-free freezers cycle humidity often enough to start drying out even well-wrapped cake, so treat the longer numbers as a stretch rather than a plan.
Thawing is the part people rush, and it is where sogginess comes from. Move the layer from the freezer to the refrigerator still wrapped and leave it for at least 8 hours, ideally overnight. Then leave it wrapped at room temperature for 30 to 60 minutes before you unwrap it, so the condensation forms on the foil instead of on the crumb.
The layer is ready to fill and frost when it is cool but has lost its icy edge and bends without cracking. It does not need to reach room temperature. Decorators regularly frost a layer that is still slightly cold, because cold buttercream stays firm and the edge stays sharp.
Common Mistakes
Wrapping a layer that is not fully cool. This is the big one. The trapped steam condenses and gives you a wet, sticky top that crumbles. Fix: full cool on a wire rack, then 30 to 60 minutes in the refrigerator, then flash freeze before wrapping.
Freezing layers uncovered. Air reaches the crumb, moisture leaves it, and you get freezer burn along the edges. Fix: plastic wrap pressed onto the surface with no gaps, then foil, then an airtight container.
Stacking layers with nothing between them. A soft layer takes on the shape of the one above it and both end up slightly warped. Fix: a cardboard cake round between each layer, and a rigid box if you are stacking more than three.
Thawing on the counter, unwrapped. The temperature swing pulls moisture out of the crumb and then dumps it back on the surface. Fix: refrigerator overnight while wrapped, then 30 to 60 minutes at room temperature still wrapped, and unwrap only then.
Decorating before the layer is workable. Icy cake cracks under a knife and pulls crumbs; room temperature cake is soft and tears as you press buttercream into it. Fix: cool but not cold, and bendable. That window is usually 30 to 60 minutes after the fridge thaw.
Forgetting the date. A freezer full of identical white layers is a guessing game. Fix: label the foil with the cake type, the layer number and the date you plan to use it.
Tips for Different Cake Types
Butter and oil cakes. These are the most forgiving layers to freeze. They hold moisture well and come out close to fresh, which is why most buttercream layer cakes are built this way.
Sponge cakes. Freeze them unfrosted and add simple syrup and filling after thawing. Sponge is drier and more fragile than a butter cake, so a shorter window and a careful wrap matter. A slightly underbaked sponge often evens out after a freeze and thaw cycle.
Cakes with fruit or whipped cream. Freeze the plain layers only. Fresh berries, pie fillings and whipped cream weep and go slimy in the freezer, so fill the cake the day before or the day of the event, after the layers have thawed.
Cupcakes. Flash freeze them on a sheet for an hour, then bag them in a single layer so none of the frosting domes get crushed. Airtight, they hold up about three months. Once decorated, cupcakes do not fare as well, so frost them after thawing.
Sheet cakes, square layers and Bundt or loaf cakes. The method is identical, only the timing changes. A full sheet cake needs about 12 hours in the refrigerator to thaw, a Bundt about 8. Leave Bundt cakes in the pan until they thaw so the ring shape holds.
Cakes that will be stacked or transported. Freeze each tier separately on its own round, then build the stack on the day. If a finished cake has to travel, keep it level and cold in an insulated box on a flat car surface, never on a seat.
One last note for warm climates. In a hot or humid kitchen, a cake sitting on the counter overnight picks up moisture and goes stale faster than it would in the freezer. In that case freeze it even if you are only a day ahead.
Frequently Asked Questions
Can I freeze unfrosted cake?
Yes, and that is the preferred way to do it. Unfrosted layers keep their texture, moisture and shape far better than a decorated cake, and you get to frost with something fresh on the day. Cool the layer fully, wrap it in two layers of plastic wrap plus foil, and freeze for up to 2 to 3 months for the best quality.
How long should I freeze cake layers before frosting?
Two to three months is the window where an unfrosted layer keeps its best texture, and you can stretch to four or five months if it is triple wrapped and stored airtight. The length only matters because most frost-free freezers cycle humidity and start drying cake out past the three-month mark. Label the foil with a use-by date so you know what you are looking at.
Should I freeze cake layers before or after icing?
Before, every time. A decorated cake expands and contracts as it freezes and thaws, which cracks the frosting, dulls fondant and pushes buttercream off the sides. Freeze the plain layers and make the frosting fresh, which also tastes better. If you have no choice, freeze a fully frosted cake tightly wrapped for up to a month and expect softer buttercream.
How do I defrost frozen cake layers?
Move the wrapped layer from the freezer to the refrigerator and leave it at least 8 hours, ideally overnight. Then sit it at room temperature, still wrapped, for 30 to 60 minutes before unwrapping. Condensation forms on the wrapping instead of on the crumb, which is what stops a thawed layer from going soggy.
Why does my frozen cake turn out soggy?
Almost always one of two things: you wrapped a layer that was not completely cool, so trapped steam condensed on the surface, or you unwrapped it too early during thawing so condensation formed on the crumb. It can also be a sign of storage in a humid room. Cool the layers fully, double wrap them, and thaw wrapped in the refrigerator.
Conclusion
Start with the layer, not the frosting. Cool it fully on a wire rack, chill it briefly, flash freeze it for 20 to 30 minutes, then double wrap and label before it goes into the box. That sequence is what keeps a layer moist, crumb-free and workable days later.
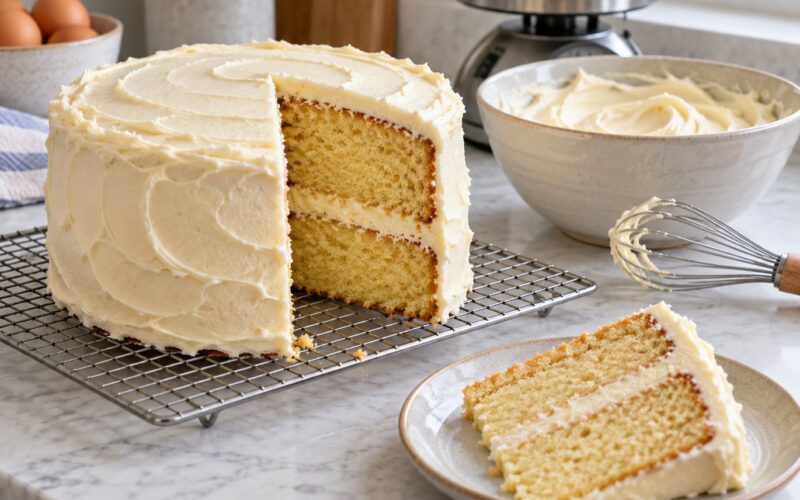
Then work backwards from your event. Freeze up to three months ahead, move the layer to the refrigerator the day before you plan to decorate, and give it 30 to 60 minutes at room temperature, still wrapped, before you fill, crumb coat and finish. Make the frosting fresh that day and the cake will taste like you made it that morning.