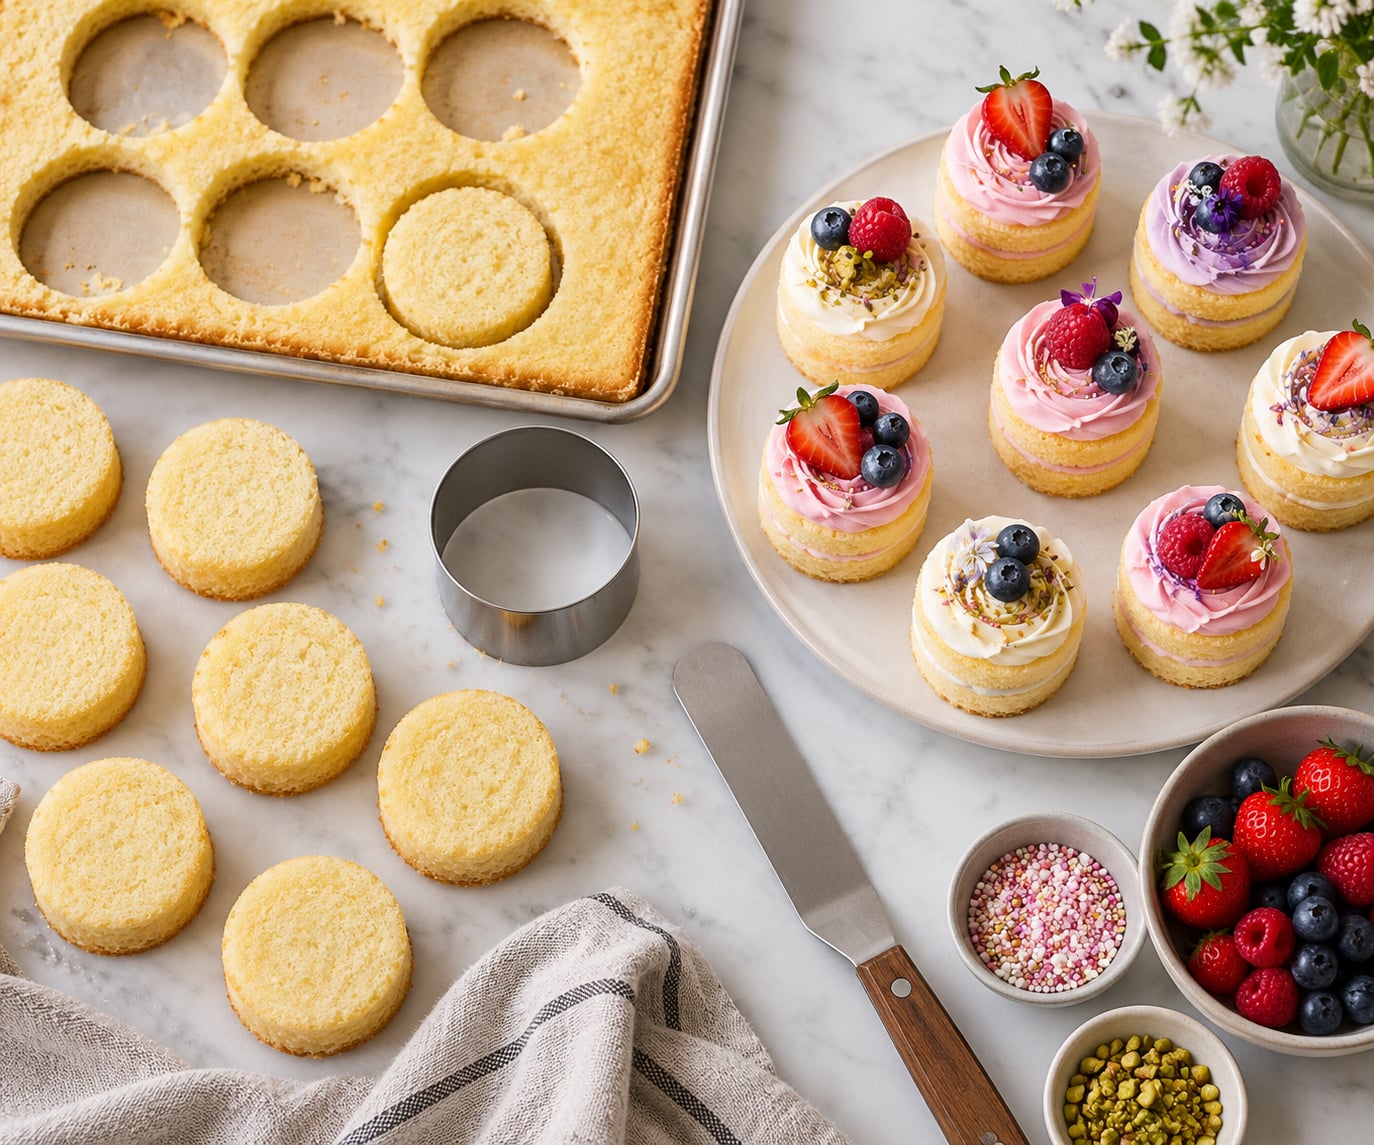
To make mini cakes for a dessert bar, bake one flat sheet cake, let it cool, then press a 2 inch or 3 inch round cutter straight down into it to cut every layer in one pass. Stack those rounds with filling, frost them the same way, chill, and decorate. One 13 by 18 inch half sheet pan yields roughly a dozen finished three-layer mini cakes.
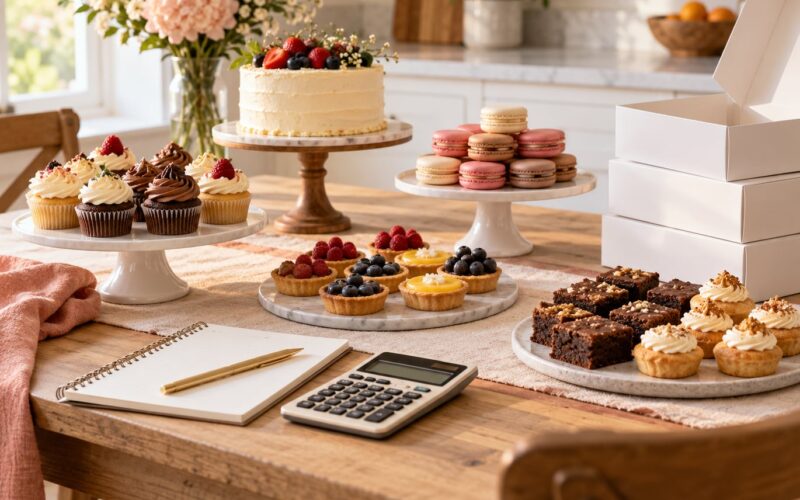
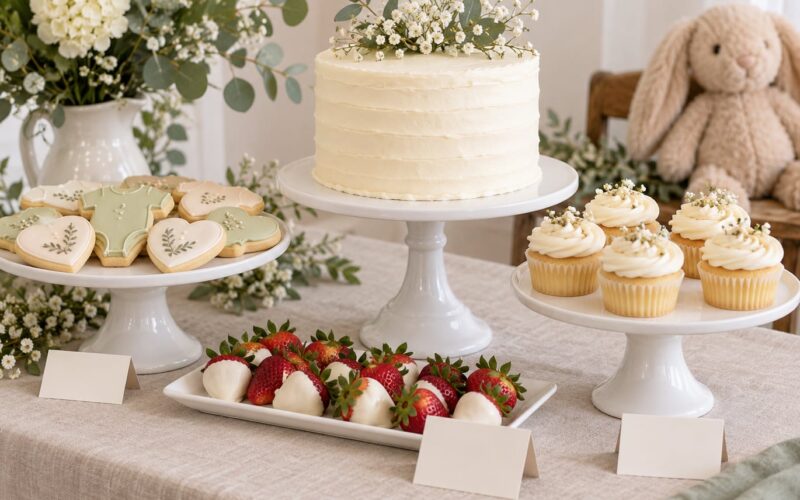
A dessert bar is not a cake with candles. It is a table of two-bite, individually portioned cakes that guests pick up with their fingers and eat standing up, which means every item has to survive being handled, sit out for a couple of hours, and look good without a plate. That single requirement is what shapes the whole method.
Plan on roughly three small treats per guest, and about two if a full cake is also being served later. Three treats for 50 guests is 150 mini cakes, which is the number most people get wrong on the first attempt. The bake time, not the decorating, is the clock that decides whether you make these a day ahead or scramble the morning of the party.
Everything below takes about an hour of hands-on work per batch, plus cooling and chilling time that happens on its own. A word on sizing before we start: a mini cake is roughly two bites, which lands between 2 and 3 inches wide. Cupcakes are built in a paper cup with frosting swirled on top, mini layer cakes are stacked rounds, and a cake bite is a single uniced round. For a dessert bar you want the layered version, because it reads as a real dessert rather than a snack.
Table of Contents
- How to Make Mini Cakes for a Dessert Bar: Tools and Ingredients
- Equipment
- Cake base options
- Frosting choices that hold their shape
- How many mini cakes do you need?
- Step-by-Step: How to Make Mini Cakes for a Dessert Bar
- Step 1: Choose a Mini-Cake Format and Size
- Step 2: Prepare the Batter and Pans
- Step 3: Bake and Cool the Mini Cakes
- Step 4: Frost and Decorate for a Crowd
- Step 5: Store, Transport, and Display
- Common Mistakes and Simple Fixes
- Frequently Asked Questions
- How many mini cakes should I make per guest for a dessert bar?
- How many mini cakes can I make from one sheet pan?
- Can I make mini cakes two days before the event?
- Can you freeze mini cakes that already have frosting?
- How do I transport a large batch of mini cakes without ruining them?
- Should I wrap mini cakes in foil or plastic wrap?
- Conclusion
How to Make Mini Cakes for a Dessert Bar: Tools and Ingredients
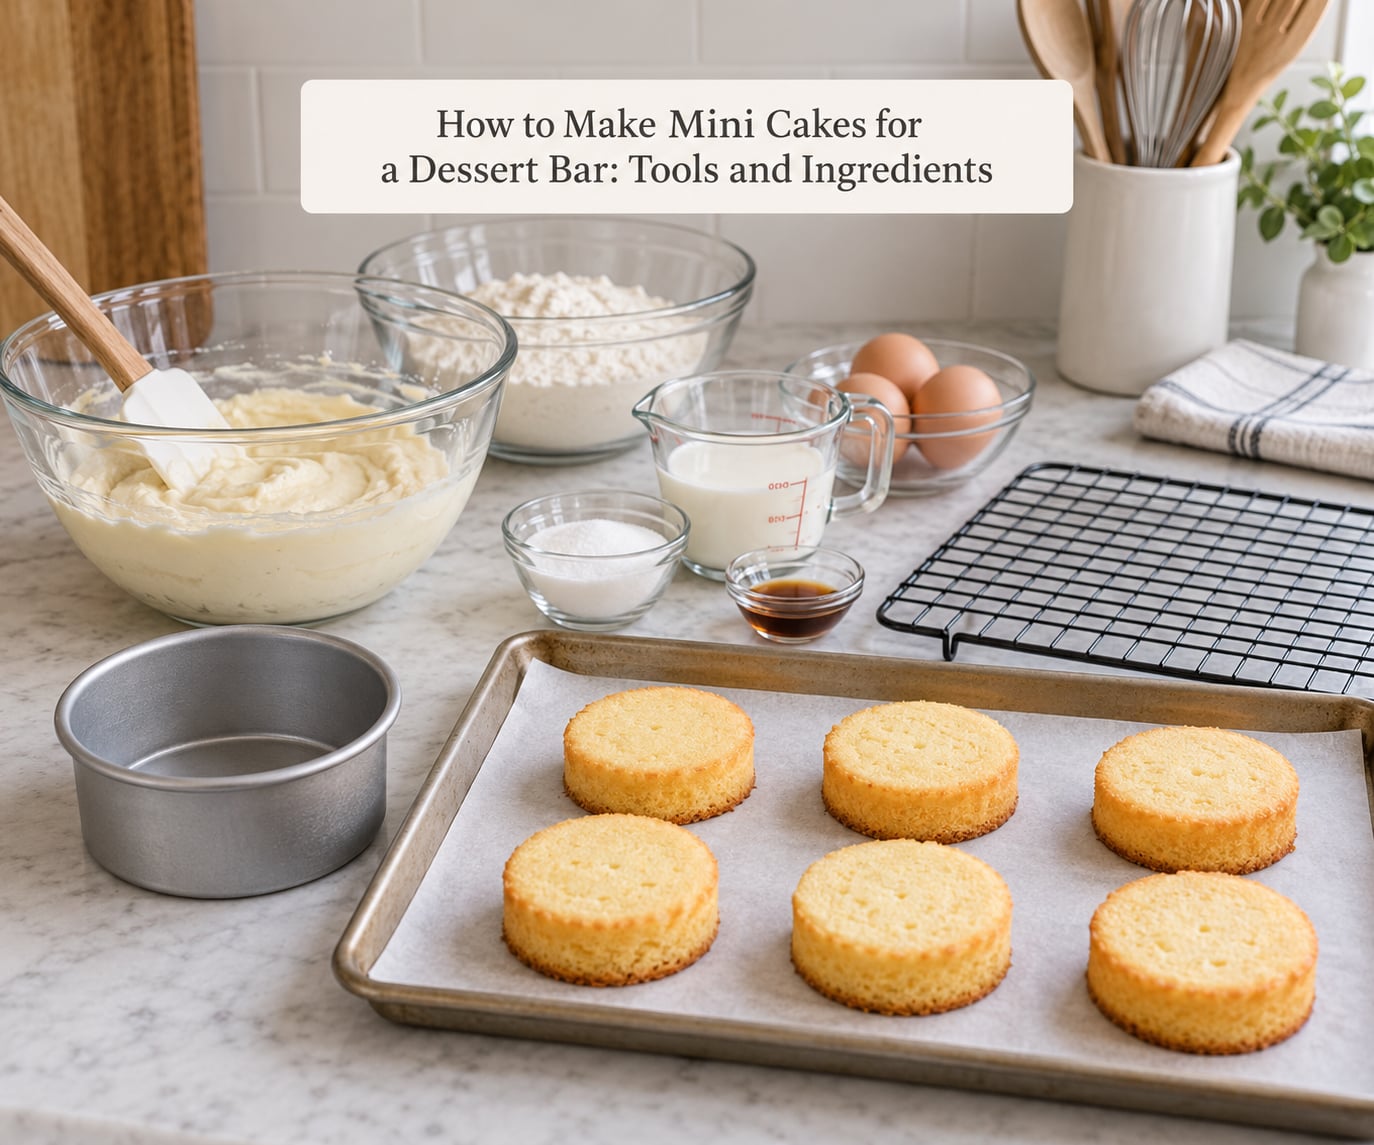
You need very little to build a consistent batch, and most of the list is things you probably already own. The one item worth buying specifically is a plain metal 2 inch or 3 inch round cutter, because it cuts straight sides and gives you a stack of layers that all match.
Equipment
- A 13 by 18 inch half sheet pan for the sheet-cake method, lined with parchment
- A 2 inch or 3 inch round metal cutter, plus a paring knife for lifting rounds out
- A mini muffin tin, or individual 2, 4, and 6 inch round pans, if you are not cutting rounds
- Two or three mixing bowls, a scale or measuring cups, an offset spatula, and a piping bag with a star tip
- A cooling rack, sheet pans for chilling, and small boxes or trays for carrying them
Cake base options
A standard butter or oil cake recipe is the reliable choice. Bake it in the half sheet pan, then cut. To adapt a recipe for the sheet, spread the batter about three-quarters of the way to the pan edges so it does not pull in the corners, and expect a thinner cake that bakes faster than a deep round, usually around 18 to 25 minutes at 350°F.
A boxed mix works, and for a large bar it is the sensible shortcut because the result is sweet and uniform. The better version of the shortcut is the “cake mix from scratch” method, where you add an egg, a splash of oil, and a little sour cream or buttermilk to a box mix. That gives you a denser crumb that cuts and holds together far better than a mix straight from the box, which is the usual reason sheet-pan mini cakes crumble.
Choose your base by how many you need. Under about 40 cakes, bake from scratch and skip the drama. Above that, a scratch cake mixed in a stand mixer, or a mix upgraded with fat and acid, will keep up with you.
Frosting choices that hold their shape
For a room-temperature dessert table, American buttercream is the workhorse. It holds a piped swirl for hours at room temperature and it is what survives transport. Cream cheese frosting and whipped cream are softer and need refrigeration, which means either serving them in small batches or skipping them for a table that will sit out. Ganache set with a little cream is glossy and firm once cold, and it turns mini cakes into a plated-looking dessert with almost no decoration.
A thin pour-over glaze is the fastest finish of all and works well on a square or round cake where the frosting is meant to look like a background. Whatever you pick, make enough for the whole batch plus about a quarter extra. Running out of frosting on cake number 60 is the least enjoyable part of this project.
Fillings run from thick to loose. Buttercream, ganache, and nut-free spreads hold without any help. Jam, lemon curd, and whipped filling need a ring of piped frosting piped around the edge of the layer to keep them from squishing out when you pick the cake up. Pipe the ring, spread the filling inside it, and let it set for about ten minutes before the top layer goes on.
How many mini cakes do you need?
Three small treats per person is the planning number most party hosts land on. Add a ten percent buffer, because guests take the odd extra one and a couple will always travel home with a box.
| Guests | Treats per guest | Mini cakes to make | Half sheet pans (about 12 cakes each) |
|---|---|---|---|
| 25 | 3 | 75 | 7 |
| 50 | 3 | 150 | 13 |
| 75 | 3 | 225 | 19 |
| 100 | 3 | 300 | 25 |
If a wedding cake or a sheet cake is being served as well, drop to two per guest and add roughly ten items of each flavor for the guests who skip dessert entirely and the ones who want two. Half sheet pans bake in a single oven window, so a 50 guest bar means roughly seven bakes back to back with ten minutes of cooling between each. Start before breakfast if you are not using a second oven.
Step-by-Step: How to Make Mini Cakes for a Dessert Bar
Step 1: Choose a Mini-Cake Format and Size
Pick the size first, because it determines how many layers you cut, how much frosting you need, and how long they bake. A 2 inch cutter on a standard sheet gives the most cakes per pan, which is what you want for a big guest count. A 3 inch cutter gives a taller, more forgiving cake that reads better on a stand at close range and needs a bigger box.
The mini muffin tin is the fastest option if you have one, because there is no cutting and no trimming. Cup-sized wells turn out a small domed cake you can split and fill. The catch is yield and shape: a muffin top is rounded, so you either cut it flat or build a single-layer cake with frosting on top, which eats more frosting than a stacked round.
For the sheet-pan method, aim for layers about three-quarters of an inch thick. Thinner than a half inch and the rounds crack as you lift them. Thicker than an inch and the finished cake stops being two-bite and starts needing a fork.
Step 2: Prepare the Batter and Pans
Line the half sheet pan with parchment and leave the oven rack in the middle, where heat is most even. If your batter is a scratch recipe, weigh the flour if you can. Baking soda and baking powder lose strength in a humid kitchen, and that shows up as a collapsed, crumbly sheet that will not cut cleanly.
Do not grease the lined pan. The parchment is enough release, and grease plus parchment makes the surface shiny and slightly slippery, which is a bad start for frosting. Fill the pan about three-quarters of the way to the edges so the cake bakes flat without pulling in the corners.
Scrape the batter into the corners with an offset spatula and smooth the top. Tap the pan once on the counter to release big air pockets. Then bake at 350°F, checking at 18 minutes rather than waiting for the timer, because a thin sheet finishes well before a deep cake does.
Step 3: Bake and Cool the Mini Cakes
Look for three cues together: the surface has pulled from the edge of the pan, a toothpick or skewer comes out with no wet batter, and the top springs back lightly when you press it. One cue alone will trick you. A browned top on an underbaked sheet looks done right up until you cut it.
Cool in the pan for ten to fifteen minutes, then turn out onto a rack. Cutting warm cake is the number one cause of broken rounds, because the crumb is still setting and pulls apart rather than slicing.
Once the sheet is only just warm, chill it. About 30 minutes in the refrigerator firms the crumb enough that rounds lift out cleanly, and a firmer sheet gives you flatter layers. Cover the chilled sheet loosely so it does not dry out. Scraps get cut and frosted too, or become cake pops for the kids’ table.
Step 4: Frost and Decorate for a Crowd
Set up an assembly line, because the speed comes from repeating one motion rather than from being fast. Cakes down the left, filling in a bowl, frosting in another bowl, decorations in the last one. Keep everything within arm’s reach and work in batches of twelve so you can carry a finished tray to the refrigerator before starting the next.
Start with a crumb coat. Spread a thin layer of frosting over the stacked cake to seal in crumbs, chill for ten to fifteen minutes, then add the final coat. This is what keeps a smooth finish on a cake cut from a sheet, and it costs two extra minutes per batch.
For a smooth finish, hold the spatula vertical, turn the cake slowly on a turntable or your palm, and wipe the blade between passes. For a textured finish, skip the final coat and use the crumb coat itself, letting it set in a slightly uneven pattern. A large spatula spread works well for square cakes, where you can sweep the frosting straight to the edges.
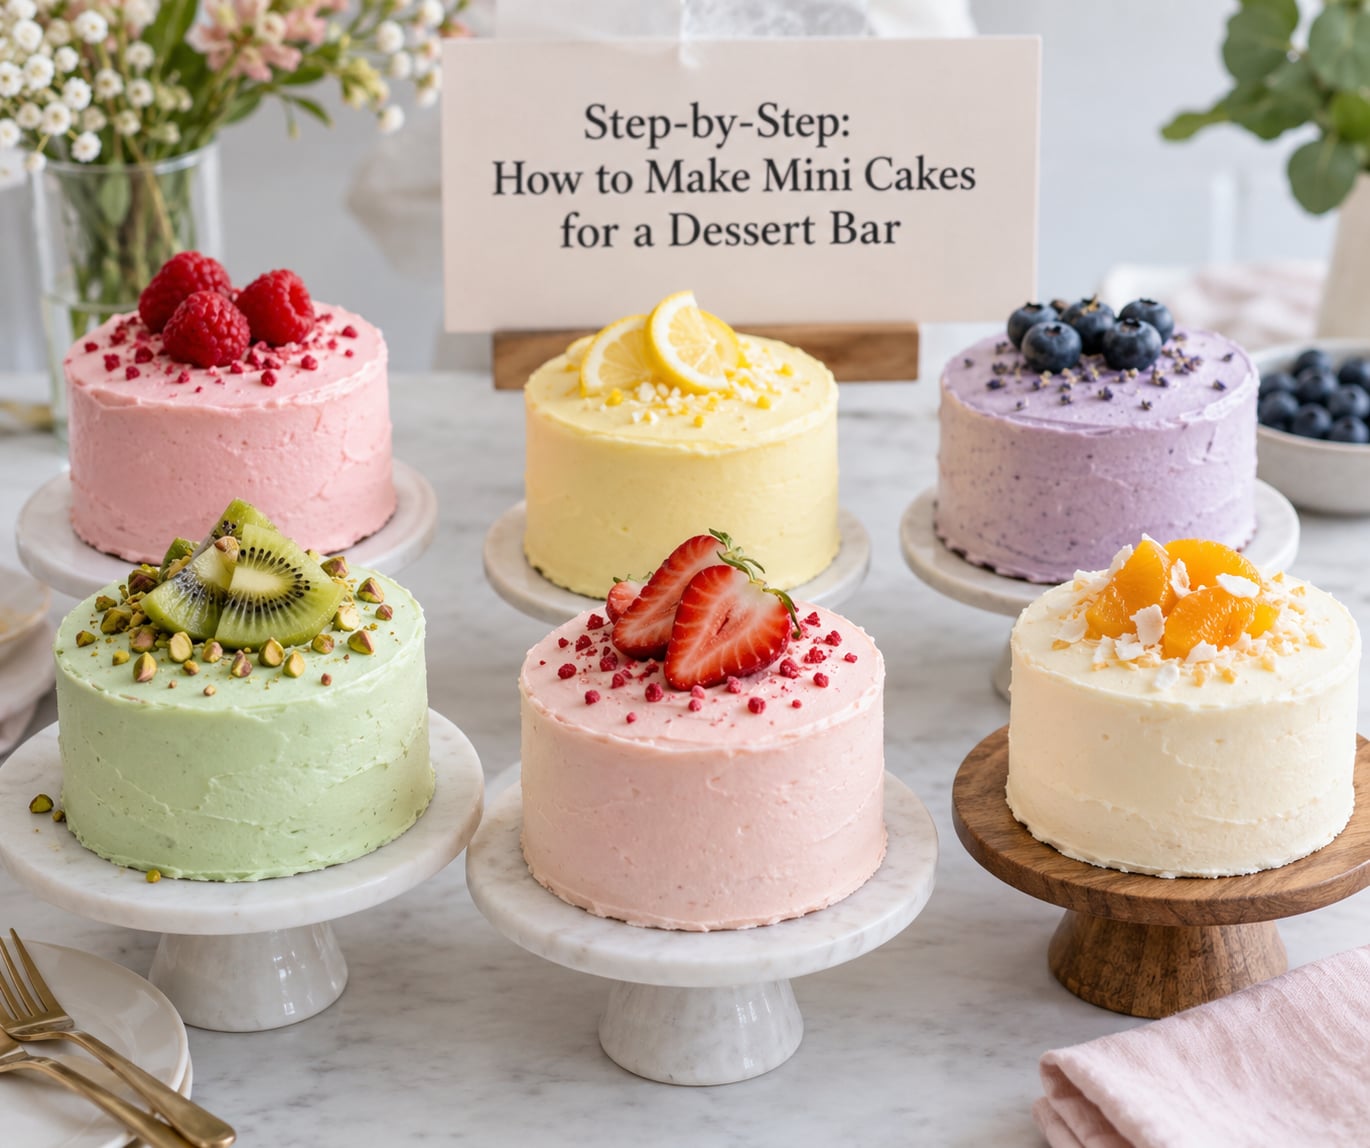
Decorate at small scale. One berry, a thin curl of zest, two or three sprinkles, or a single piped dot of contrasting color. Anything with a whole cookie on it tips the balance and the cake falls over in the box before it ever reaches the table. Set the decorations with a light mist of cooking spray, or press sprinkles on while the frosting is still tacky.
Chill the finished cakes for at least twenty minutes before they go anywhere. That is what firms the frosting enough to survive a car ride and a two-hour display.
Step 5: Store, Transport, and Display
What you make ahead depends on the stage. Cake layers can be cut a day or two in advance and stored wrapped at room temperature. Fillings and final frosting are best on the day, because buttercream picks up odors and whipped fillings deflate overnight.
| When | What to do |
|---|---|
| Two days out | Bake the cake sheets, cool, wrap tightly, store at room temperature or freeze |
| One day out | Cut rounds if you like, portion frosting, make the filling, set out boxes and label cards |
| Event morning | Fill, crumb coat, final frost, decorate, chill, pack |
| Event day | Set out in waves, restock trays as they empty, keep cream-based treats in the cooler |
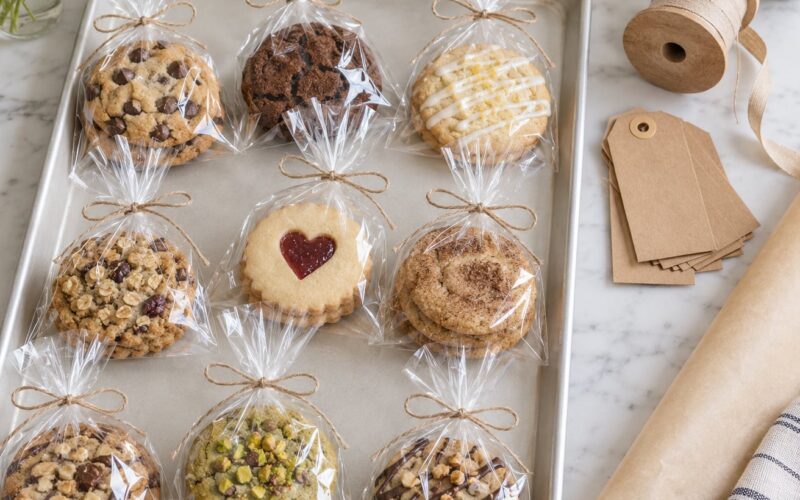
Wrapping matters. Cake layers that have absorbed fat go rancid in about a week at room temperature, so wrap those airtight. Cakes with frosting or jam filling dry out faster, so cover the whole batch loosely with a box lid or cake dome rather than plastic pressed directly onto the frosting, which sticks and tears the surface. Paper cake boxes are the right tool here and they stack flat for carrying.
Freezing works well for anything unfrosted. Wrap layers individually, freeze flat in a single layer, then bag them so nothing dries out, and thaw them wrapped at room time for about an hour before you fill them. Finished frosted cakes also freeze, and bakers report that flashing a decorated cake for 15 minutes before you lid the box keeps the frosting firm enough not to smudge in transit.
For transport, single-layer boxes with cardboard dividers are worth having for a big batch, and a rubber shelf liner under the tray keeps everything from sliding when you brake. Carry the air conditioning, keep the car cool, and put the cakes in at the last moment. Frosting softens fast in a warm car and there is no fixing it once it slides.
On display, fill the table completely at the start with backups hidden in the kitchen or under a cloth, then restock as trays empty. Set out cream cheese frosting, whipped cream, or custard-filled cakes in small batches instead of all at once, and take them back to the refrigerator between waves. Perishable desserts should not sit at room temperature for more than two hours, or one hour when the room is above 90°F.
Label each flavor, and add a line for common allergens. A short list of ingredients on a small card is all it takes, and it matters more than most hosts expect. Keeping nut-free and dairy-free options separate on the tray means a guest with an allergy can actually identify what is safe, instead of guessing and skipping the table entirely.
Common Mistakes and Simple Fixes
Uneven sizes across the batch. Use one cutter and press straight down rather than rocking it. If rounds vary, trim the wide ones down to match the smallest instead of stretching the frosting thinner.
Dry cake. It happens when a thin sheet bakes ten minutes too long or sits uncovered on the rack. Pull at the first sign of a set edge, cool layers wrapped, and add a light brush of simple syrup if a recipe is already on the dry side.
Domed and cracked tops. Bake on the middle rack and use an oven thermometer, since home ovens run hot. A flat cake cuts into even layers, so if a dome is large, trim it off and use the trimmings as decoration.
Frosting sliding off. Warm cake and a thin crumb coat are the usual causes. Chill the filled cake before the final coat, press the frosting against the sides with the spatula, and hold the cake to the light for a moment to find thin spots.
Filling squishing out. Pipe a frosting ring around the layer edge, keep the filling a quarter inch inside the ring, and chill for ten minutes before adding the top layer.
Decorations that are too large. A mini cake with a full-size cookie on top tips over in its own box. Scale everything down to what fits within the top of the cake, and set the pieces into frosting while it is still soft.
Soggy bottoms. Do not refrigerate an unfrosted or freshly filled cake in a closed container. The frosting traps steam and the layer goes damp. Cool on a rack before packing, and keep refrigerated treats loosely covered in a fridge, not a sealed box.
One batch-prep tip ties all of this together. Frost a whole tray at a time rather than one cake at a time, and freeze the finished tray flat for 15 minutes before boxing. Cold, firm cakes pack better than soft ones, and the assembly stays on schedule when you are frosting 150 of them.
Frequently Asked Questions
How many mini cakes should I make per guest for a dessert bar?
Plan three small treats per guest, or about two if a full cake is being served later. Add a ten percent buffer so you are not short after the cake cutting, and mix at least three flavors so guests have a choice instead of a row of identical cakes.
How many mini cakes can I make from one sheet pan?
A 13 by 18 inch half sheet pan cut with a 2 inch round cutter gives you around 36 to 50 rounds, which works out to roughly a dozen finished three-layer mini cakes with a little spacing for trimming. A 3 inch cutter drops that to about eight. Bake two pans at a time if your oven fits them.
Can I make mini cakes two days before the event?
Yes, for the cake itself. Bake the sheets one or two days ahead, cool them fully, wrap them tightly, and store at room temperature or freeze. Fill and frost the day before or the morning of the event, because whipped and cream cheese fillings deflate overnight and buttercream picks up refrigerator odors.
Can you freeze mini cakes that already have frosting?
You can. Freeze them unwrapped on a tray until solid, then wrap each one and return it to the freezer. Thaw in the refrigerator, still wrapped, for several hours or overnight. A 15 minute flash freeze on a decorated cake before you put the lid on also helps stop the frosting smudging in transit.
How do I transport a large batch of mini cakes without ruining them?
Chill them at least twenty minutes, pack in single layers in boxes with cardboard dividers, and put a rubber liner under the tray so nothing slides. Keep the car cool and load the cakes last. Pipe swirls, sprinkles, and fruit rather than heavy cookies, which is what tends to topple.
Should I wrap mini cakes in foil or plastic wrap?
For layers that will sit more than a day, use plastic wrap or an airtight container, since fat-rich cake goes rancid within about a week. For frosted or filled cakes, skip the wrap and use a cake box lid or dome instead, because plastic pressed against the frosting sticks and tears the surface.
Conclusion
Start by picking one base cake you already like and making a test batch of a dozen. Bake the sheet, cool it completely, cut the rounds, and see how they hold before you commit to 150 of them.
Once the size and the flavor are right, the rest is repetition: bake ahead, chill the layers, fill and frost in batches of twelve, and repeat one simple decoration so the whole table matches. Bake the cake two days out, finish on the morning of the event, and put the tray out in waves rather than all at once.