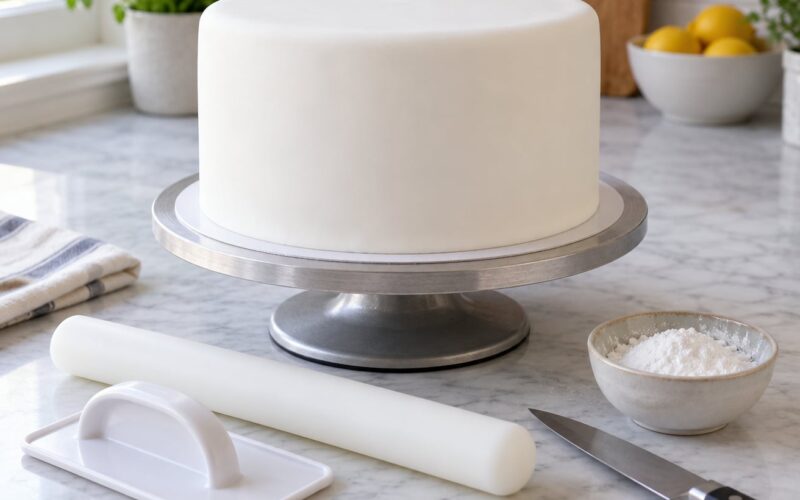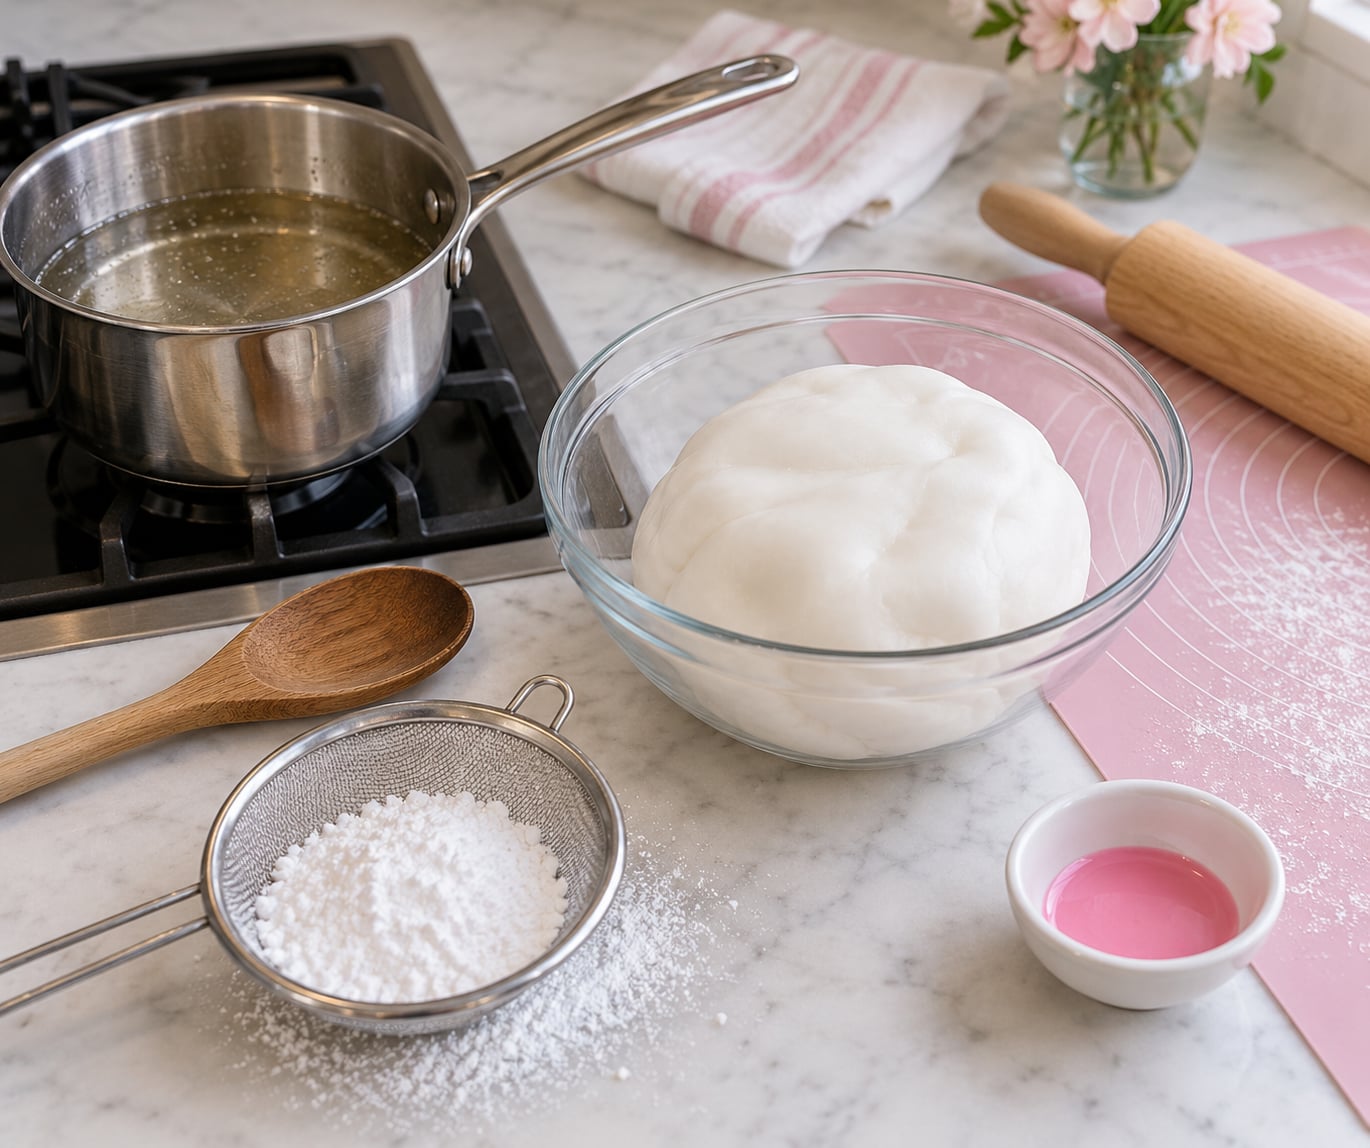
Learning how to make fondant from scratch takes about 20 minutes of active work and gives you roughly 1.5 pounds (700 g) of dough. The whole recipe is sugar, water and a little cornstarch, cooked into a paste and kneaded with more sugar until it stops sticking to your hands.
No gelatin, no preservatives, and a flavor and color you control completely. There is also one honest caveat before you start: homemade fondant is softer and stretchier than the store-bought kind, and most first-time bakers assume the recipe failed when it actually worked.
Table of Contents
- What You Need to Make Fondant from Scratch
- Ingredients for a basic batch
- Equipment
- Microwave, saucepan, or mixing bowl?
- Step-by-Step
- How to Make Fondant from Scratch: Heat the Sugar and Water
- Add Cornstarch and Knead the Dough
- Color, Shape, and Store It
- Common Mistakes
- Sticky fondant that never sets
- Stiff or crumbly dough
- Cracks, tears, and elephant skin
- Fondant that will not harden fast enough
- Uneven color and drying out mid-decorating
- Fondant Quantities and Optional Additives
- Frequently Asked Questions
- Can I make fondant from scratch without a microwave?
- Is homemade fondant better than store-bought fondant?
- How much cornstarch do I add to homemade fondant?
- Can I use liquid food coloring in fondant?
- How do I keep homemade fondant from drying while I decorate?
- How long does homemade fondant from scratch last?
- Conclusion
What You Need to Make Fondant from Scratch
The basic batch needs three things: sugar, water, and cornstarch. Everything else is optional flavor, color or a shortcut for hardening.
Ingredients for a basic batch
- 4 cups (500 g) granulated sugar
- 1 cup (240 ml) water — plus 1 to 2 tablespoons more, added a little at a time
- 2 tablespoons cornstarch, sifted
- 4 to 5 cups (about 500 to 600 g) confectioners’ sugar, sifted and reserved for kneading
- 1 teaspoon vanilla extract or almond extract, optional
- 1 to 2 teaspoons glycerin, optional, for extra pliability
- 1 to 2 teaspoons tylose or CMC powder, optional, for faster drying
- Gel food coloring, optional
That produces about 1.5 pounds (700 g) of finished fondant, which covers a two-layer 8 inch cake and leaves a chunk spare for decorations.
Equipment
You need a heavy saucepan with a lid, a wooden spoon or silicone spatula, a fine-mesh sieve, a clean work surface for kneading, and a microwave-safe bowl if you are using that method. A pastry mat and a rolling pin matter later, when you are rolling the dough out, but you can get through the cooking stage with a wooden spoon and a spoon to scrape dough off the sides.
Microwave, saucepan, or mixing bowl?
A saucepan gives you the most control and the most even result. Heat it low and stir, because the difference between smooth paste and burnt sugar is about two minutes of inattention.
A microwave is faster, roughly 2 minutes for the same bowl, and it is easier to scrape every last bit of paste out of the dish with a silicone spatula. You have less control over how hot the sugar gets, though, so stir more often.
A double boiler, or a heatproof bowl set over a pan of barely simmering water, is the gentlest option. It is slower, about 8 to 10 minutes, but very hard to scorch.
Step-by-Step
Read the whole method once before you light the stove. Fondant moves fast after the sugar hits the heat, and it is much easier to finish the cooking while the rest of your setup is already in place.
How to Make Fondant from Scratch: Heat the Sugar and Water
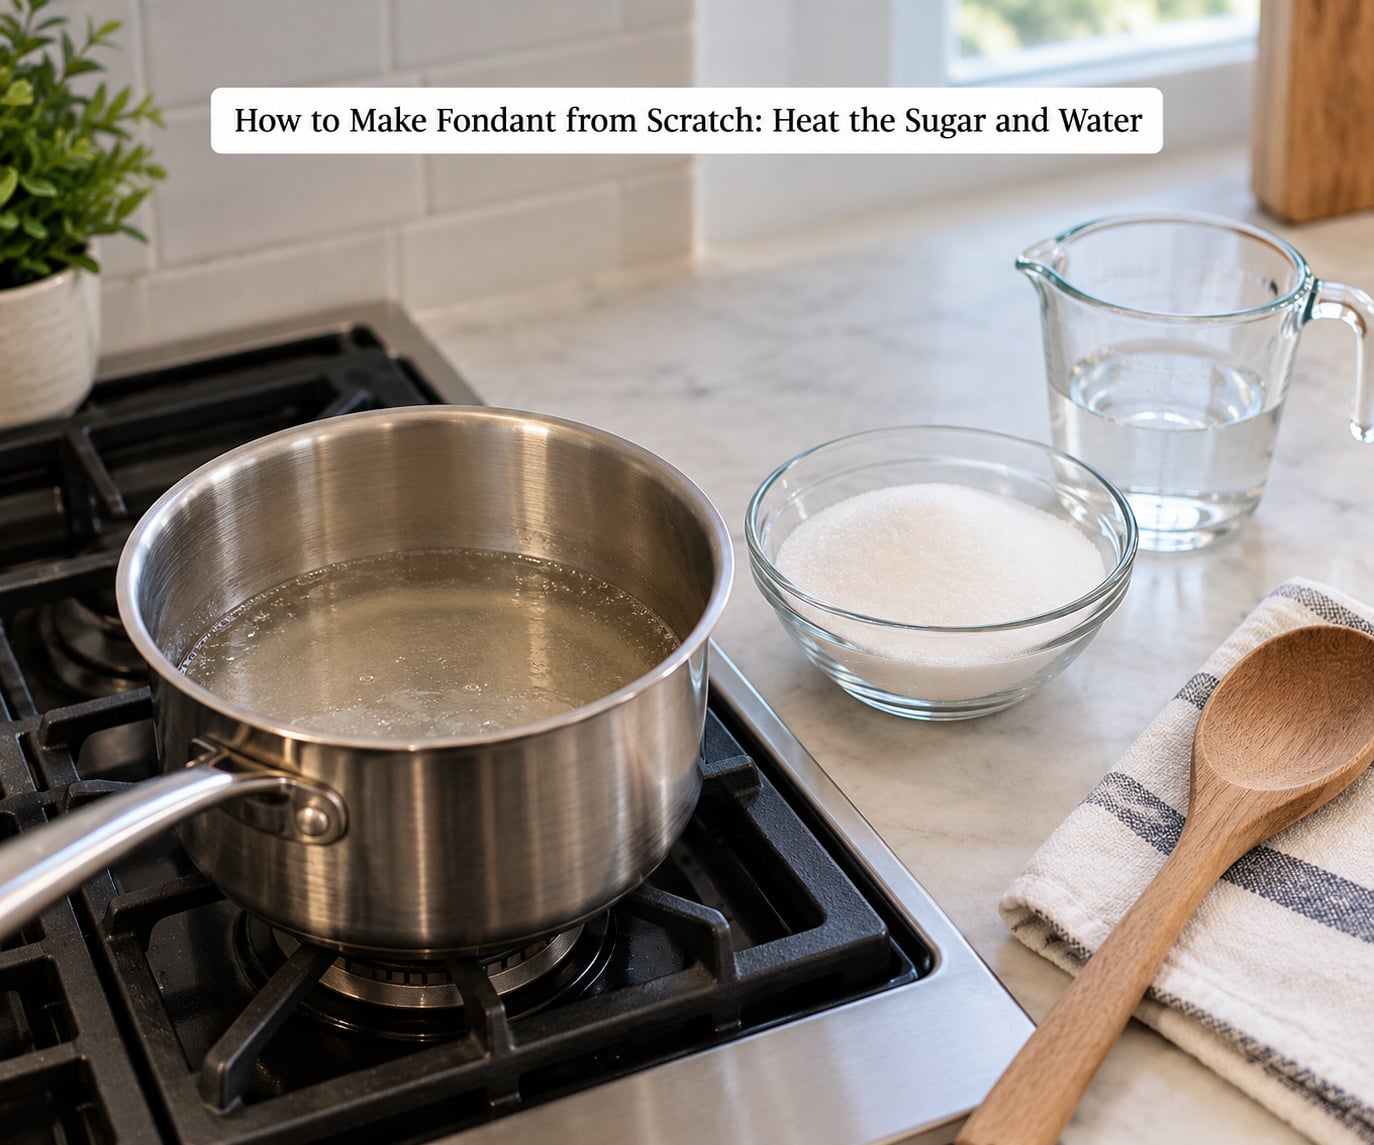
Combine the 4 cups of sugar and 1 cup of water in your saucepan, plus 1 tablespoon of the cornstarch. Stir once to wet the sugar, then turn the heat to low.
Leave the lid on and let the mixture come up to a boil without stirring. Once it boils, keep it there for 2 minutes. That concentrate is what thickens the paste; the cornstarch does most of the work from there, and the sugar does the rest.
You will know it is ready when the bubbles turn from large and loose to small, thick and glossy, and the mixture pulls away from the sides of the pan when you tilt it. A sugar thermometer reading 240°F (115°C) is a good shortcut if you have one.
Pour the hot mixture into a heatproof bowl and let it sit for 5 minutes. Hot syrup burns skin badly, so give it that time and use a towel to pick the bowl up.
Two things to avoid: don’t boil it hard and unattended, because sugar goes from perfect to scorched in under a minute; and don’t let it linger on the heat after it thickens, because the same sugars that make it glossy will crystallize and turn grainy.
Add Cornstarch and Knead the Dough
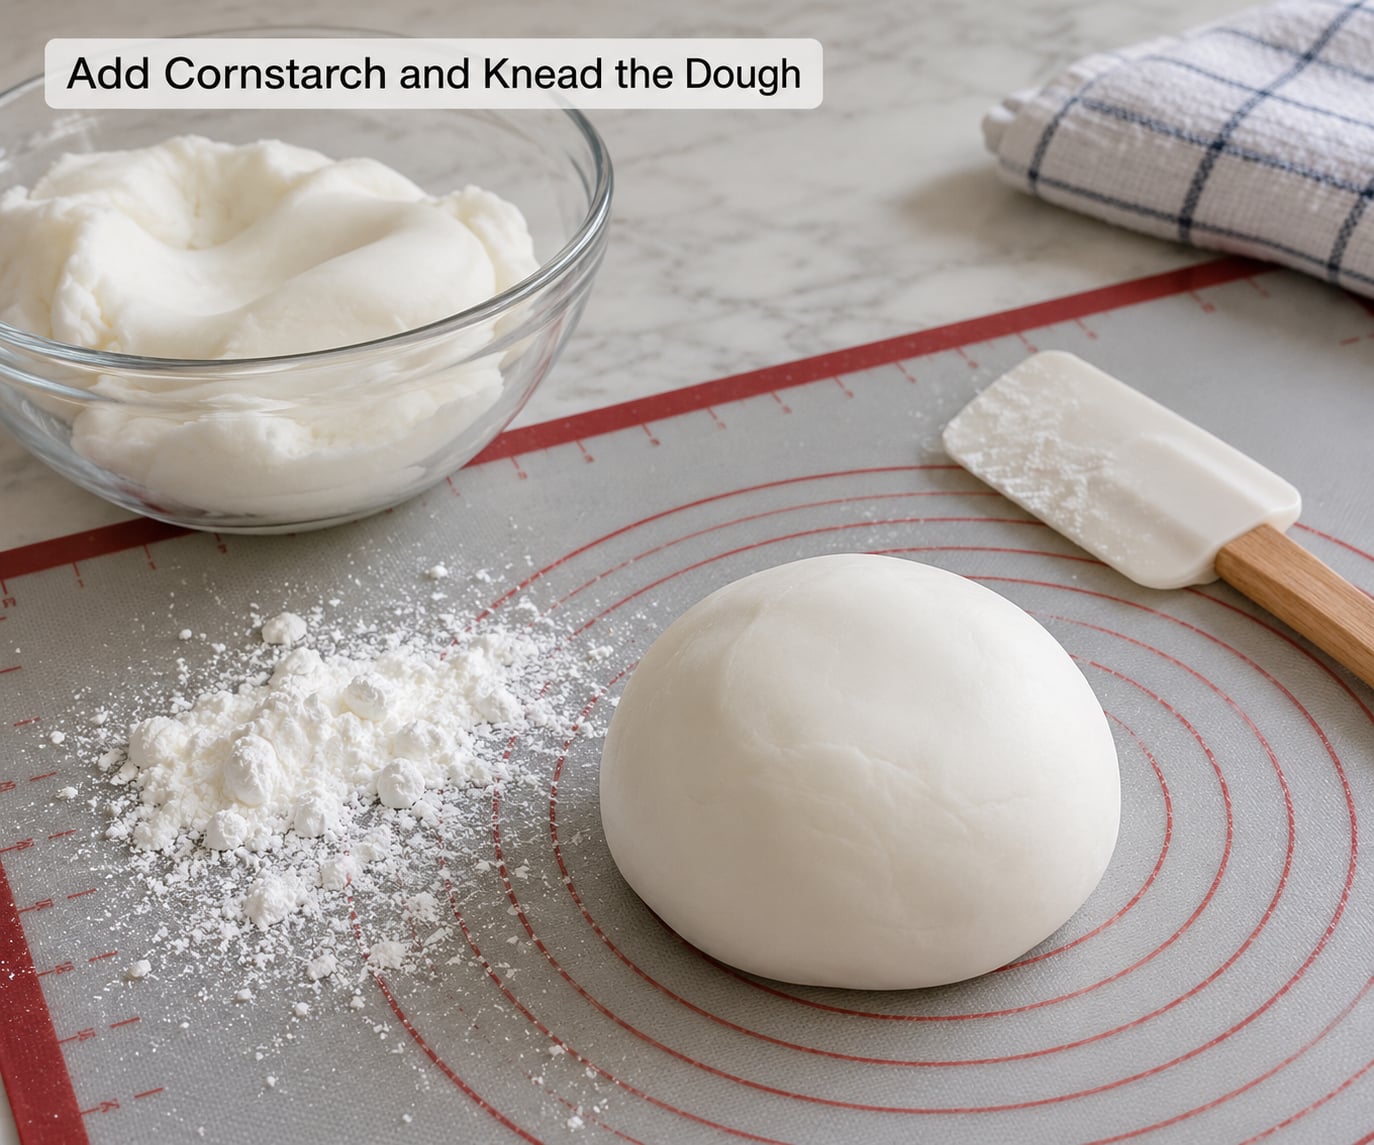
Return the bowl over low heat and sift the remaining 1 tablespoon of cornstarch over the top. Stir it in fast and keep it moving for about 30 seconds until the paste thickens to a soft, marshmallow-like consistency that pulls away from the sides of the bowl.
Set the bowl on a clean, dry counter. Sift 3 cups of the confectioners’ sugar into a wide well in the middle, then tip the hot paste over it. It will look dry and crumbly for the first 30 seconds. Keep going.
Knead with your hands for 5 to 10 minutes, adding the rest of the confectioners’ sugar a cup at a time. Stop when the dough is smooth, elastic and no longer cracks at the edges. It should feel like a soft modeling clay and leave a faint print when you press a fingertip into it.
Add flavor and color now, a few drops at a time, and knead the color through fully before rolling. Liquid coloring added too early seeps and leaves patches; gel color is concentrated enough to mix in cleanly at this stage.
Color, Shape, and Store It
For evenly colored fondant, work a pea-sized amount of gel color into a small piece of the dough, then knead that piece into the larger batch. A separate white portion left aside doubles as a cleaner to wipe your hands and tools.
Wrap finished fondant tightly in plastic wrap, pressing out the air, then put it in an airtight container or a sealed bag. It keeps at cool room temperature for 2 to 4 weeks and in the refrigerator for up to 2 months. Bring it back to room temperature before you roll it, and keep it away from strong smells, which it absorbs quickly.
While you decorate, work in small batches and keep the rest sealed. Fondant left open dries in about 30 minutes in a warm kitchen, and once the surface hardens it cracks as it tries to roll. Dust your rolling pin and mat with cornstarch as a light anti-stick, rather than more powdered sugar, which dries the dough out faster.
Common Mistakes
Almost every fondant failure comes down to one of three things: too much sugar, too little sugar, or the wrong kitchen. Here is how to spot each one and what to do about it.
Sticky fondant that never sets
Sticky fondant means the balance of sugar to moisture is off. Knead in another 2 to 4 tablespoons of sifted confectioners’ sugar until the dough releases cleanly from your palm, then rest it wrapped for an hour to let the extra sugar absorb.
An overheated mixture adds stickiness, so keep the heat low and take the pan off the moment the paste looks right. A dusting of cornstarch on your work surface helps during rolling but does nothing for the dough itself.
Stiff or crumbly dough
Dough that breaks apart when you roll it has too little moisture. Work in a teaspoon of water at a time and knead until it comes back together, or mix in a small piece of the softer leftover dough from your last batch.
Over-kneading makes dough stretchy and unusable in the other direction. If the fondant pulls like taffy and refuses to hold a shape, it is almost always from too much kneading rather than too little sugar.
Cracks, tears, and elephant skin
Elephant skin is the rippled, dried-out texture that appears when fondant loses surface moisture while you roll it. Small cracks at the edges of a sheet are the same problem in early form.
Fix both by kneading a few drops of water or glycerin into the piece, then rest it wrapped for 15 minutes before rolling again. Keep the unused portion sealed while you work, and roll in a cooler room if you can. In humid weather, add a little extra cornstarch or glycerin to the dough itself, because extra dusting on top will not help.
Bumps that mirror the cake’s surface are a different problem. That means the cake is pushing through, and the fix happens before the fondant does: seal the crumb with a thin buttercream layer and chill the cake properly.
Fondant that will not harden fast enough
Homemade fondant dries more slowly than commercial fondant, so plan ahead by a day. To speed it up, add 1 to 2 teaspoons of tylose or CMC powder while the mixture is still warm, and work the room cooler and drier if you have the choice.
Decorations applied directly to a frosted cake will soften again, so let them dry fully on wax paper, then attach them with a dab of edible glue or royal icing on the day.
Uneven color and drying out mid-decorating
Marbled color means the gel was not worked in long enough. Knead the colored piece into the main batch until no streaks remain; adding more color later only muddies it.
For a fondant that hardens while you work, take what you need out of the container and reseal immediately, no matter how much you think you will use. Anything left in contact with air for 30 minutes is a crumbly piece within the hour.
Kneading is the step that decides whether the batch works, and it is the step people rush. If you are unsure whether the dough is ready, give it another two minutes. Under-kneaded fondant keeps tearing; over-kneaded fondant stretches like taffy.
Fondant Quantities and Optional Additives
Plan your batch around the cake. These numbers assume a coverage thickness of 3 to 4 mm, which is the standard for a smooth finish, and include a small allowance for decoration work.
- 6 inch round: 500 to 600 g to cover, 700 g including decorations
- 8 inch round: 800 to 900 g to cover, 1.1 kg including decorations
- 10 inch round: 1.1 to 1.3 kg to cover, 1.6 kg including decorations
- 12 inch round: 1.5 to 1.7 kg to cover, 2 kg including decorations
- 24 cupcakes: 700 to 800 g to cover, 900 g including decorations
One basic batch gives about 700 g, so a single 8 inch cake is comfortable and a 10 inch cake needs a double batch or an early morning start on the second one.
These optional ingredients solve specific problems, and using more than one hardening agent at once tends to make dough that shatters.
- Cornstarch, 2 tablespoons: thickens the paste and helps in humid weather
- Glycerin, 1 to 2 teaspoons: keeps the dough soft and flexible so it stops cracking
- Tylose or CMC, 1 to 2 teaspoons: a cellulose gum that dries fondant faster and harder
- Gelatin, 1 teaspoon bloomed: an optional firming agent for models that must hold a shape
- Cream of tartar, 1/4 teaspoon: slows crystallization and keeps the paste smooth
Fondant plus tylose at a ratio of about 1 teaspoon per cup becomes gum paste, which is firm enough for structural work like a hand-molded flower or a bird. Modelling chocolate works the same way, and the store-bought brands are a shortcut if you do not want to cook your own base.
On allergens: this recipe contains no nuts and no gelatin as written, so it suits nut-free and gelatin-free kitchens. Check your confectioners’ sugar and vanilla extract for cross-contact, and note that a cornstarch-based fondant is gluten-free in practice but should be made in a clean kitchen for anyone with a serious celiac allergy. It is fully edible, and it is sweet, so treat it as the sugar icing it is.
Frequently Asked Questions
Can I make fondant from scratch without a microwave?
Yes, and a saucepan is the better choice for most people. Combine the sugar, water and 1 tablespoon of cornstarch, bring it to a boil over medium-low heat, and boil for 2 minutes until the bubbles turn small and glossy. A double boiler set over barely simmering water takes about 8 to 10 minutes and is even harder to scorch. The microwave is only faster, not better.
Is homemade fondant better than store-bought fondant?
It depends on what you need. Homemade fondant is more edible, cheaper per batch, and you control the color and flavor, but it stretches more and dries more slowly than commercial fondant, so plan a day ahead. Store-bought fondant rolls thinner and holds fine detail better, which matters for piped borders and delicate toppers. Many home bakers use homemade for covering and store-bought for fine decoration work.
How much cornstarch do I add to homemade fondant?
Two tablespoons per 4 cups of sugar and 1 cup of water is the standard amount. Sift half in with the sugar and water and keep the rest back, then stir in the second half after the paste thickens. Cornstarch gives the paste body and helps in humid weather, but too much of it makes the finished fondant dry out fast and crack while you roll. If the dough is already cracking, the fix is water, not more starch.
Can I use liquid food coloring in fondant?
Yes, but gel color is far better. Liquid coloring is mostly water, so a teaspoon of it can make the dough sticky and cause pale, patchy results. Add gel coloring a few drops at a time after the sugar is kneaded in, and work it through fully before rolling. If you only have liquid color, add it a few drops at a time to the warm paste, before the sugar, so the water cooks off rather than sitting in the dough.
How do I keep homemade fondant from drying while I decorate?
Work in small batches and reseal the rest immediately. Fondant exposed to air develops a hardened skin in about 30 minutes in a warm kitchen, and that skin is what cracks when you try to roll it. Keep the unused portion in an airtight container or a sealed bag, dust your tools lightly with cornstarch rather than powdered sugar, and keep the room as cool as you can manage. Any piece that has already gone stiff usually softens again with a few drops of water and 15 minutes of rest.
How long does homemade fondant from scratch last?
Stored airtight at cool room temperature, homemade fondant keeps for 2 to 4 weeks. In the refrigerator it lasts up to 2 months, wrapped tightly in plastic wrap and sealed away from foods with strong odors. Bring refrigerated fondant back to room temperature for about 30 minutes before rolling, since cold dough cracks and warm dough sticks. Many bakers make a double batch specifically so they have a spare portion to fix the failures of the first one.
Conclusion
Start with a clean work surface, measure the sugar and water accurately, and make one small batch before committing to a double. That first batch teaches you the one thing no recipe can tell you, which is what your own dough should feel like at the moment the sugar is fully kneaded in.
Knead until the surface is smooth and the dough stops cracking at the edges, then adjust only what the texture demands: a little sugar for sticky, a little water for stiff. Wrap the rest before you finish the first cake, and you will have fondant from scratch that covers a cake cleanly and costs a fraction of the tub it replaces.