Fondant cracks when you stretch it further than it wants to go, and that happens for three reasons more often than any other: the fondant is too cold or too dry, it was rolled too thin, or you pulled it down the sides instead of easing it. Fix those three things and the rest is detail work.
The short version: keep the fondant pliable at room temperature, roll it to an even 3-5mm, and ease every pleat down the side rather than tensioning it. Chill the cake until it is firm rather than rock hard, and give it a perfectly smooth buttercream or ganache layer to sit on.
Budget 45 minutes to an hour for a single 8-inch cake if you have done it before, closer to two the first few times, and set it up in a cool room before you open the fondant. Here is the whole method, then the fixes for when it goes wrong anyway.
Table of Contents
- What You Need
- Step-by-Step
- 1. Chill the Cake Thoroughly
- 2. Make the Frosting Surface Smooth
- 3. Measure and Roll the Fondant
- 4. Lift and Apply the Fondant
- 5. Smooth the Top and Sides
- 6. Trim the Base and Finish the Surface
- Common Mistakes
- Dusting too much cornstarch or icing sugar
- Rolling too thin to save fondant
- Pulling the sides down instead of easing them
- Over-chilling the cake until it is rock hard
- Using fondant straight from the fridge
- Fondant going over a lumpy or unset undercoat
- Trim the base too early
- Covering without a fondant smoother
- Frequently Asked Questions
- Why does my fondant crack when I cover a cake?
- How thick should fondant be before putting it on a cake?
- Can I cover a cake with fondant while it is still warm?
- How do I fix a small crack in fondant after it is applied?
- What kind of frosting is best under fondant?
- Can I cover a cake with cream cheese frosting using fondant?
- Conclusion
What You Need
You do not need a professional kitchen for this. You need a firm, smooth cake and a forgiving work surface.
- A firm, level cake. Any sturdy sponge or butter cake works, chilled and fully settled. See the filling notes below for the ones that struggle most.
- A filling and an undercoat. Buttercream and ganache both work. What matters is that the final layer is smooth, slightly tacky and completely set.
- Fondant, at room temperature. Around 600g for a 6-inch round cake, 1kg for an 8-inch, 1.5kg for a 10-inch and 2kg for a 12-inch, plus about 20% spare for offcuts and mistakes. Square cakes need roughly 15% more than round ones of the same width.
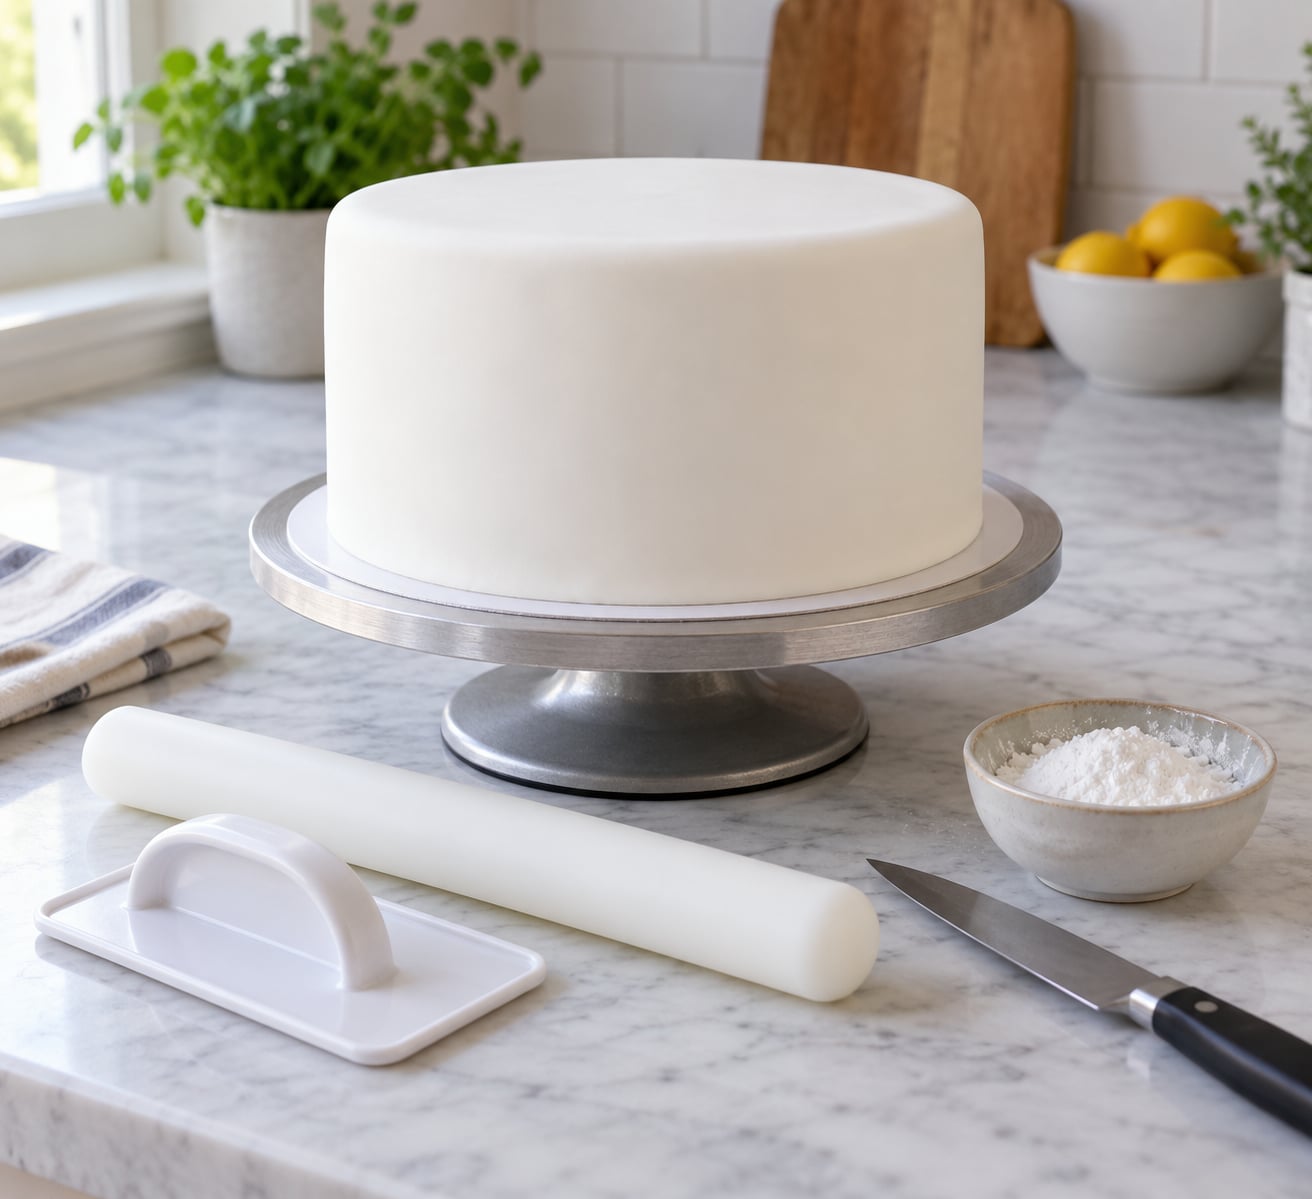
- A rolling pin with guide rings, or two evenly thick dowels or coins taped to either side. This is the single cheapest thing you can buy that fixes uneven thickness.
- A silicone baking mat or clean, smooth worktop. Cornstarch scattered loose on the counter works too, but a mat stops the fondant gripping the surface and tearing as you roll it out.
- A fondant smoother, or the back of a sturdy spoon, a straight-edged scraper, or a piece of acrylic.
- A pizza wheel or sharp paring knife for the base, and a clean pin for popping air bubbles.
- Light vegetable shortening for your hands, and a little cornstarch for the mat.
Knead the fondant on the mat before you roll anything. It should push a fingertip in easily and come back smooth. If it fights you, it is too cold, and cold fondant will crack the second you stretch it over an edge.
Step-by-Step
1. Chill the Cake Thoroughly
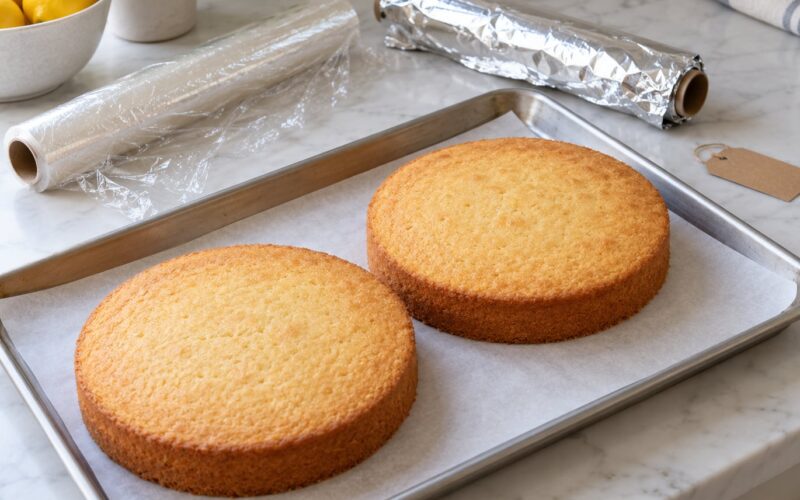
Let the cake cool completely at room temperature first, then wrap it and chill it for 30 to 60 minutes until it feels firm and cool all the way through. A warm cake melts the buttercream and gives you a surface that shifts under the fondant.
Take it out of the fridge about 20 to 30 minutes before you cover it, and work on a surface where condensation will not form on the cake. Rock-hard straight-from-the-fridge cakes are a common problem: as they warm, water beads on the surface and the fondant goes patchily tacky and sticks in places.
Success check: the cake holds its shape when you press the top with a fingertip, and it is not sweating. If either is wrong, wait.
2. Make the Frosting Surface Smooth
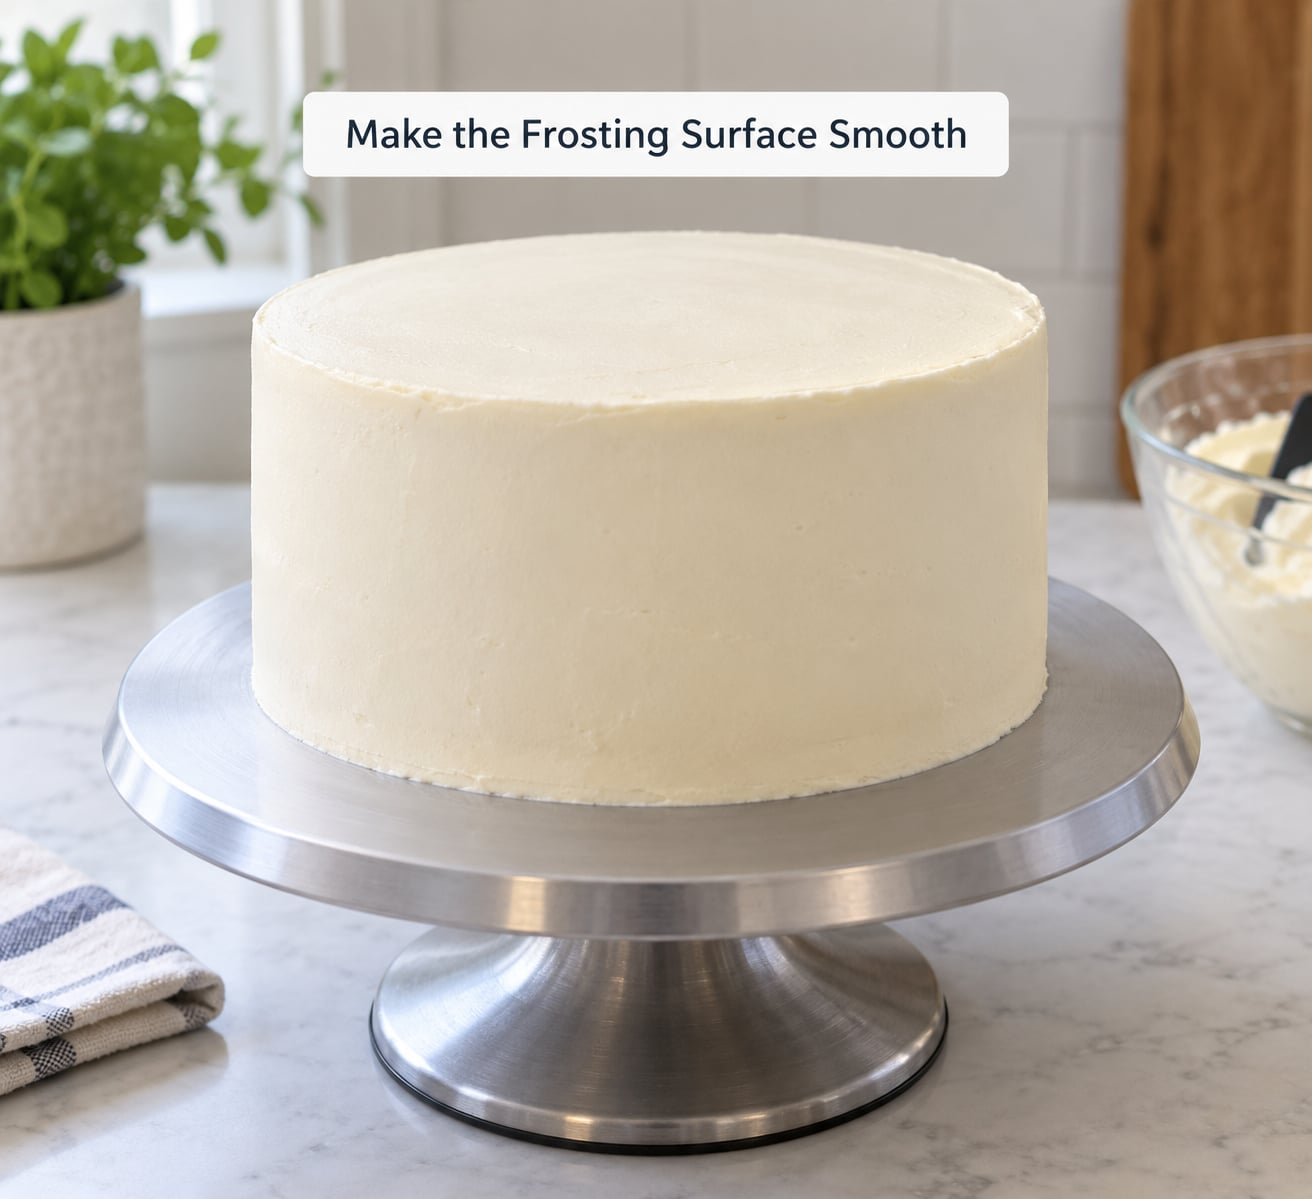
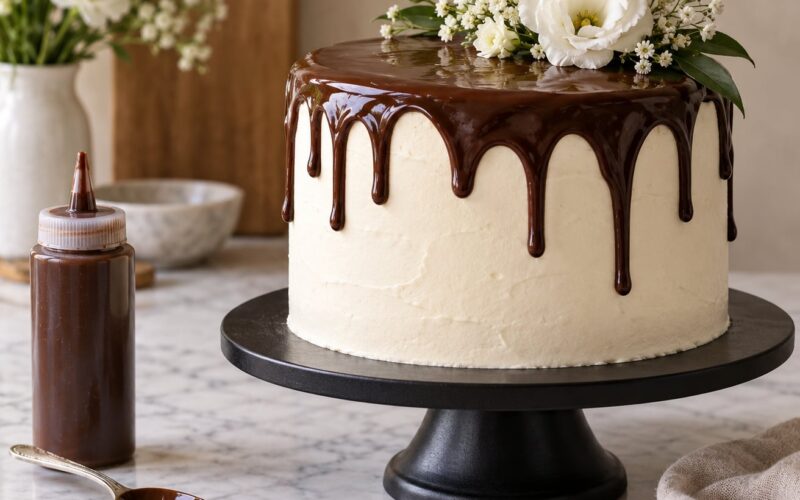
Apply an even layer of buttercream or ganache with a palette knife, then scrape the top flat and push the sides straight with the edge of the knife. Every ridge, gap and exposed crumb you leave now will press a visible line through the fondant later.
Hold the cake up and turn it under decent light. Look for a shadow line anywhere the frosting changes height, and any dark speck of crumb. Fill the dips and shave the high spots. If you can see a flaw clearly on the bare cake, you can see it twice as clearly through fondant.
Let the final layer set completely. Buttercream needs a firm skin, and ganache needs about 20 minutes at room temperature, before the fondant goes anywhere near it.
Success check: the cake is matte, even and a shade darker than the fondant you are about to apply, with no crumbs visible anywhere.
3. Measure and Roll the Fondant
Knead 50g of fondant into the bulk first, then roll the rest. Work from the centre outward with light, even pressure, turning the disc a quarter turn each pass so it grows evenly in every direction rather than becoming an oval.
Set your guide rings to 3-5mm, or roughly a quarter inch down to an eighth inch. Under 3mm and the sheet has no stretch left in it, so it tears at every corner and edge. Over 5mm and you get ripples and a visible thick band at the base that no amount of smoothing will remove.
Roll until the disc is about 15cm wider than the cake on all sides. That margin is what you ease down the sides, so cutting it tighter is exactly the self-defeating move. If you are working with a small amount of fondant and the maths will not stretch, roll a second sheet and join the seam down one side instead of forcing it thin.
Success check: lift one edge of the disc. It should sag a little without tearing, and you should be able to see light through it very faintly at the thinnest point.
4. Lift and Apply the Fondant
Lift the fondant on the rolling pin, not with your hands. Hands stretch it in the two places you least want tension, and they warm it at the same time.
Hover the disc over the cake, centre it above the top, and let it drop from the middle outward. Do not touch it to the cake until the top is almost landed. Then let the weight of the fondant do the work as it settles over the edge and down the sides on its own.
If the disc lands crooked, lift it and start again while it is still dry and loose. Repositioning fondant that is already half-stuck to buttercream is how most beginners create their first tear.
Success check: the fondant has landed on the cake, not glued to it, and the top sits flat with no tension radiating from the centre.
5. Smooth the Top and Sides
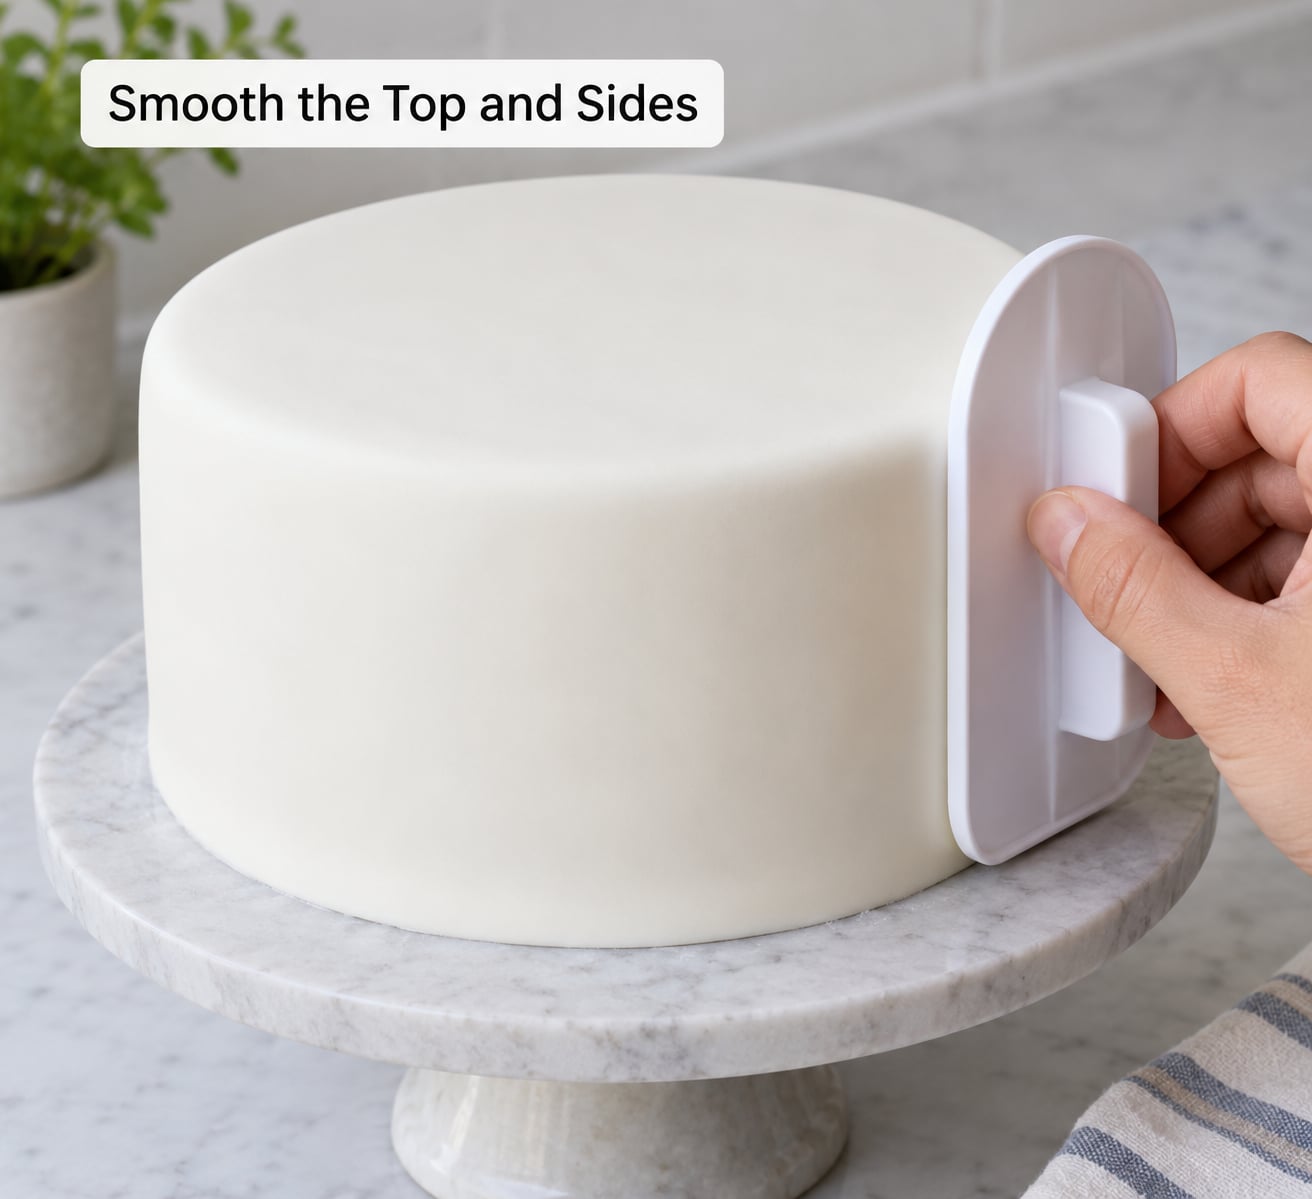
Work the top first, from the centre outward with a smoother or the clean palm of your hand, always pushing upward and toward yourself so you are compressing rather than dragging. Then turn the cake and take the same sweeping strokes down the side, with the hand cupped around the edge to support the fondant underneath as you go.
This is where most cracks are won or lost. Gather the pleats at the top corner with your fingertips, then ease them down and outward one small step at a time. Pull down firmly and you create a tension line that will either show as a crack at the base or pull the whole side out of shape overnight.
Work one face of the cake at a time and only as far as the corner. Keep pushing fondant back into any crease until the surface is a continuous sheet. If you find an air bubble, pierce it at a shallow angle with a clean pin and press the fondant flat over the hole.
Success check: run your hand flat along the side. It should feel like one continuous piece, with no corner that gives more than the rest.
6. Trim the Base and Finish the Surface
Trim the bottom edge with a sharp pizza wheel held vertical to the cake, in one confident pass. Sawing back and forth drags the fondant and leaves a ragged line, so score first, then cut in a single sweep.
The base should sit neatly on the board, not overhang and not cut too far up into the side. If a small seam or crack opened at the base, patch it with a pea-sized piece of matching fondant rolled thin, dampened with a little cooled boiled water on a food-safe brush, and pressed in from the inside.
Now turn the cake slowly and look at it from every angle at eye level, checking each top corner in particular. A crack is far easier to fix while the fondant is still slightly workable than an hour from now.
Once you are happy, let the cake rest uncovered for 20 to 30 minutes so the fondant firms, then box it. Fondant that goes into a box still soft will dent and crease in transit.
Common Mistakes
Almost every cracked fondant cake comes down to one of eight problems, and the fix is nearly always a change of timing rather than a change of product.
Dusting too much cornstarch or icing sugar
This is the mistake people make while trying to prevent cracks and it causes the very cracks they were worried about. One answer on Cooking StackExchange described adding plenty of powdered sugar while rolling, which dried the fondant out until it was no longer flexible. Use a light, thin dusting, or better, roll on a silicone mat so nothing absorbs into the fondant at all.
Rolling too thin to save fondant
If you know roughly how much fondant the cake needs, you will not be tempted to stretch it thin to make it last. Below 3mm there is no give, so the fondant splits at every edge it has to turn over.
Pulling the sides down instead of easing them
Gather the pleat, then ease. Ten small easing movements beat one firm pull every single time, and the difference is visible in the finished cake.
Over-chilling the cake until it is rock hard
Ice-cold cake plus warm air gives you condensation, and condensation gives you patchy tackiness that pulls the fondant off in sheets. Chilling to firm is enough.
Using fondant straight from the fridge
Cold fondant cracks the moment it is stretched. A CakeCentral thread on a four-tier stack traced a related problem back to Satin Ice applied a day early and refrigerated, which left the covering set and stiff. Bring it out 30 minutes ahead, and knead it until pliable.
Fondant going over a lumpy or unset undercoat
Anything uneven underneath becomes uneven on the outside, and the fondant has to stretch further in some spots than others to compensate. That uneven stretch is what tears. A firm ganache layer is a popular choice among experienced hobby decorators on the r/cakedecorating subreddit, specifically because it sets harder than buttercream.
Trim the base too early
Wait until the sides are fully smoothed before you cut. Trimming first means you cut into fondant you were about to move, and the cut edge relaxes and goes wavy.
Covering without a fondant smoother
You do not need one. The clean palm of your hand works on the top, and a straight-edged scraper, a piece of acrylic or the back of a sturdy spoon does the job on the sides. The tool matters far less than supporting the fondant with your other hand while you work.
Frequently Asked Questions
Why does my fondant crack when I cover a cake?
Fondant cracks when it is stretched past its elasticity. That usually means the fondant was too cold or too dry, it was rolled below 3mm, or you pulled it down the sides rather than easing the pleats. A lumpy or unset undercoat forces uneven stretch too. Work at room temperature, roll to 3-5mm, and ease rather than pull.
How thick should fondant be before putting it on a cake?
Roll to an even 3-5mm, roughly a quarter inch down to an eighth inch. Thinner than 3mm and there is no stretch left in the sheet, so it tears at every corner and base. Thicker than 5mm and the base shows a thick band and ripples. Guide rings on the rolling pin are the easiest way to hold that range consistently.
Can I cover a cake with fondant while it is still warm?
No. Warm cake melts the buttercream underneath and gives you a surface that moves and dents as the fondant settles, which shows up as ripples and trapped air. Cool the cake fully at room temperature first, then chill it for 30 to 60 minutes until firm, and let it come back to cool room temperature before you cover it.
How do I fix a small crack in fondant after it is applied?
You rarely need to start over. Roll a small piece of matching fondant very thin, dampen it with a little cooled boiled water on a food-safe brush, then press it into the crack from the inside out and smooth the surface. Work while the fondant is still slightly pliable. A crack at the base can also be hidden deliberately with a fondant rope or piped border.
What kind of frosting is best under fondant?
A firm, smooth buttercream or a set ganache both work well, and ganache holds its shape better for tall cakes. The important part is that the top layer is completely set, slightly tacky and free of crumbs, ridges and gaps before fondant touches it. Avoid whipped cream, which is too soft, and anything that slides or sinks under pressure.
Can I cover a cake with cream cheese frosting using fondant?
You can, but it needs an extra barrier. Cream cheese frosting is soft and slightly wet, so it can ooze and tear the fondant, and its acidity makes some colours fade over time. The usual fix is to set a thin ganache or a firm buttercream layer over the cream cheese frosting, chill it well, then apply the fondant to that.
Conclusion
Start with the three things that decide most of the outcome: pliable fondant at room temperature, an even 3-5mm roll with plenty of margin around the cake, and a firm, crumb-free, fully set frosting layer underneath. Then ease the pleats down the sides instead of pulling them, and support the fondant with your other hand as you smooth.
And if a crack shows up anyway, patch it with a thin piece of matching fondant while the covering is still pliable. You almost never have to strip a cake back and start again.