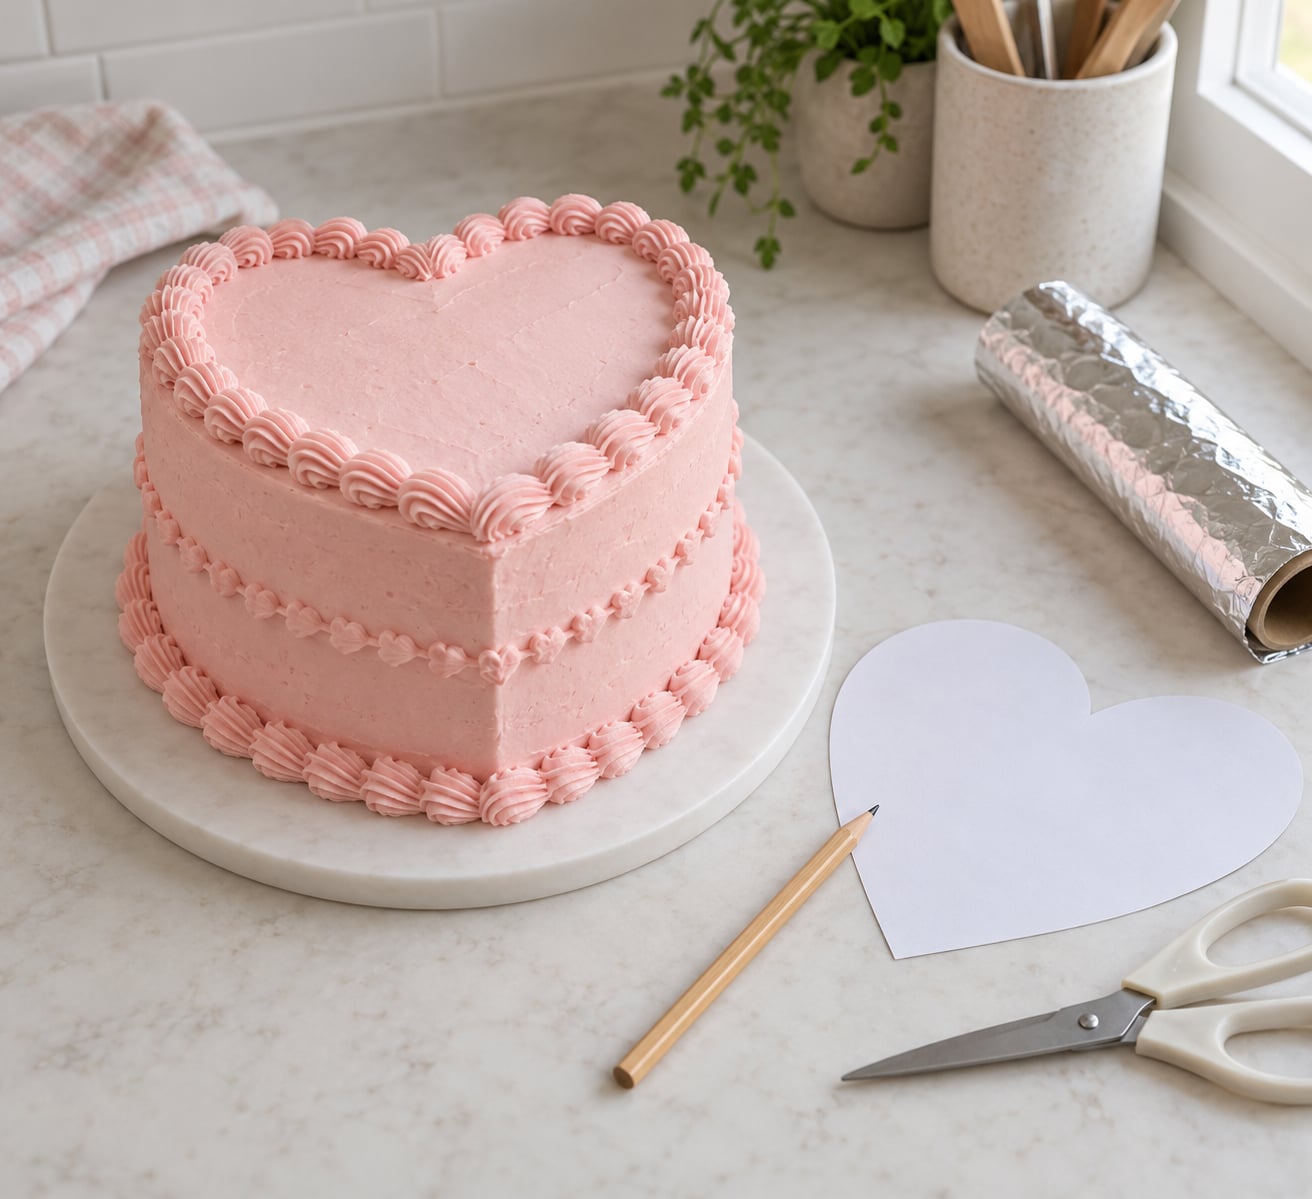
If you want to know how to make a heart shaped cake without a pan, bake two round layers, trace a paper heart over them, and cut. The other route is to build a heart-shaped pan out of foil on a baking sheet and pour the batter straight into it. The second method gives you clean, crisp edges and no carving, so it is the one I use most.
Either way you need a steady hand with a sharp knife, about 90 minutes of bake and cooling time, and a cake that is completely cool before you touch it with a blade. Warm cake tears, and torn cake is the reason most heart attempts end up looking like a lumpy blob.
Table of Contents
- What You Need
- Step-by-Step
- 1. Bake and Cool the Cake Layers
- 2. Make a Heart Template
- 3. Create a Foil Baking-Sheet Pan
- 4. Shape and Fill the Heart Cake
- 5. Finish and Decorate the Cake
- Common Mistakes
- Frequently Asked Questions
- What is the easiest way to make a heart shaped cake without a special pan?
- What cake and frosting work best for a DIY heart cake?
- Can I make the heart cake the day before serving it?
- How do I keep batter from leaking out of the foil edges?
- How can I fix a lopsided heart cake before decorating it?
- Conclusion
What You Need
The whole project runs on things most kitchens already have. Nothing here is single-purpose, which matters if you are baking nut-free for someone with a severe allergy and cannot source a specialty pan easily.
- Two round cake layers, baked in pans of the same size so they match in height
- One sheet of heavy-duty foil, the heavy kind, because thin foil tears when you fold the corners
- A sturdy baking sheet with a raised rim, large enough to hold your heart with a couple of inches to spare
- Cardboard or parchment to make the template and the liner
- Butter or oil for greasing the foil
- Buttercream or ganache for the crumb coat and the finish
- Jam or curd, optional, as a thin filling layer
- A piping bag and a small round tip, optional, for a border around the bottom edge
On the frosting side, a basic American buttercream is the safest pick because it holds a sharp edge and stays put when the cake is cold. Cream cheese frosting works too but is softer, so pipe a dam around the bottom edge or the filling will creep out under its own weight.
A serrated knife, an offset spatula, a small turntable or cake board, and a ruler round out the tool list. The ruler matters more than people expect, because a heart only reads as symmetrical when the two halves are within a quarter inch of each other.
Step-by-Step
1. Bake and Cool the Cake Layers
Make two cake layers the same way you always do. Butter and line the pans, fill them with roughly the same weight of batter, and bake at 350F / 180C until a toothpick or skewer comes out with just a couple of moist crumbs clinging to it.
The visual cue that the layers are ready: the center of each layer springs back lightly when you press it, and the surface is set but still slightly tacky. Over-baked layers crumble when you cut them, which is the single most common reason a heart cake falls apart at the cutting stage.
Cool them in the pans for about 10 minutes, turn them onto a rack, and let them cool completely. A full hour on the rack is not optional. If you are in a hurry you can speed it up slightly in the fridge once they are no longer steaming, but never stack warm layers.
Trim the domed tops with a serrated knife held at a low angle. An even cake height matters because every millimeter of dome you leave behind becomes a gap on one side of the heart and a wedge on the other. Take a quick photo of both layers from the side so you can compare them before you cut anything.
2. Make a Heart Template
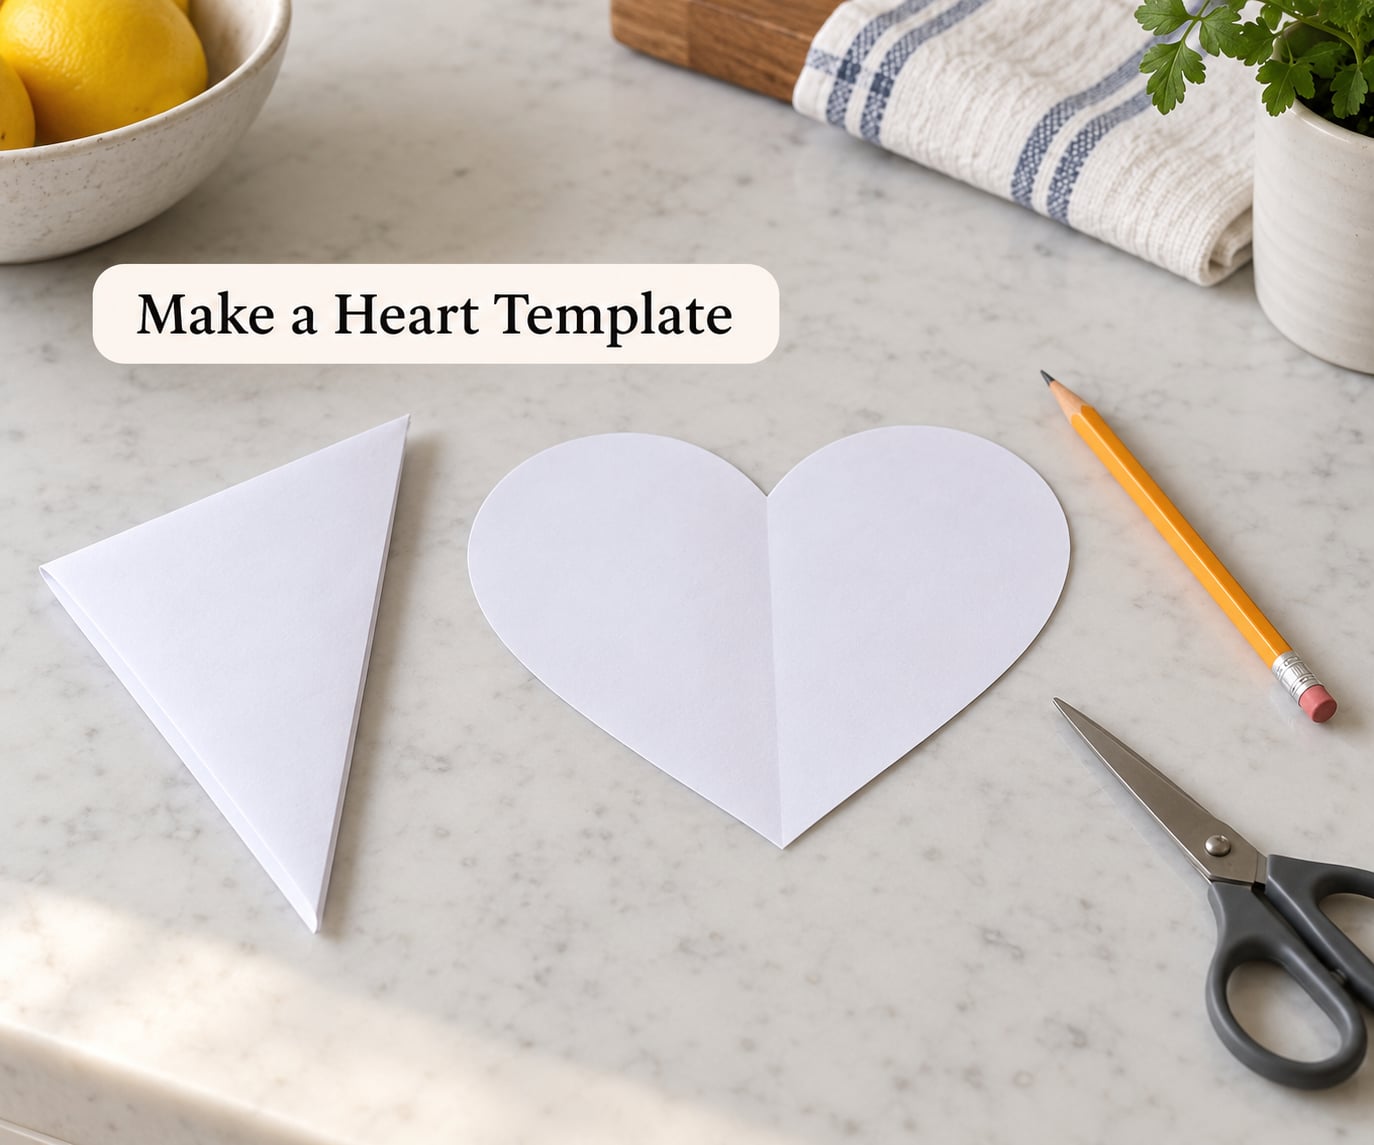
Fold a sheet of stiff paper in half the long way, press the crease flat with your palm, and unfold it. Drawing on the fold line gives you perfect symmetry with no ruler math, which is why I stopped freehand years ago.
Draw half a heart along one edge of the paper: start at the fold line partway up, curve outward to the top of the lobe, dip into the notch, sweep down to the point, and bring the point back to the fold line. Cut it out along your line and unfold.
Now test the template against your cakes. Lay the round layer flat on the board and check that the heart fits inside the circle with an inch or two of spare cake around every edge. If the heart overhangs, scale it down by the same factor on both halves. If you have a bigger celebration cake in mind, bake a larger round and scale the template up instead.
3. Create a Foil Baking-Sheet Pan
This is where most people give up, and it takes about four minutes. Set the baking sheet on a flat counter, lay one sheet of foil over it with a few inches hanging over every side, and press the foil down into the corners so it hugs the rim.
Put the heart template on top of the foil and trace around it with a sharp knife, scoring only through the foil. Then build the walls: cut the foil along one scored line, fold the flap up into a standing sidewall, and pinch it against the outside of the sheet. Repeat all the way around the shape.
Where two walls meet, double the foil over itself to create a thicker seam. Those corner joins are what fail when batter finds a gap, so overlap each join by at least half an inch and press it flat with your thumb. Test it by pouring a little water in and looking underneath before you commit a full batch of batter.
Brush the inside with softened butter or a thin film of oil. Use a pastry brush so you do not snag the foil. Then pour the batter in and tap the sheet on the counter twice to release bubbles.
Bake at 350F / 180C for roughly the same time as a normal round layer, but start checking 5 minutes early since the shape has more exposed edge. The cake is done when a toothpick in the thickest part of a lobe comes out clean.
4. Shape and Fill the Heart Cake
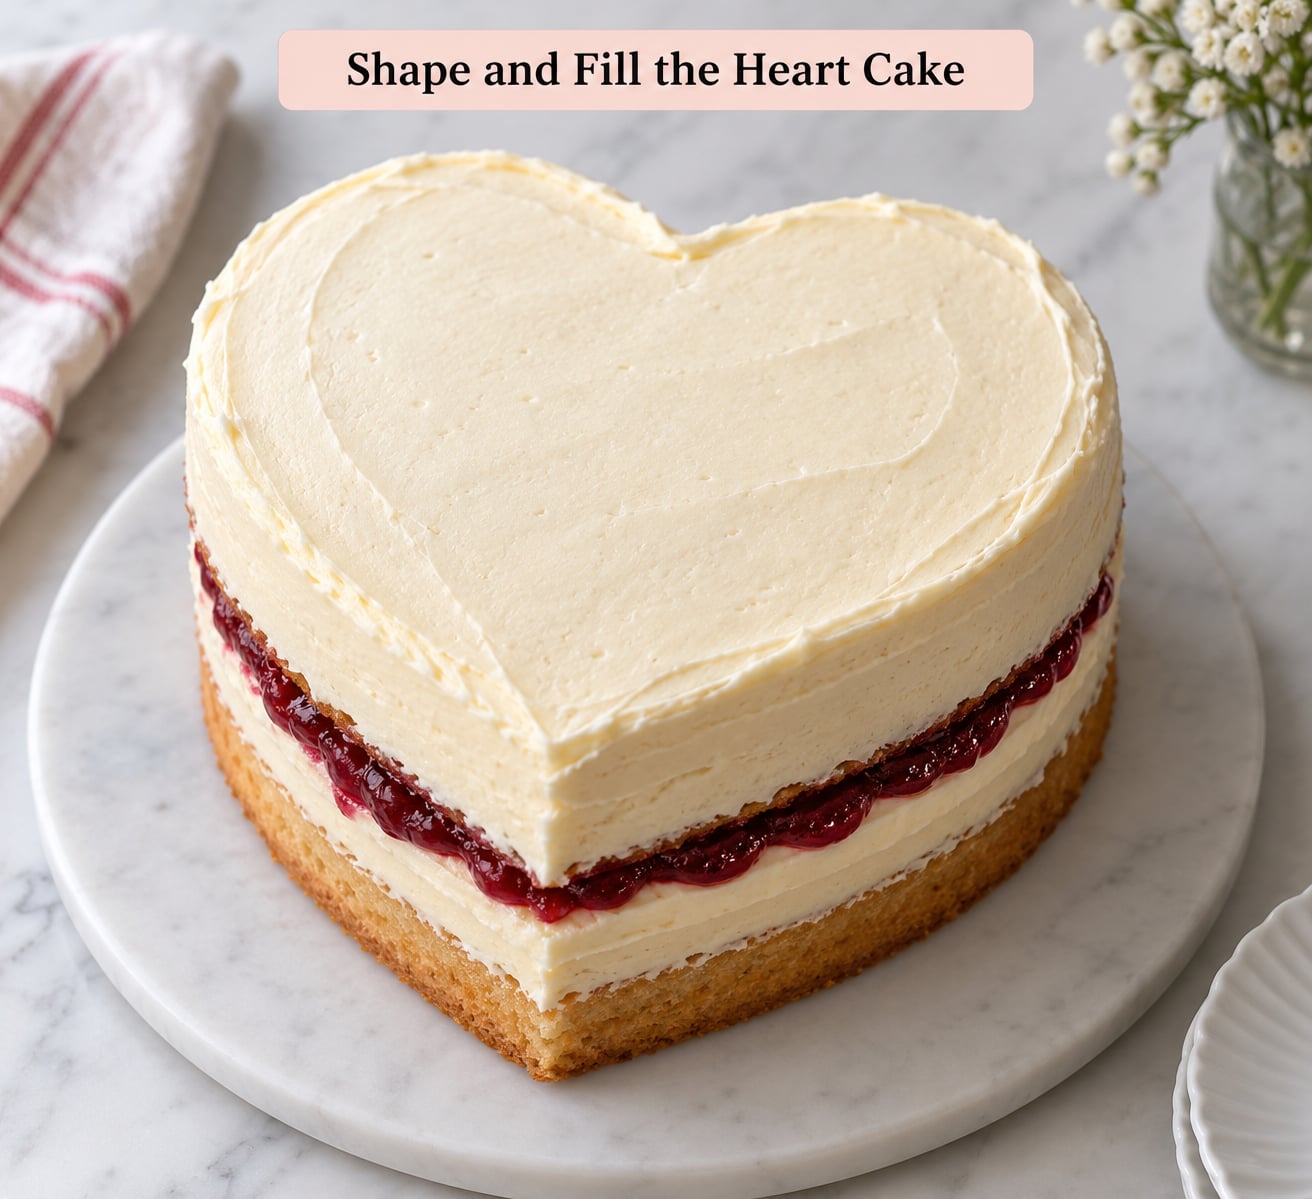
Learning how to make a heart shaped cake without a pan comes down to two cuts and one silhouette check. If you baked in the foil pan, the shape is already done, so skip straight to filling. If you baked round layers, this is the sequence that gets you there.
- Trace layer one. Put the template on the cooled round layer and score it with a sharp knife or pastry wheel. Scoring first means you only commit to the full cut where the line already looks right.
- Cut it out. Take long, confident strokes with a sharp knife rather than short sawing motions. Cutting in a warm kitchen is fine as long as the cake itself is cold.
- Move the offcuts away. The gaps between the heart and the circle give you spare cake, which never goes to waste. Those corner pieces are the baker’s share.
- Repeat for layer two. Flip the template over so the cut is identical, and compare the two pieces side by side before you fill anything.
- Check the silhouette. Set both hearts on the board, point down, and look at them from eye level. If one lobe is smaller, trim from the point side instead of the notch.
For the filling, spread a thin layer of buttercream on the flat side of the bottom layer so it acts as glue, then add about a quarter inch of jam. Pipe a small dam of buttercream around the edge and press the second heart on top, point aligned with point.
The border is the whole trick. Push the top layer down until filling shows in an even line all the way around, not bulging at the bottom point and gaping at the notch. If one side gapes, lift and shift rather than adding more filling.
5. Finish and Decorate the Cake
The crumb coat is a very thin first layer of frosting that traps crumbs and seals the seams you just made. Apply it with an offset spatula, pushing frosting toward the edges to draw them in, and leave visible cake showing in patches. That thin look is correct.
Chill the crumb-coated cake for 20 to 30 minutes. The cake goes from fragile to firm, and the frosting sets enough that you can rest a hand on it without leaving a dent. It should feel cool and slightly firm to a light tap.
Apply the final coat in a thin layer first, let it sit for 10 minutes, then add a second layer and smooth with a bench scraper held upright while you turn the board. Rotate constantly. A good edge catches the light in a clean line when it is done.
For decoration, pipe a shell border at the base with a star tip, then add color. Red velvet with cream cheese frosting needs almost nothing else. A plain vanilla heart with a border of pink rosettes and a few sugar roses reads just as well for an anniversary or a proposal.
Common Mistakes
Almost every failed heart cake comes down to one of a handful of things. Here is what goes wrong, why it happens, and what to do about it.
| Problem | Cause | Fix |
|---|---|---|
| Lopsided heart | The two layers rose to different heights | Trim both layers to the height of the shorter one, and use cake strips next time so the edges set before the center domes |
| Batter leaks out | Seams or corners in the foil wall were too thin | Double the foil at every join, overlap by half an inch, and water-test the pan before pouring |
| Layer tears while cutting | Cake was still warm or the knife was dull | Cool fully, chill for 20 minutes, and use a sharp knife with long strokes instead of sawing |
| Domed top | Normal oven spring in the center | Trim the dome level with a serrated knife, or lower the temperature 15F / 8C for the next bake |
| Frosting slides off | The angled seams were never sealed, or the frosting is too soft | Do a proper crumb coat, chill it, and pipe a dam around the bottom edge |
| Blunt point or deep notch | The template was freehand and not symmetrical | Trace a folded-paper template and test it against the layer before cutting |
| Filling oozes out | Too much filling, or no dam | Cut the filling back to a quarter inch and pipe a rounded dam around the edge |
| Heart looks lumpy | Seams and offcuts left the surface uneven | Fill low spots with buttercream before the crumb coat rather than trying to frost over them |
Chill the finished cake about an hour before slicing. A cold heart holds its shape on the board instead of leaning as you lift a wedge out, and a serrated knife still cuts through it cleanly.
To serve, use a sharp knife wiped clean between cuts and cut in wedges radiating from the point. If you need to transport it, build a box slightly wider than the heart, set the cake on a non-slip mat, and keep the box level in the car. Never carry it by the board with the point facing down.
Frequently Asked Questions
What is the easiest way to make a heart shaped cake without a special pan?
Bake two round layers in pans of the same size, make a symmetrical paper heart template, and cut it from both. If you want crisp edges with no carving, build the shape instead: trace a heart onto heavy-duty foil covering a sturdy baking sheet, fold the edges up into sidewalls, double the seams, then pour batter straight in. Both work with box mix or a from-scratch recipe.
What cake and frosting work best for a DIY heart cake?
Any sturdy cake works, and a sturdy frosting matters more than the cake. American buttercream holds a sharp edge and stays firm when the cake is chilled, which makes it the safest first choice. Cream cheese frosting is softer, so pipe a dam around the base if you use it. Avoid whipped cream alone, since it will not support the angled edges once the cake is cold.
Can I make the heart cake the day before serving it?
Yes, and it is usually better for the shape. Bake the layers a day ahead, wrap them individually and freeze them, then thaw overnight in the fridge. Frost and decorate on the day, keeping the finished cake in a cool room until you serve it. Fillings like jam and curd hold up well; fresh fruit and whipped-cream fillings do not, so add those in the last few hours.
How do I keep batter from leaking out of the foil edges?
Use heavy-duty foil rather than the thin standard kind, and build taller walls than you think you need. Where two walls meet, fold the foil back on itself so the join is double thickness, and overlap the ends by at least half an inch before pinching them flat. Before pouring a full batch, test the pan with a little water and check underneath for damp spots.
How can I fix a lopsided heart cake before decorating it?
Chill the cake for 20 minutes so the crumb firms up, then compare both halves from eye level to find which lobe is smaller. Trim from the point side of that layer, since the point is easier to hide with decoration than the notch. If the cake leans, place a thin cardboard shim under the low side. Fill any dips with buttercream before the crumb coat rather than frosting over them.
Conclusion
A heart-shaped cake needs no special pan. Bake two even layers, then either cut the heart from them or build a foil pan on a baking sheet and pour the batter straight in.
Start by baking the layers and cooling them fully. Make the template while they cool, test-fit it, and do the cutting or the foil pan on a firm surface. Then frost in two passes with a chill in between, and finish the design the morning of.